Scotland 2012 - Photos - St. Andrews Castle Course - Back Nine
This is a set of photos taken during the 2012 trip to Scotland.
If you have any questions or concerns about this Web page -- give me a shout.
eMail me regarding this Web page
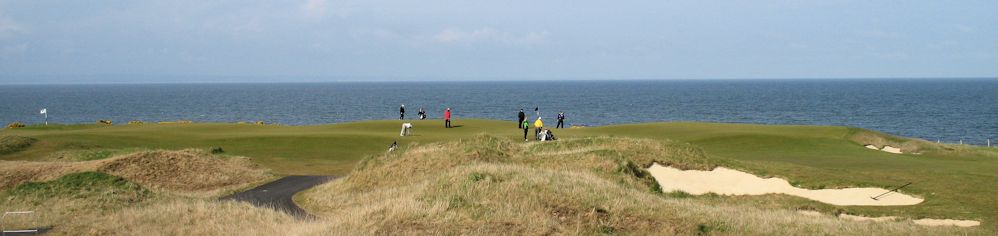
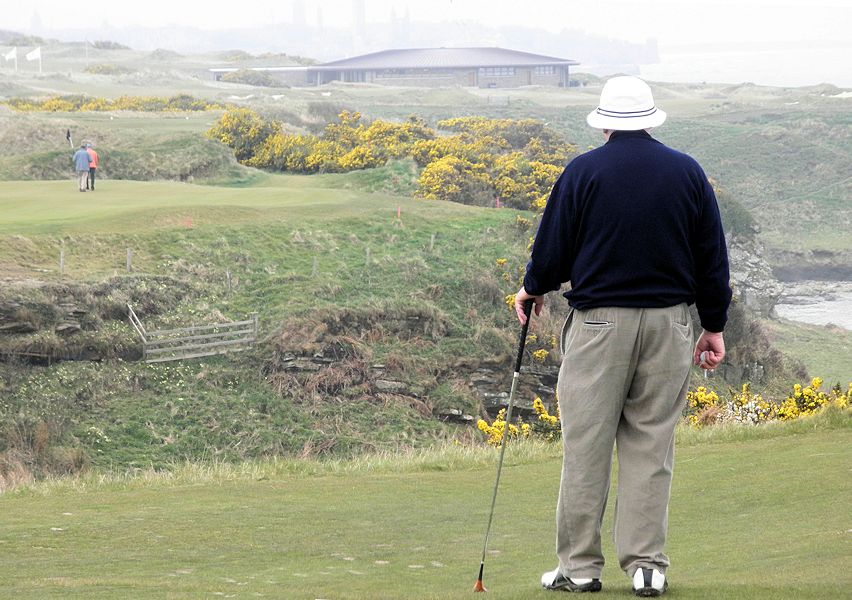
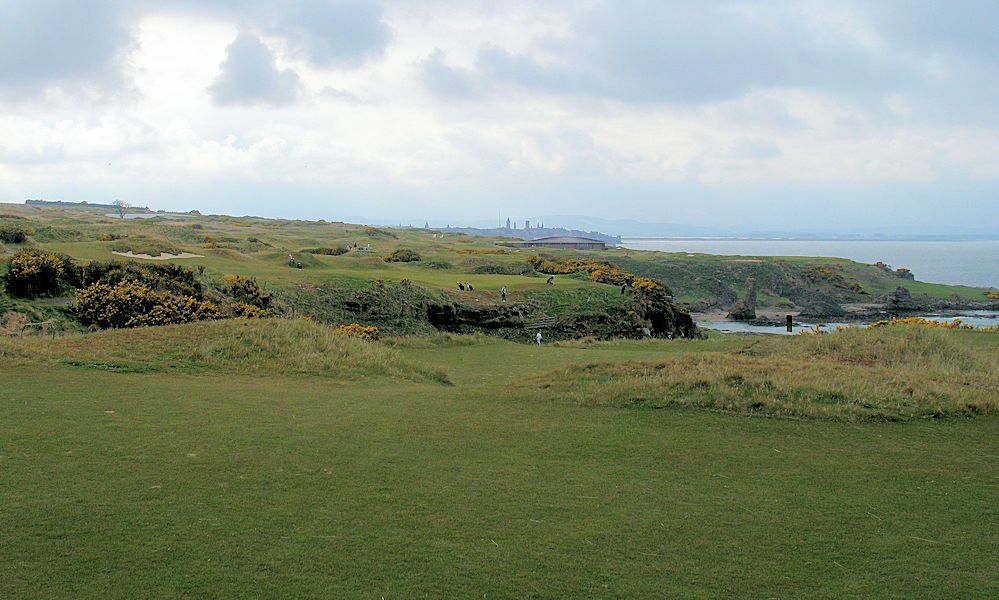
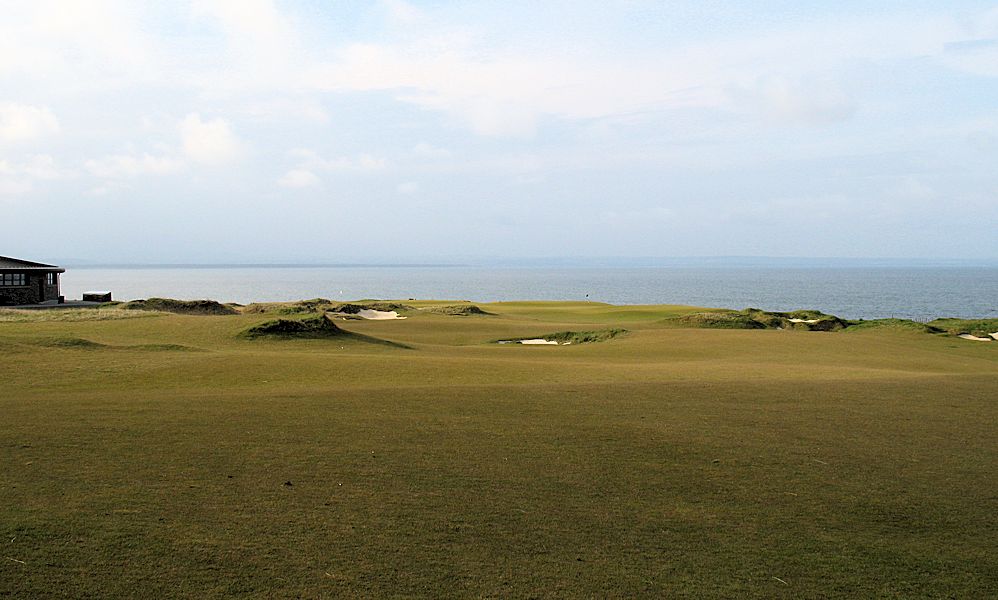
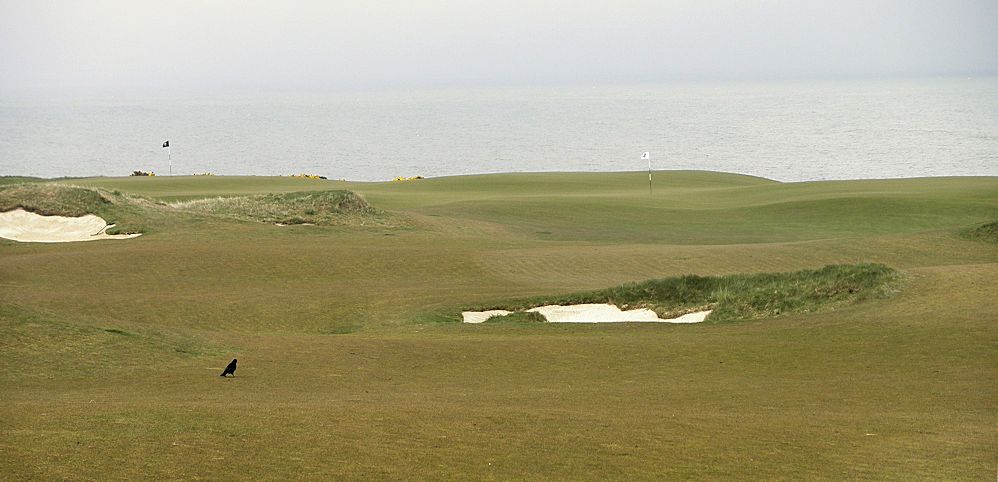
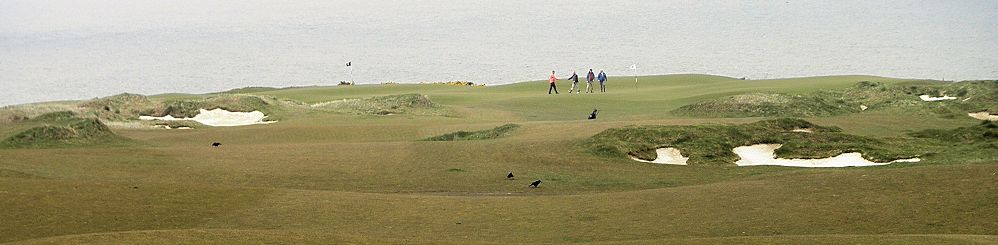
9th and 18th Greens
Glance back, as you leave the 9th green (on the left as you view this photo), glance at the players on the 18th green to see what you will soon be doing.
Perhaps the sun is shining!
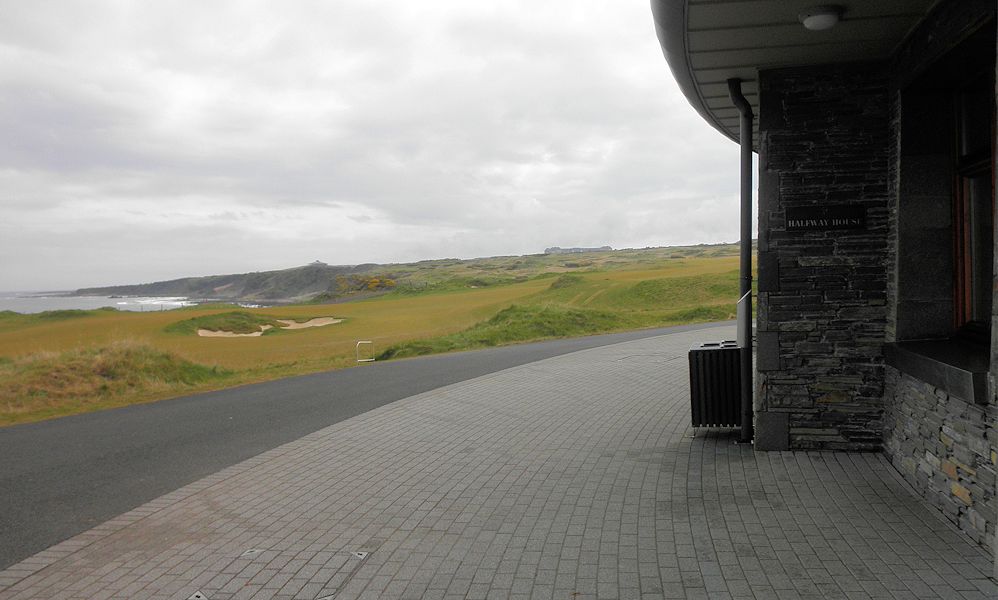
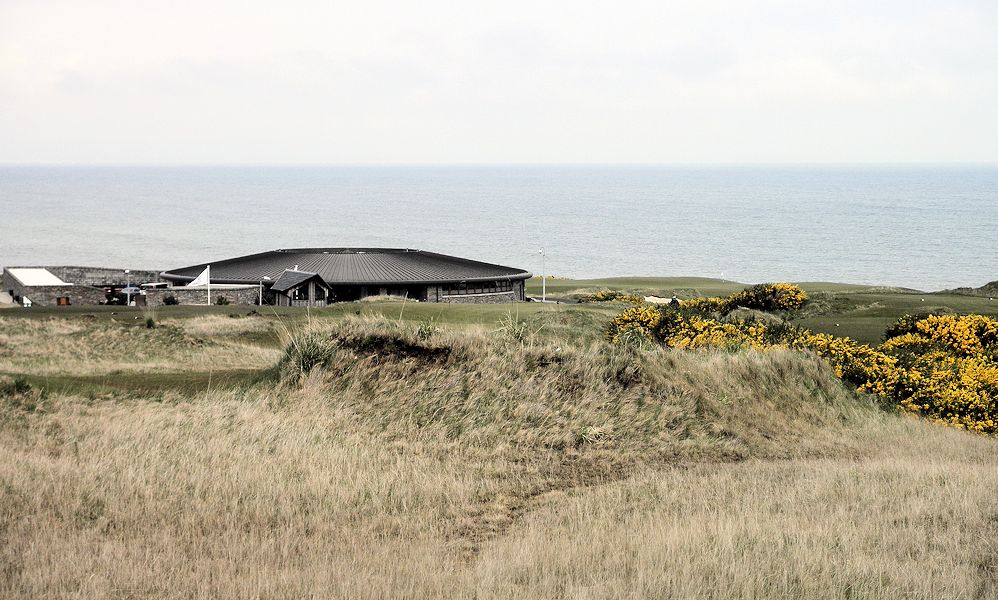
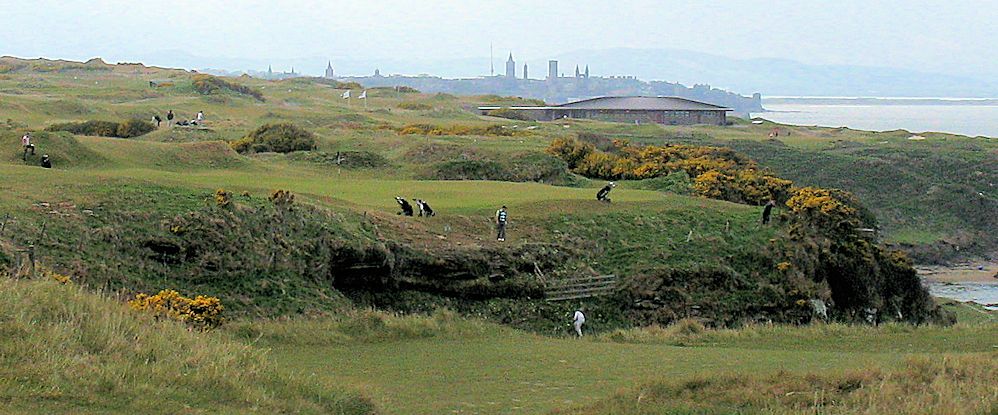
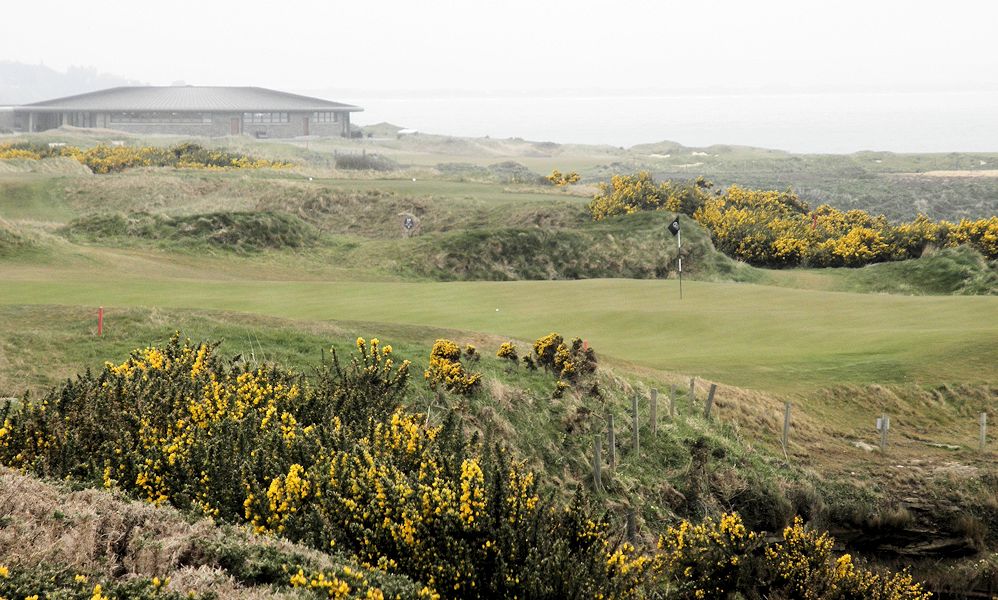
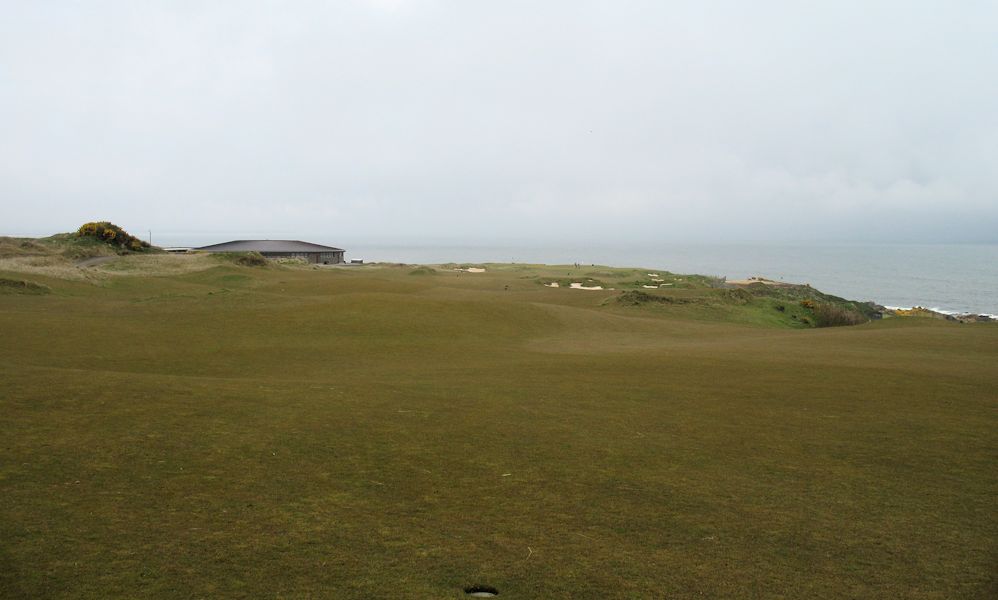
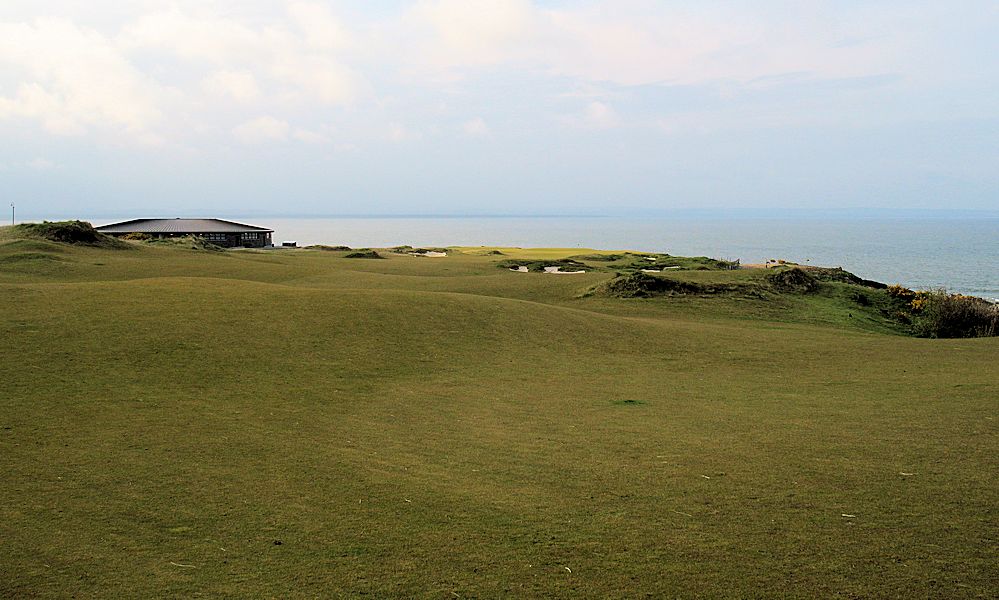
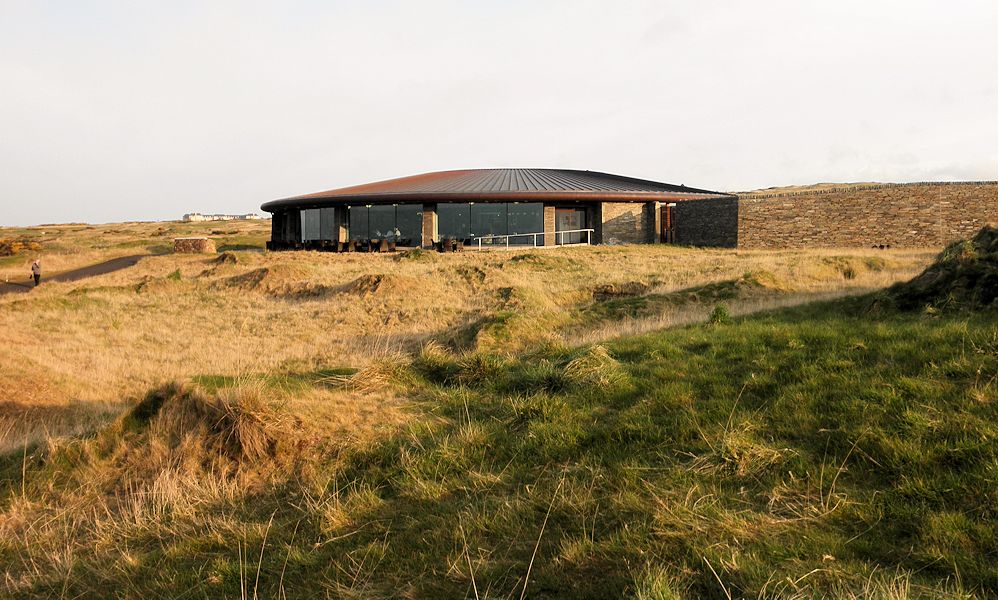
Clubhouse as Viewed From 9th Green Area
As you leave the 9th hole, walk around the left side of the clubhouse to reach the 10th tee - right near where you started your round.

|
|
|
|
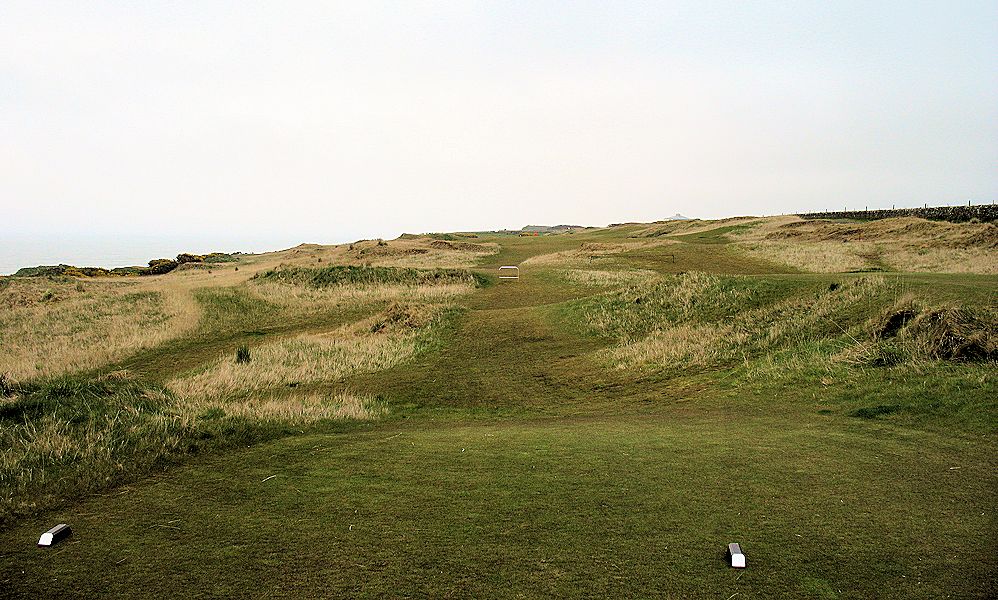
St. Andrews Castle Course - Back Nine
Distances are from the Yellow Tee markers; "Regular" tees and (Red) "Forward" Tees
|
|
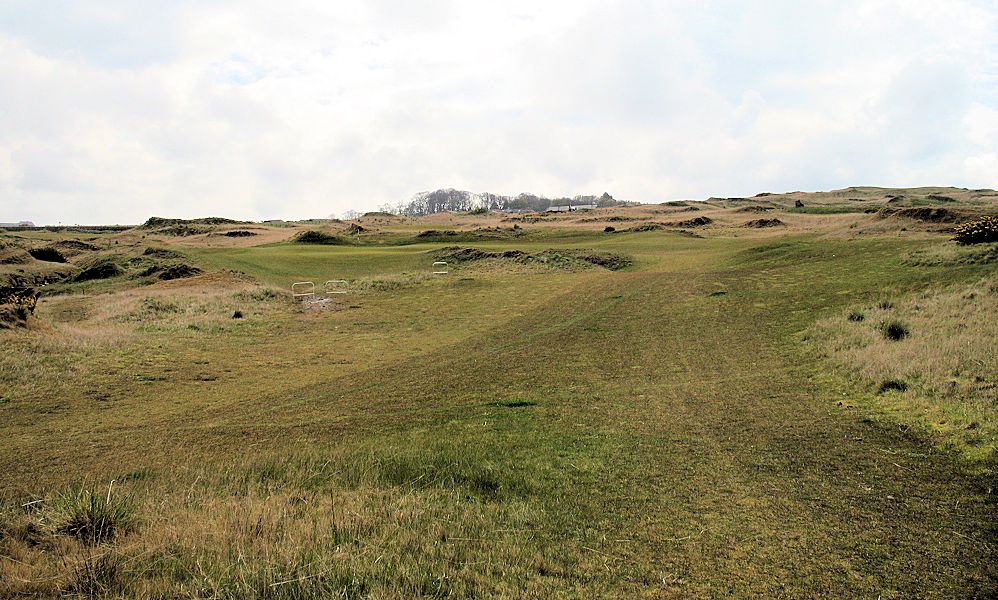
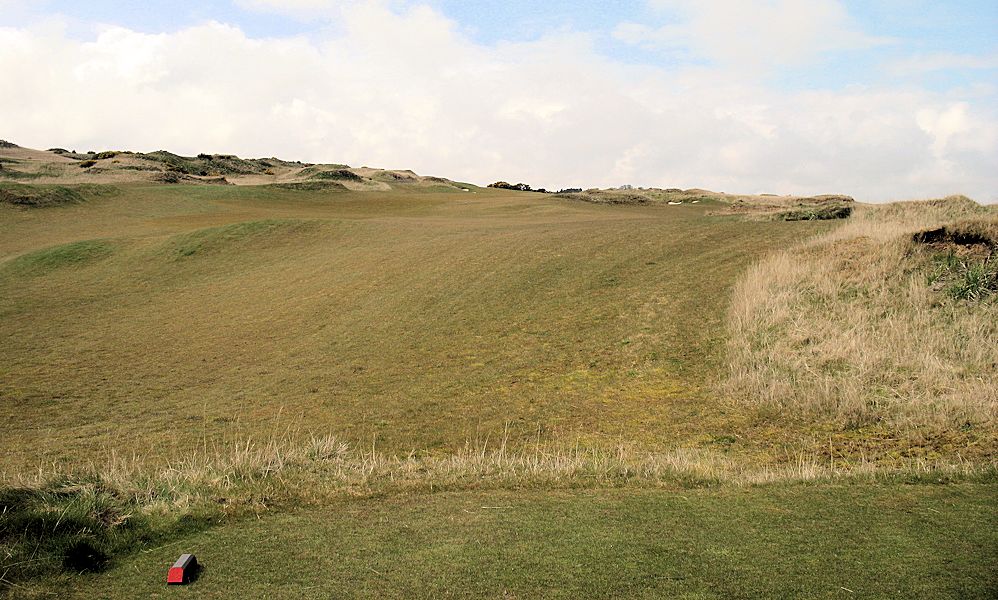
10th Tee - 154 Yards (130 Yards), Par 3
Back Tee - 167 Yards
Although the Links Trust has "cleaned out" some of the "stuff" between the tee and the green, staying right is still not a bad idea.
Hit there - and, take a bogie-four or, better yet: A one-putt three.
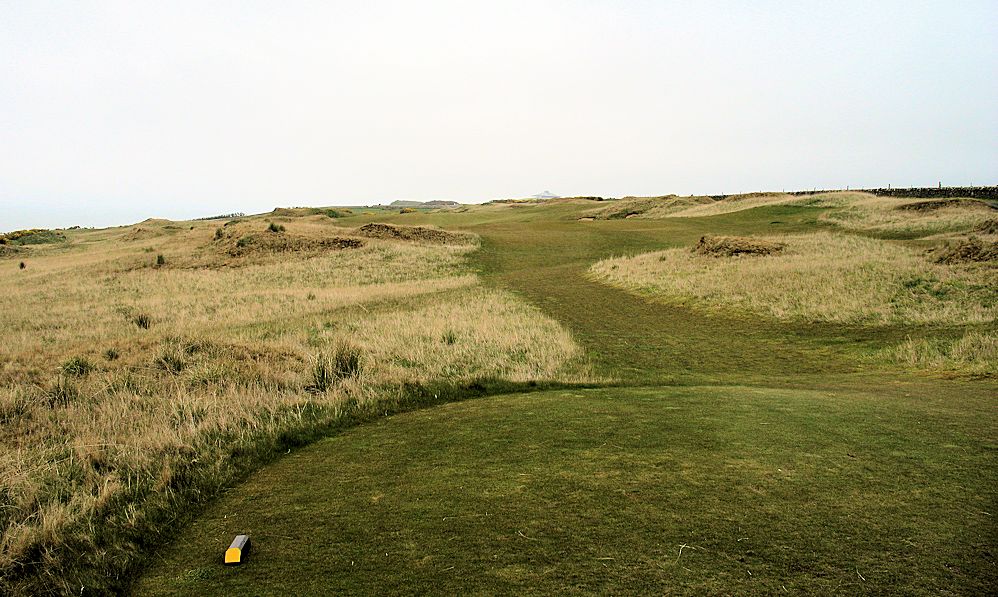
10th - Forward Tee
Definitely, a right-side (of the green area) direction is a favorite direction from this tee.
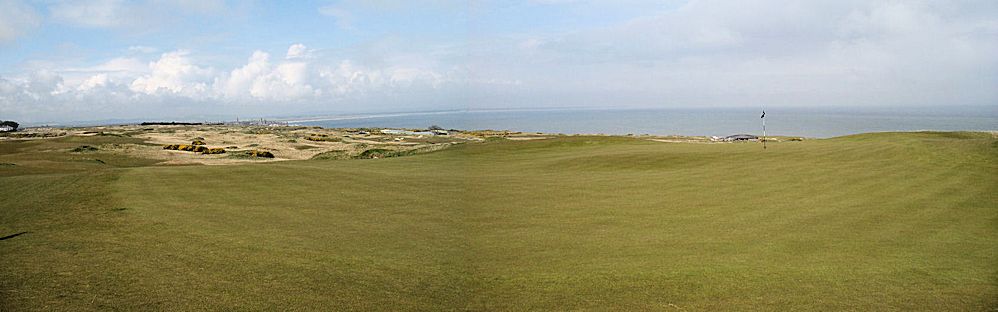
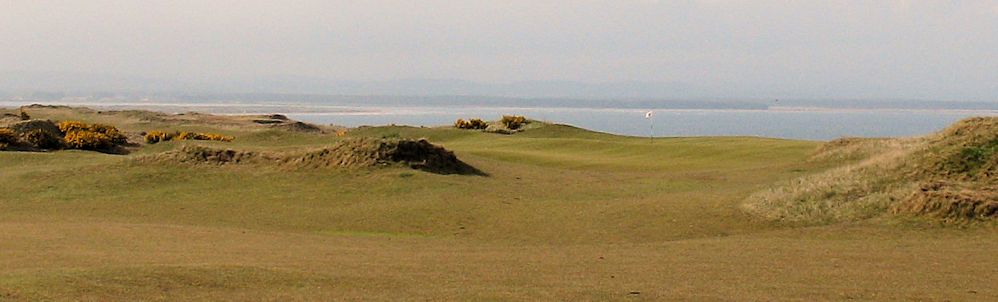
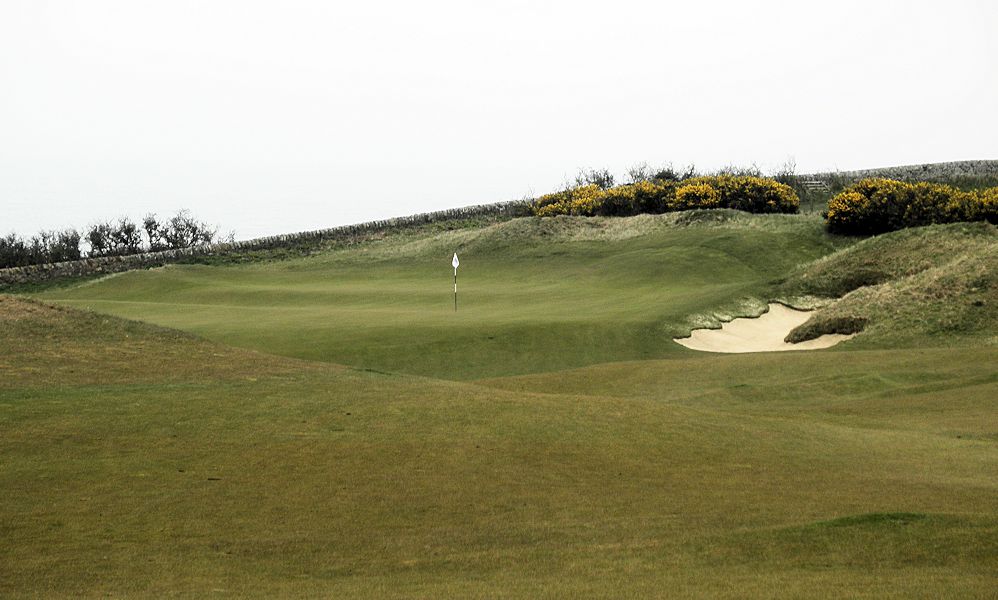
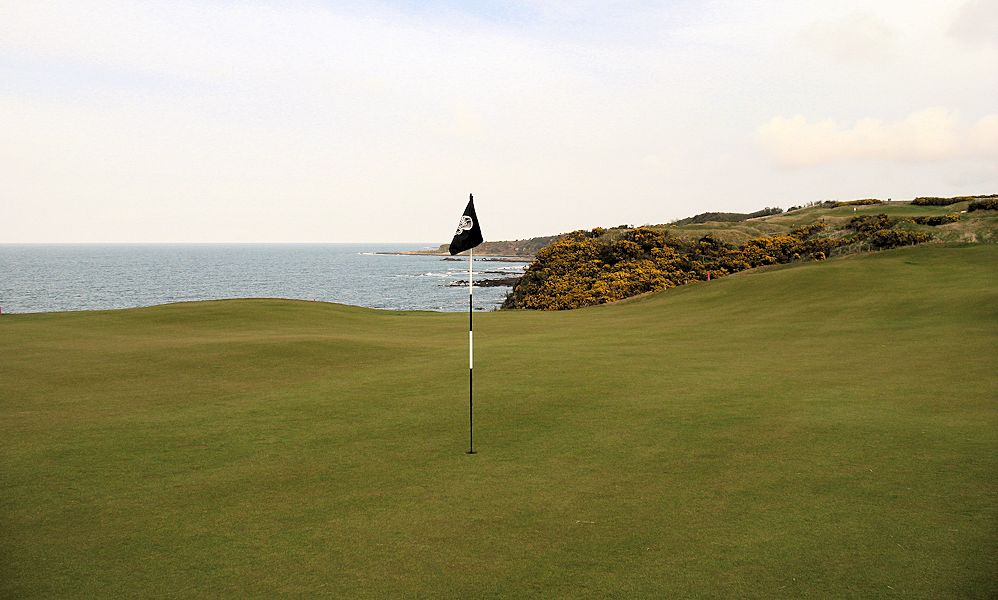
10th - Green Area
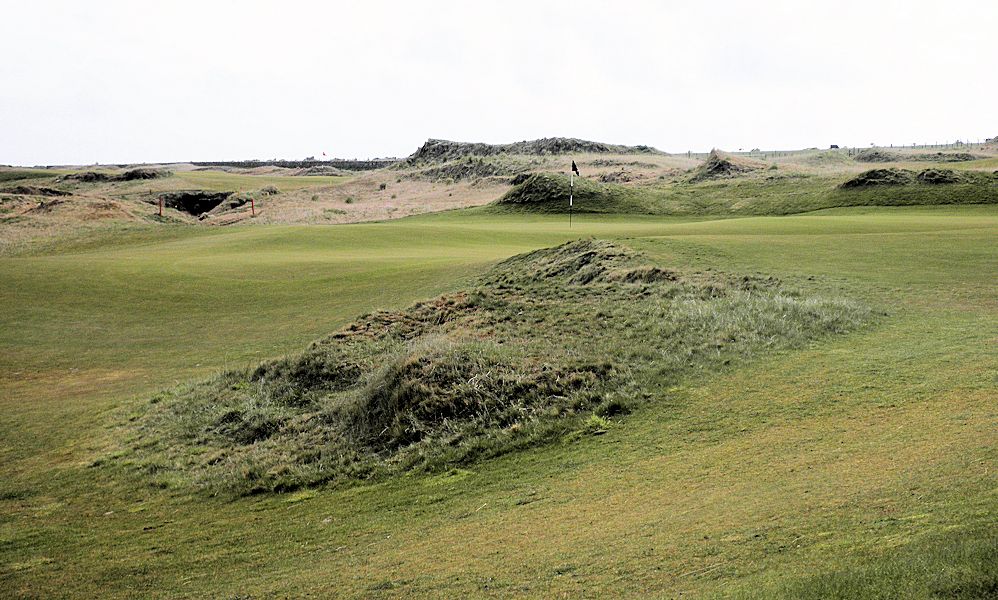
A difficult two-putt. Ok.... We will take a four on this hole, anytime.
Looking back: A beautiful par 3.
From here, it is apparent why staying right off the tee was Ok!
Approaching onto the green from there may end up on the correct level of this sloped green.
|
|
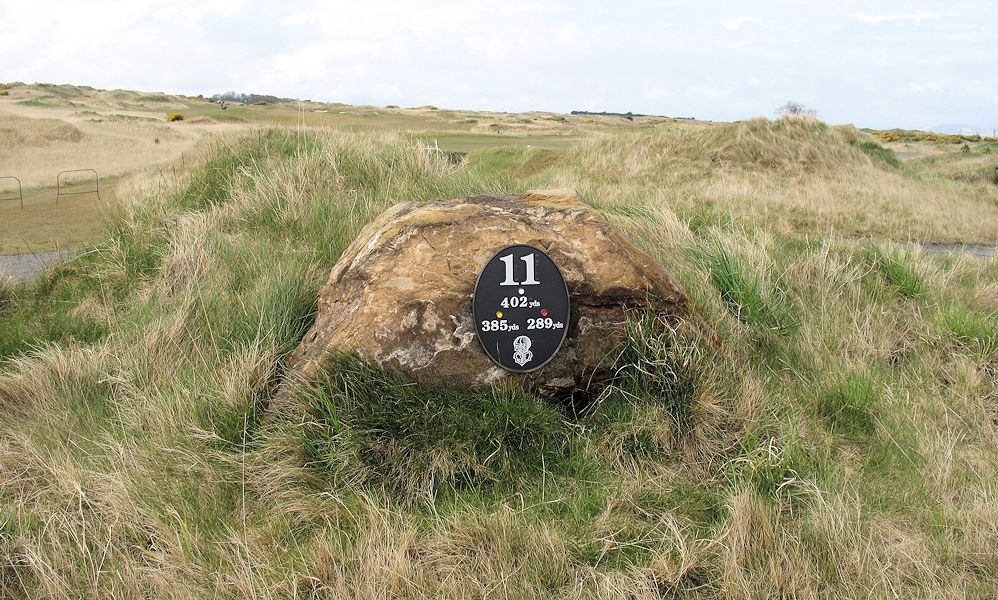
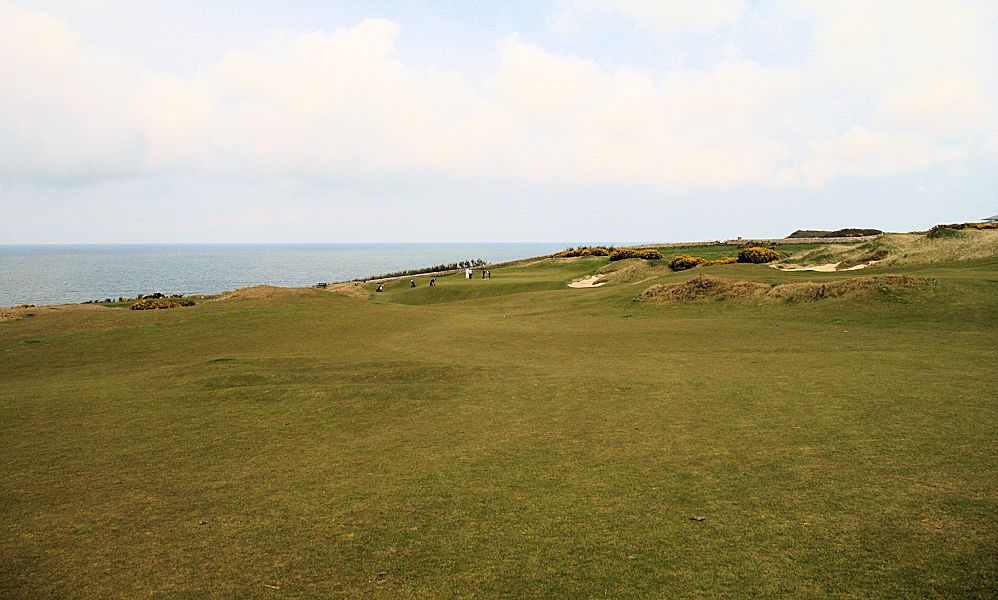
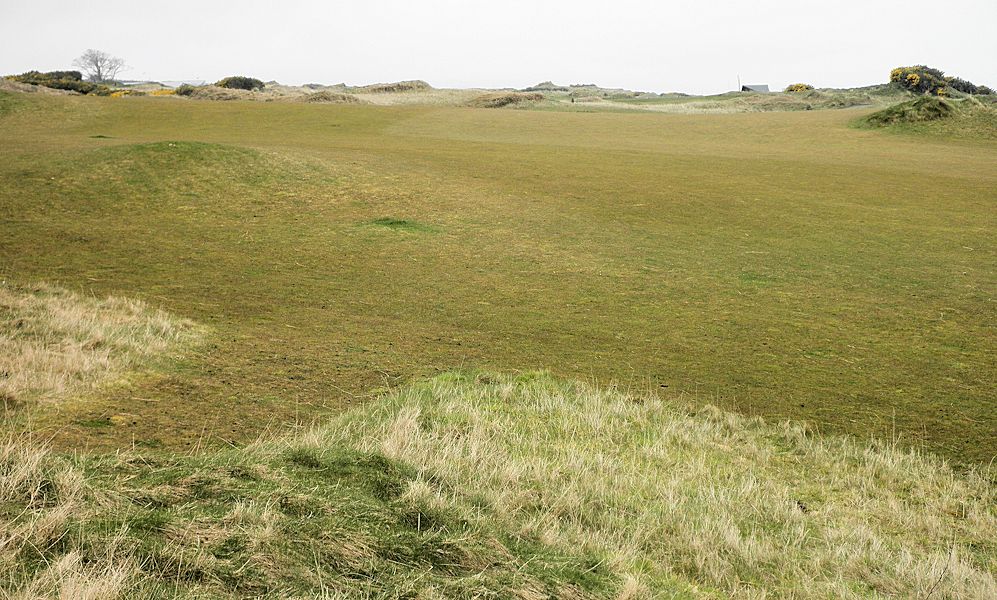
11th, Par 4
Heading uphill after the 10th.
Taking a look back to the 10th green.
And: Looking to the clubhouse and to the sea.
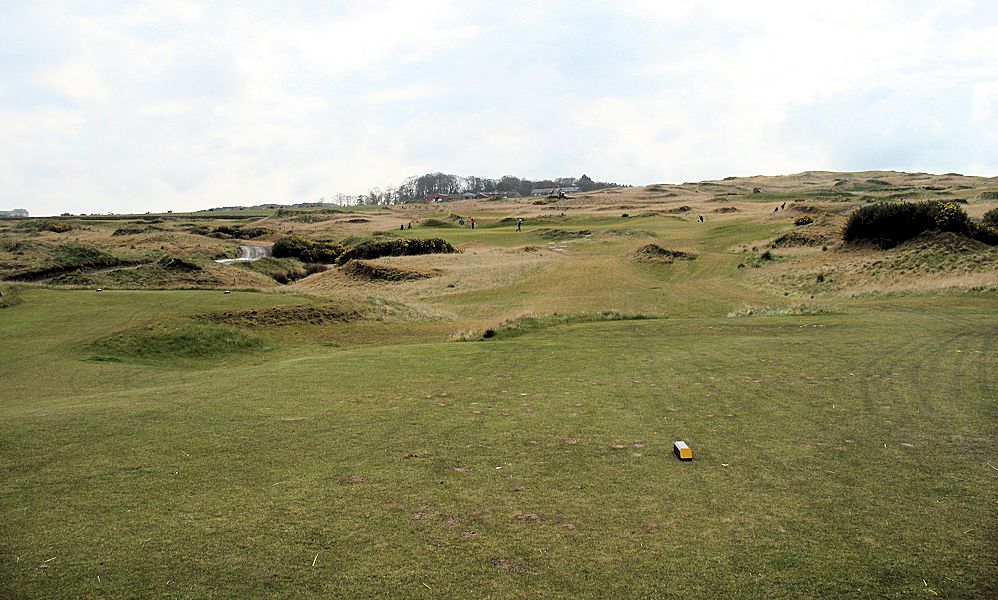
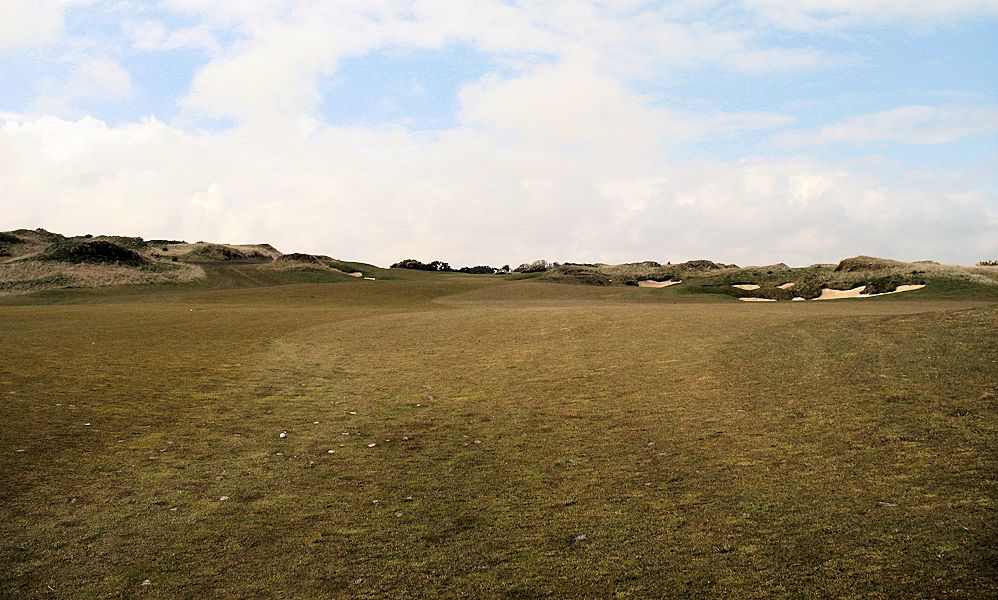
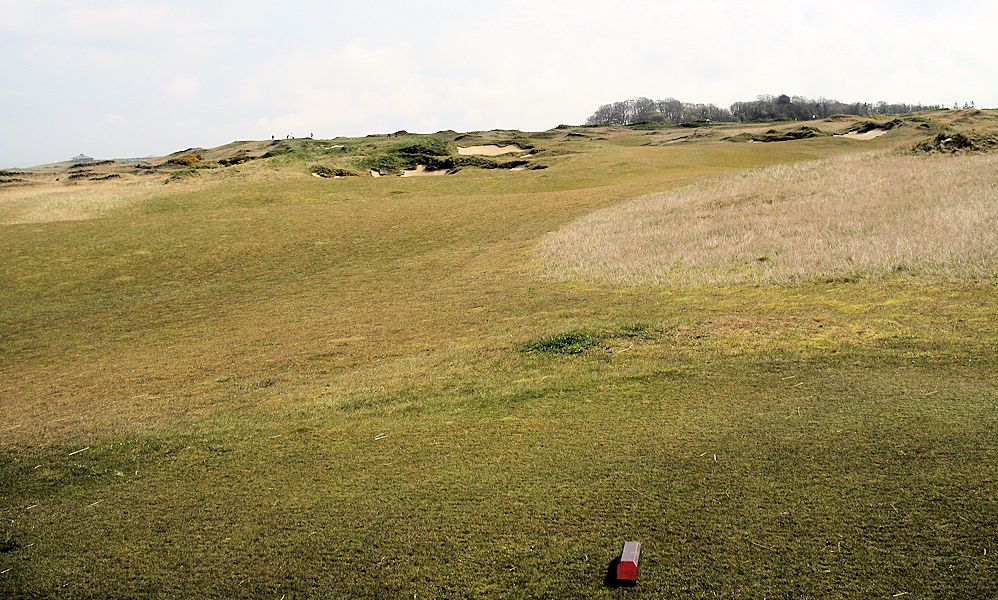
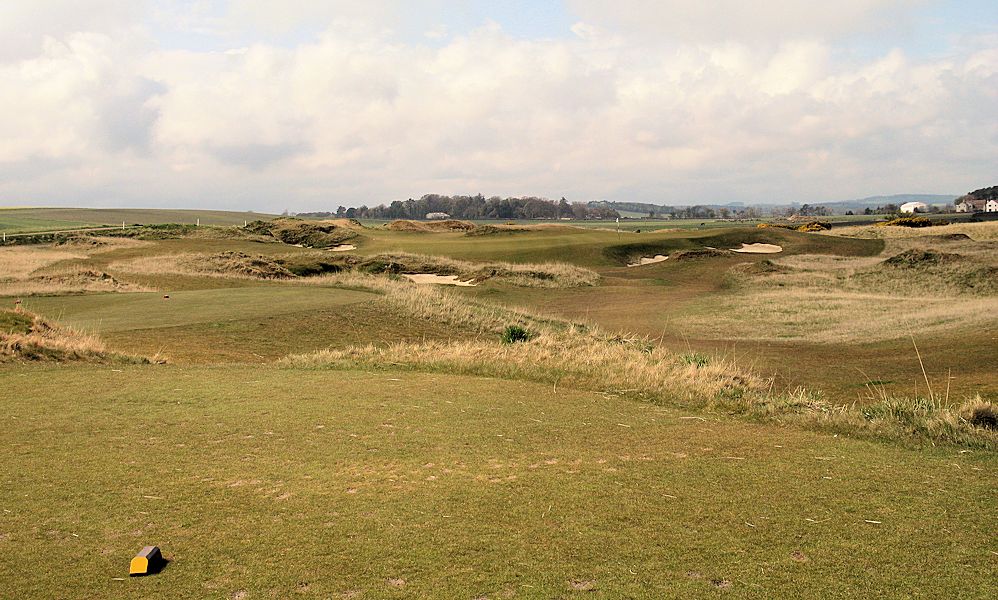
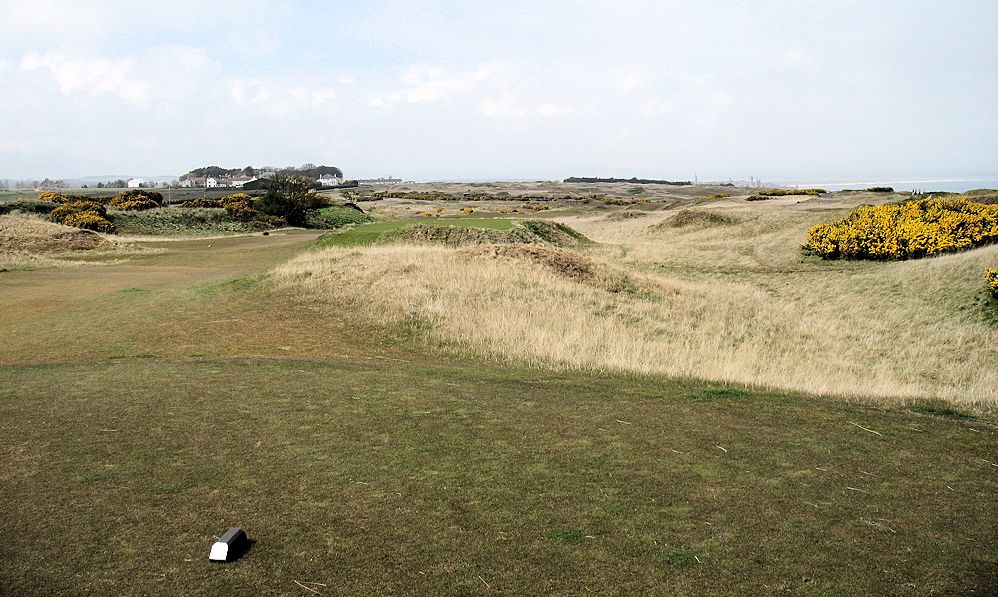
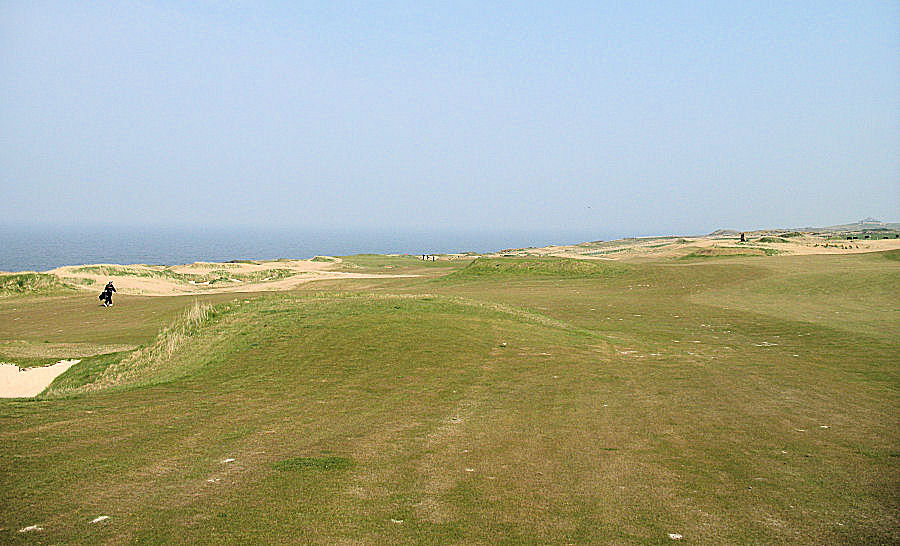
11th Tee - 385 Yards (289 Yards), Par 4
Deceptively uphill; I find that as I arrive at the 11th green: My legs can tell that it was an uphill journey.
Remember, you are trying to keep your shots "away from the sea" - Stay on the left side of the fairway on this fine par-4.
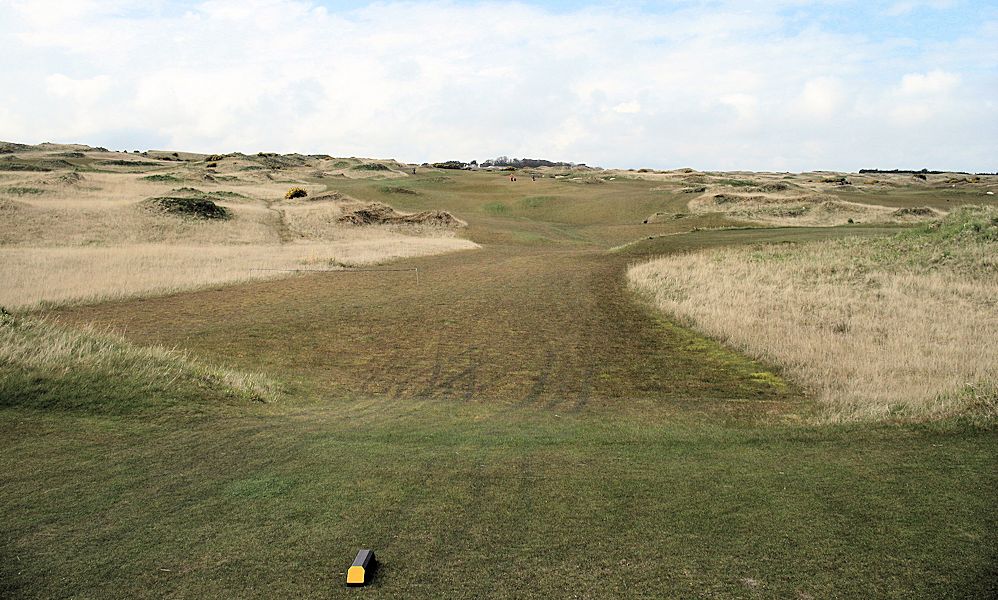
Front Tee
You (probably) will not reach the left-side-of-the fairway bunkers - That is a good line from any of the 11h tees.
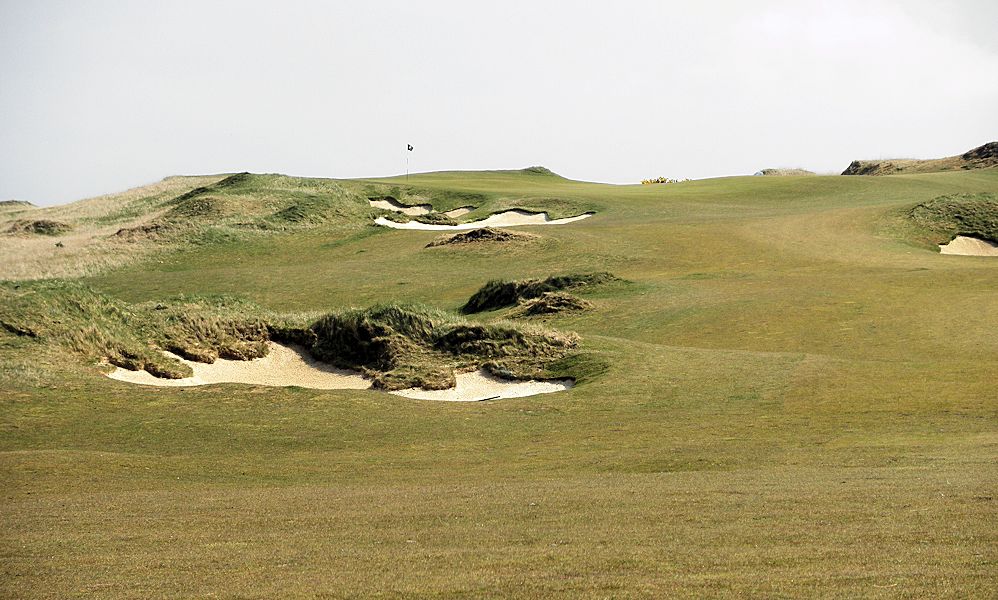
11th - Second Shot
Uphill - Stay Left
This photo is camera-zoomed; showing that the front approach area to this green is quite generous ---

--- However, stay clear of the right-side "hidden" bunkers. A caddie would help on this hole.
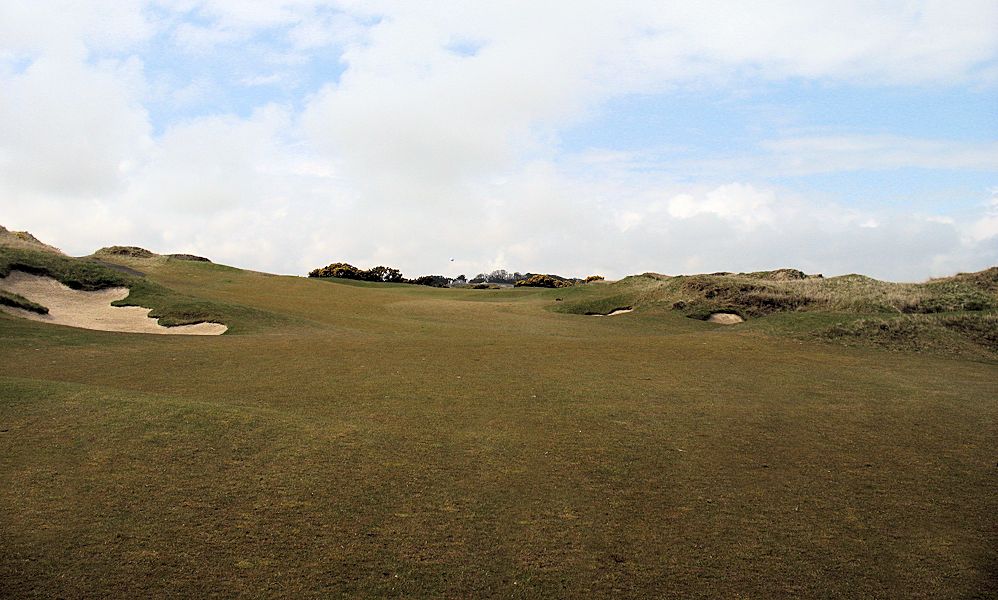
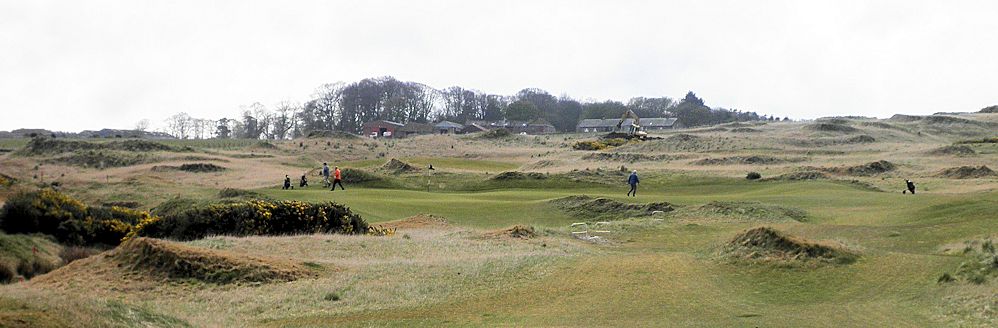
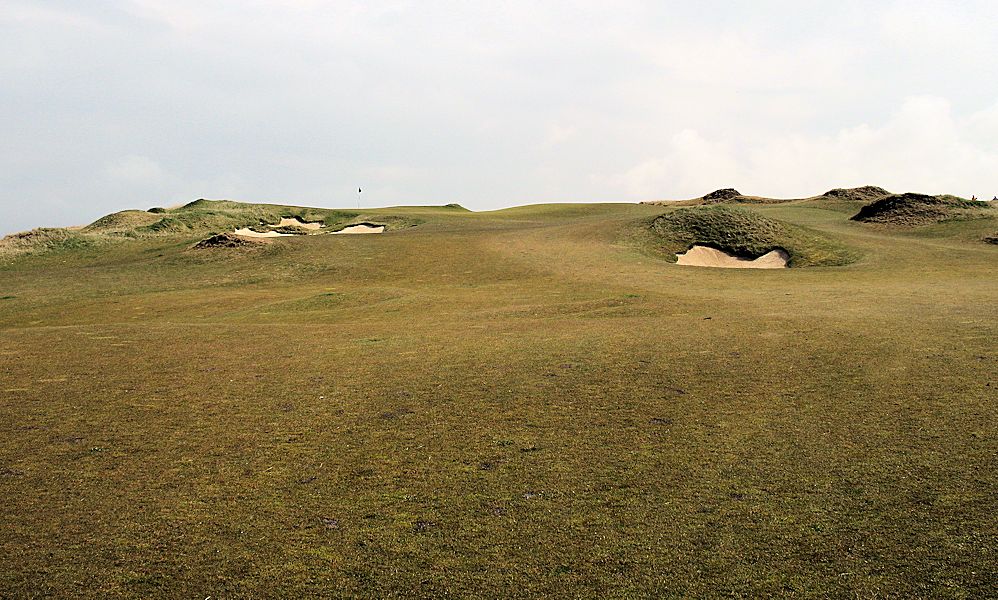
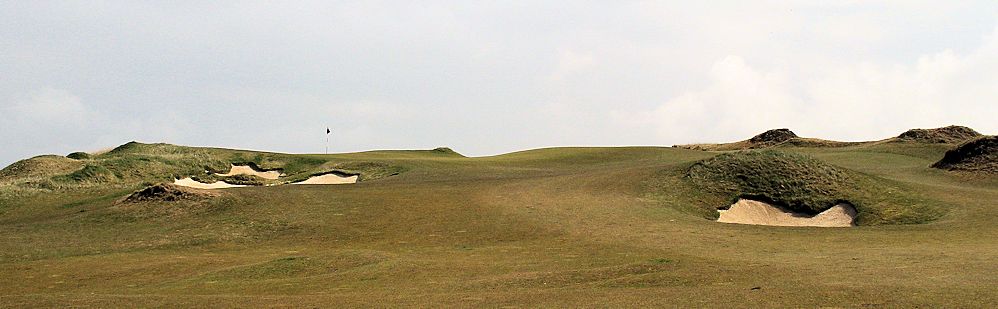
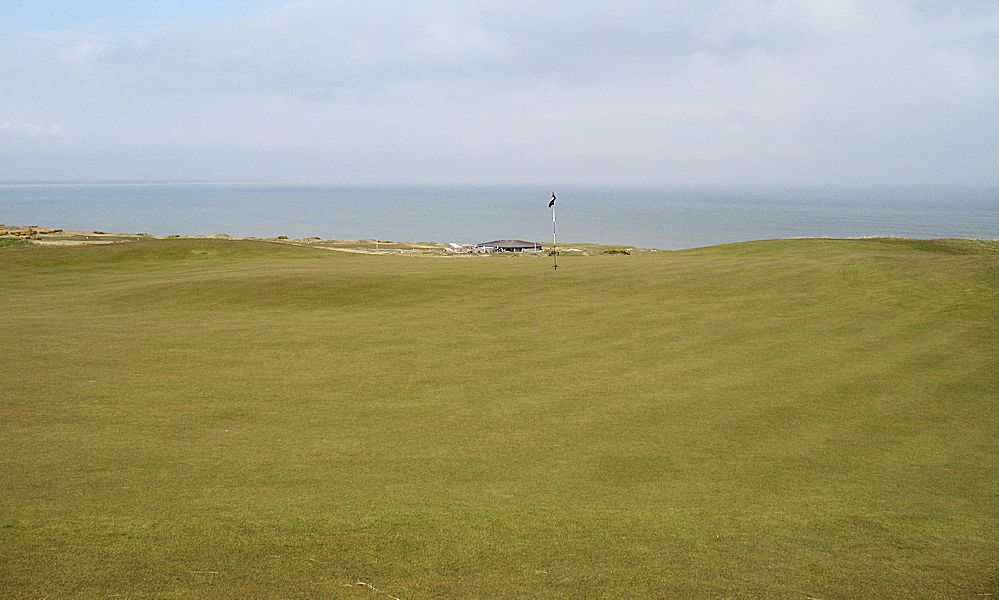
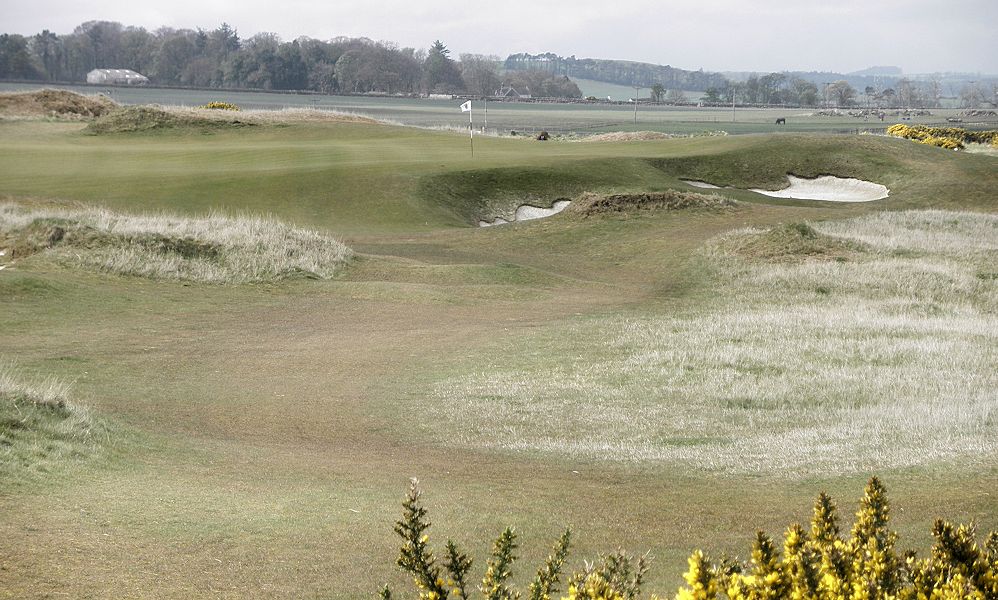
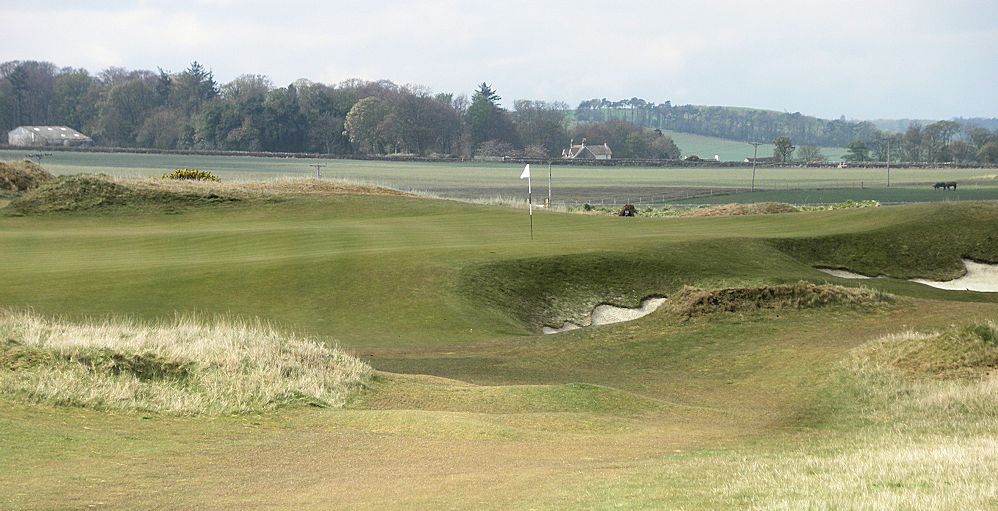
11th - Green Area
Don't be surprised if your second shot is short of this uphill green.
Numerous multi-level pin positions are common at The Castle; the 11th is not an exception to this.
If you reach the correct level - the greens are very fair.
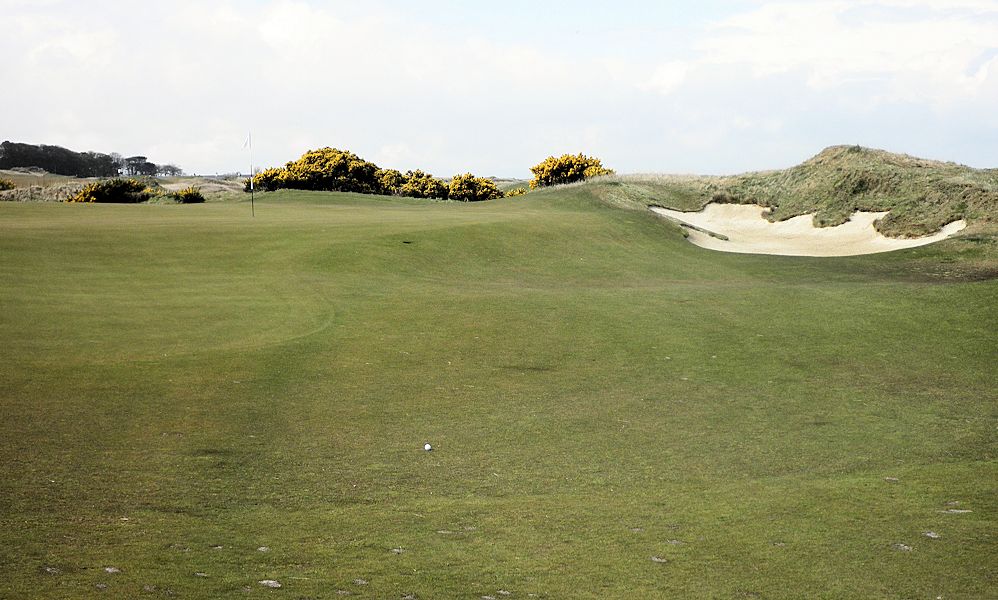
Try to remember that you (hopefully) are on vacation!
|
|
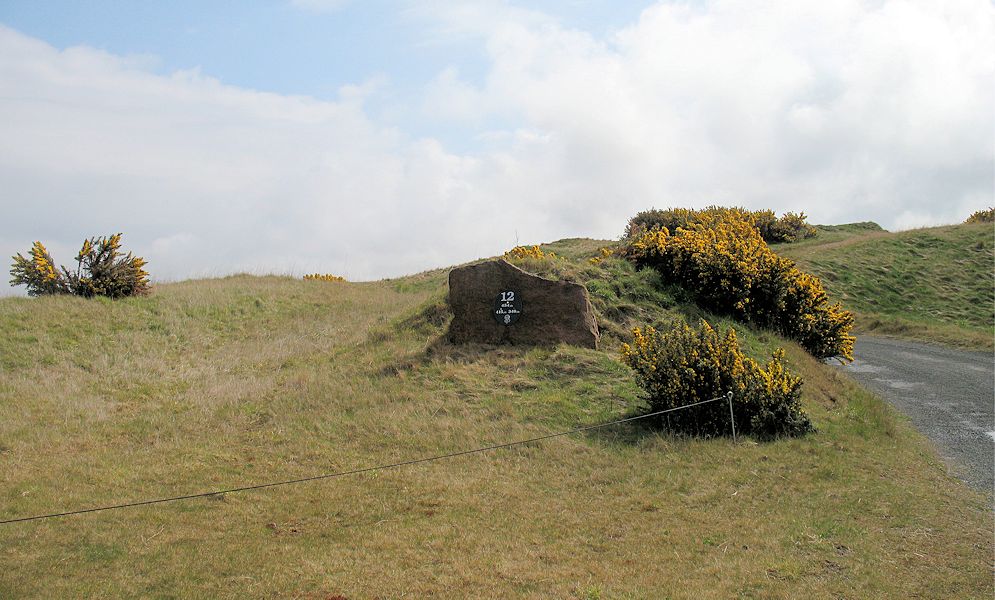
12th, Par 4
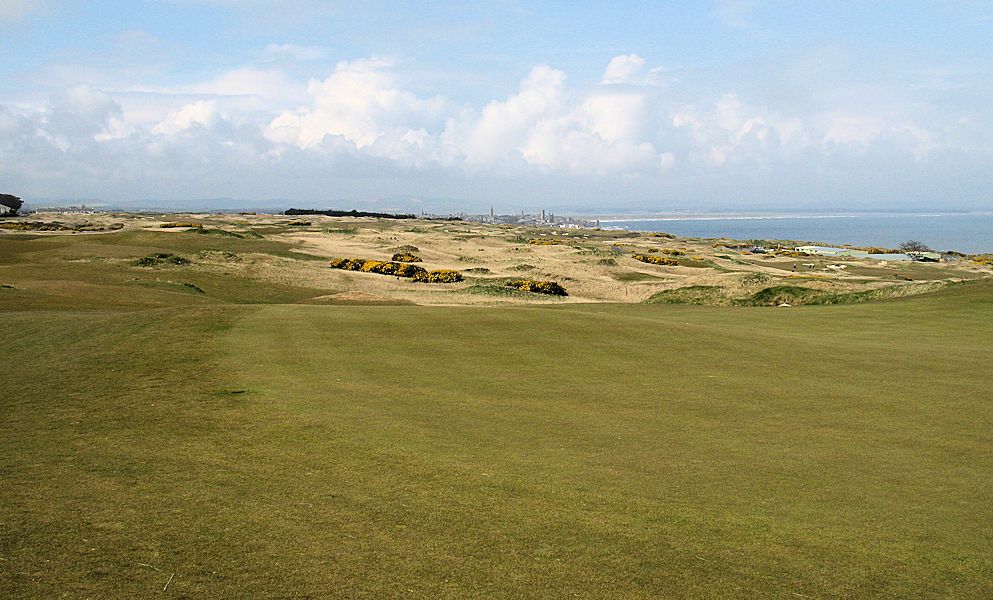
After finishing the 11th - an uphill walk to one of the highest-located tees at The Castle. Bring your camera!
Looking out to the sea from the 12th tee area.
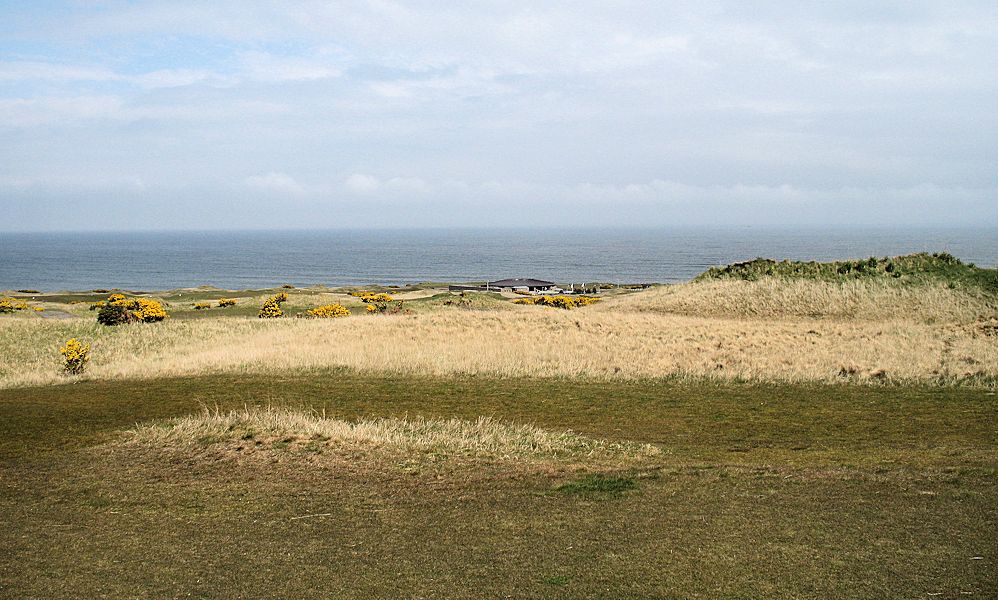
Camera-zoomed - Looking to town from the 12th tee area.
That's the 11th green shown here; hopefully, a one-or-two-putt just completed.

12th Tee - 415 Yards (340 Yards), Par 4
Many of us will play this as a par-5 or hope for a one-putt par 4.
Stay right off the tee (remember: Away from the sea) - however, the right-side fairway bunkers are reachable for many.
Front Tee
The fairway is generous... don't miss it! All shown bunkers are reachable.
12th - Second Shot
The green is located up quite a bit at the end of the 12th.
Perhaps, play this as a par 5.... A nice lay-up is fine!

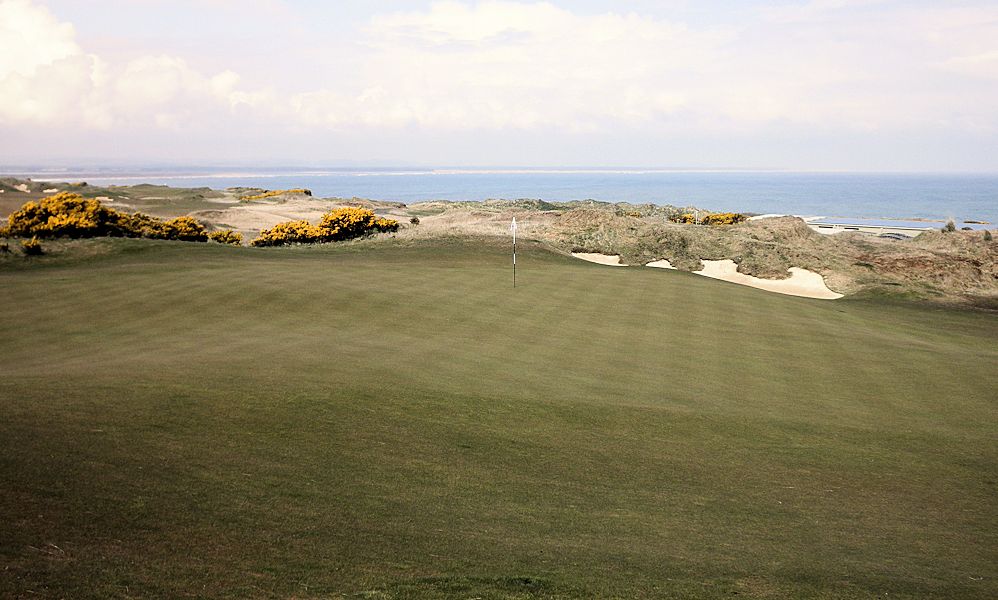
12th - Approach Area to the Green
Now, it is apparent why many of us will play this as a par 5.
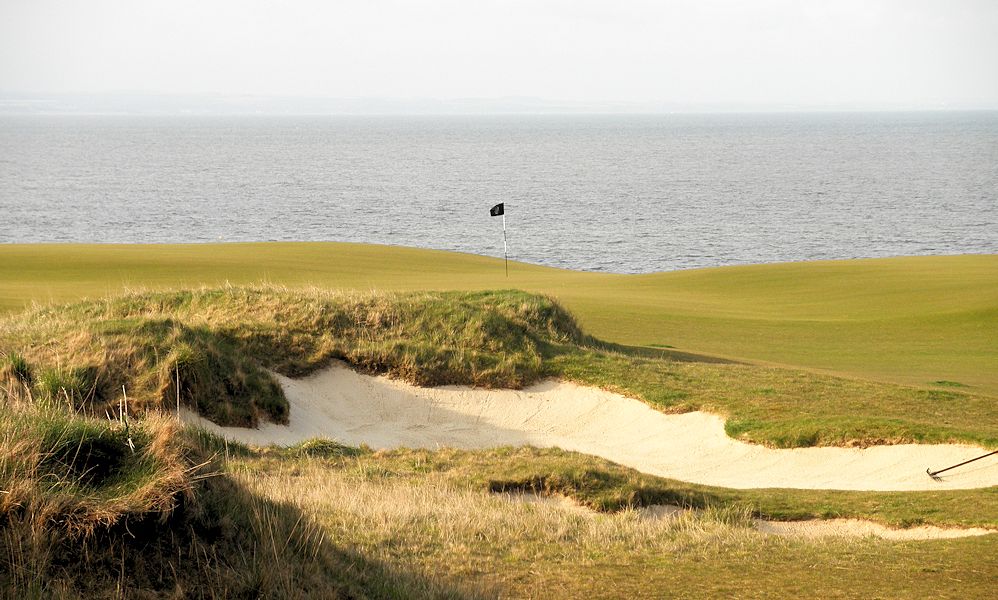
12th - Green Area
|
|
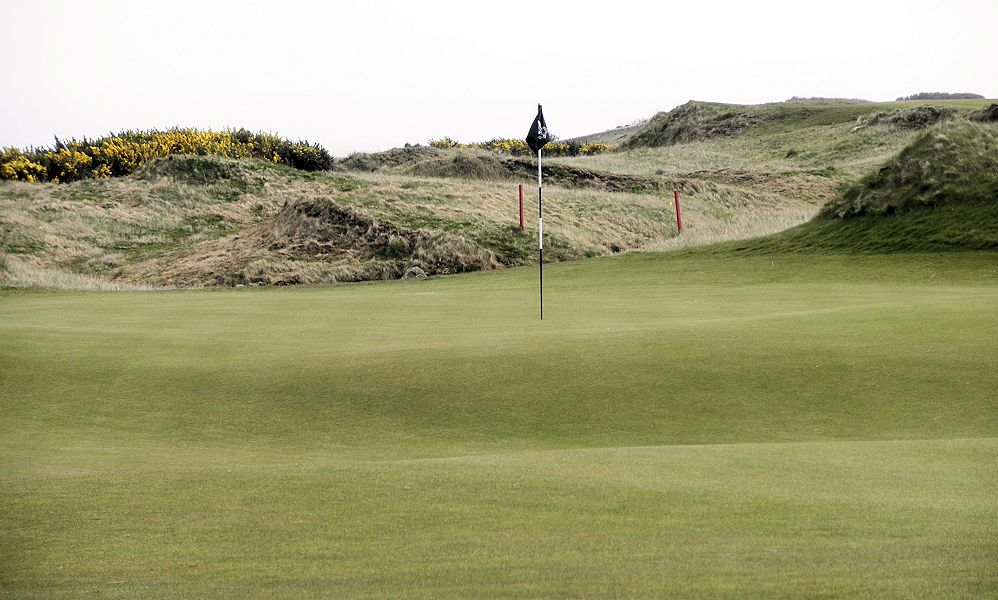
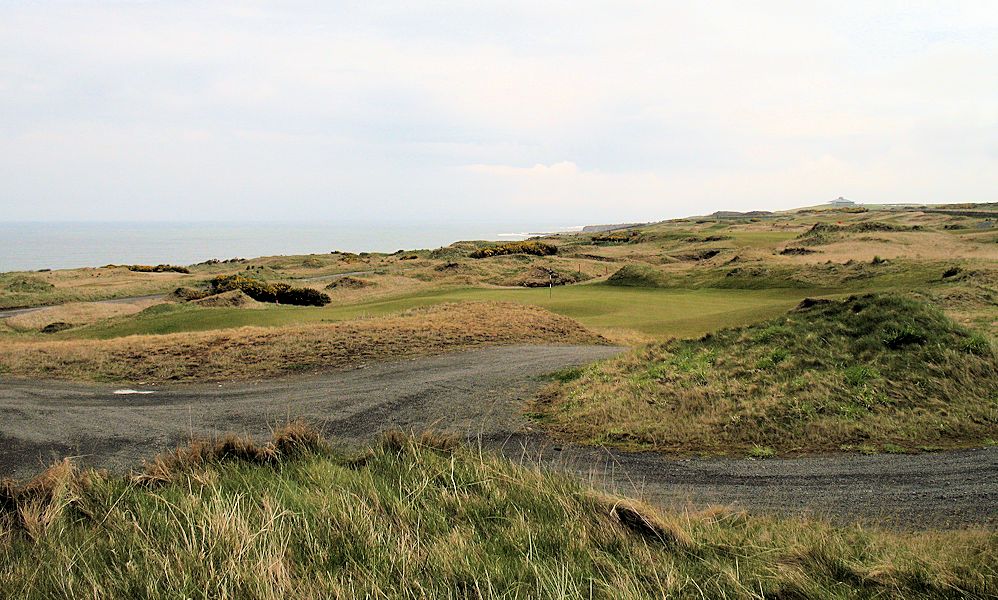
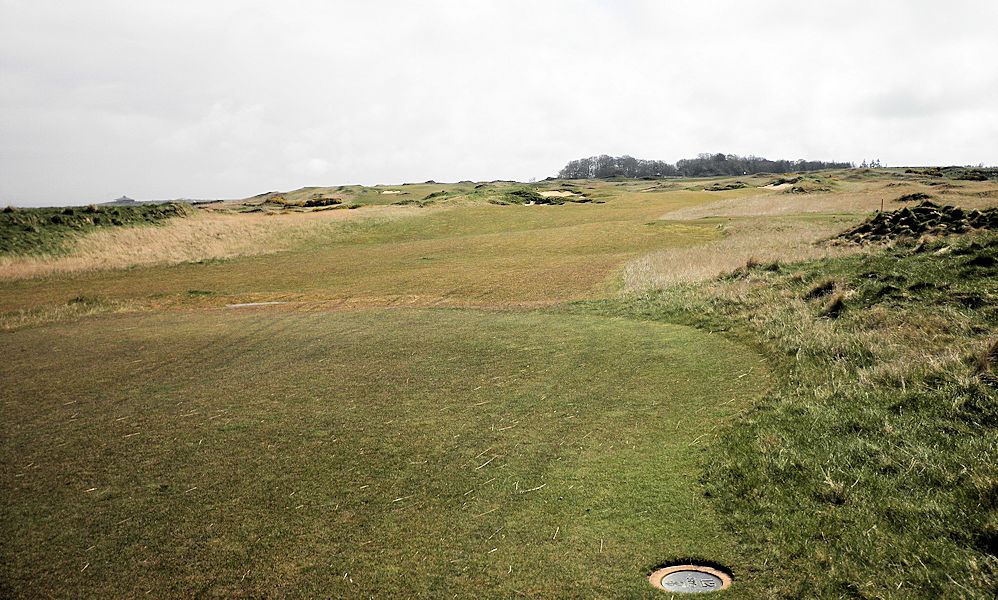
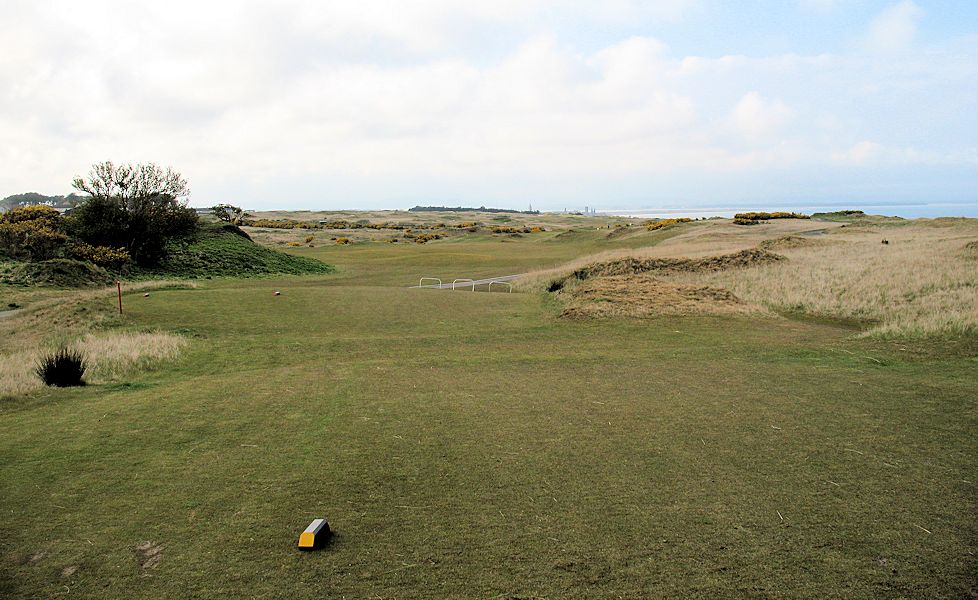
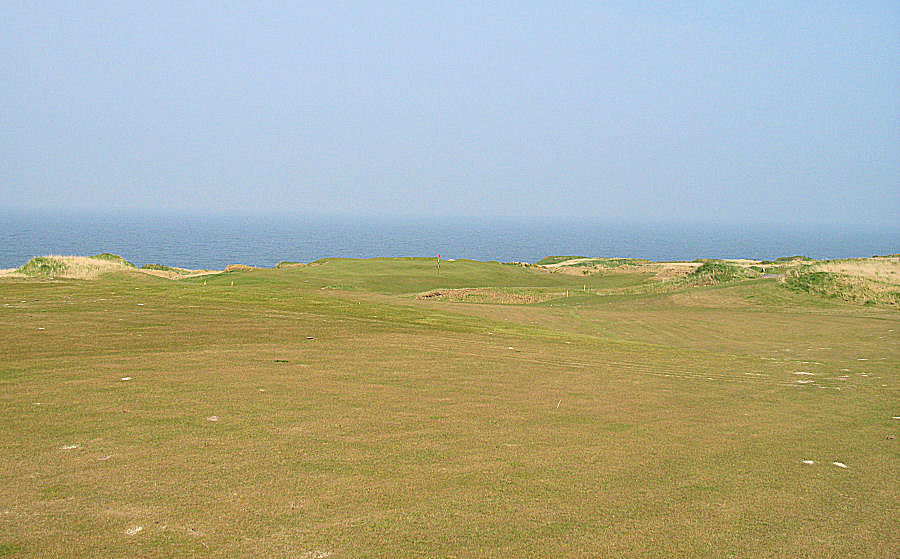
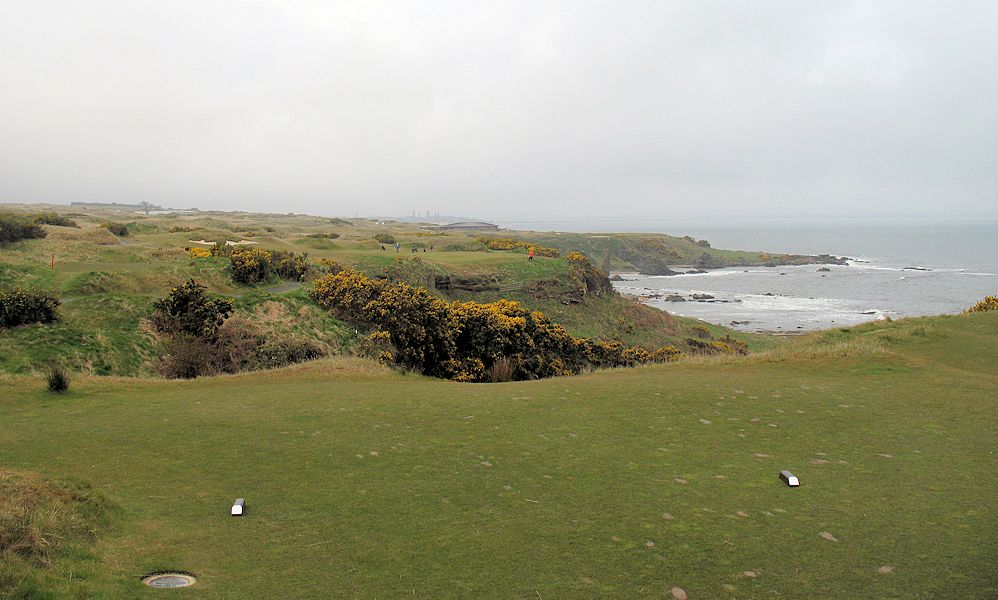
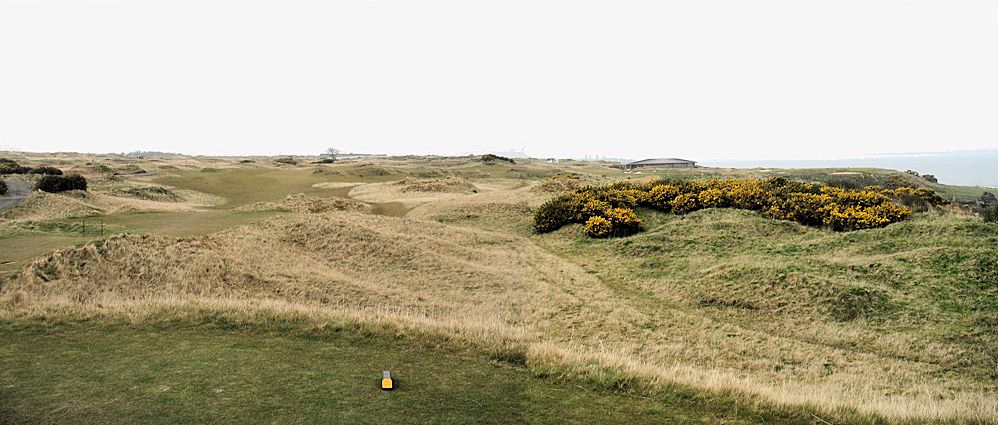
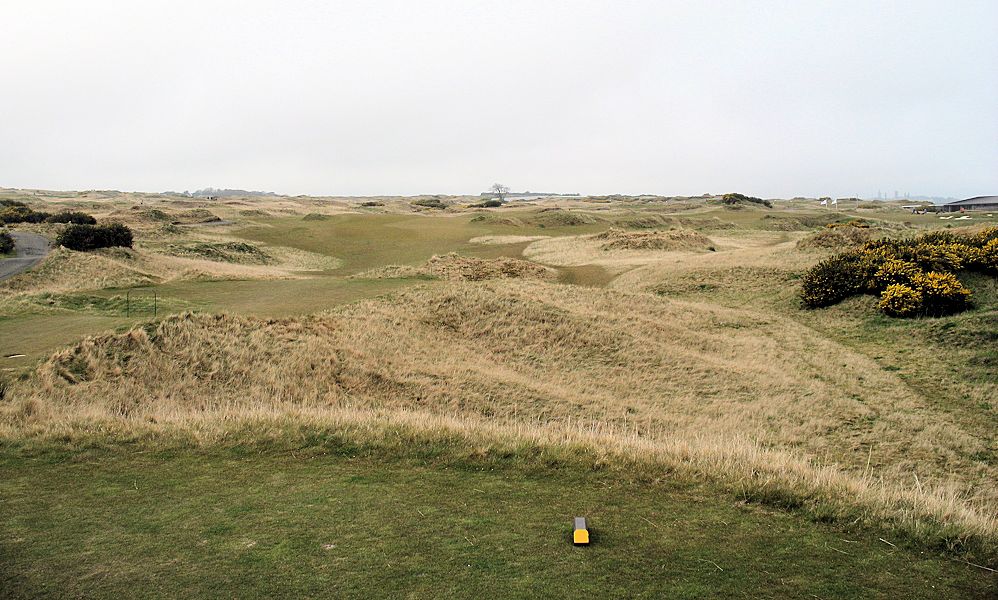
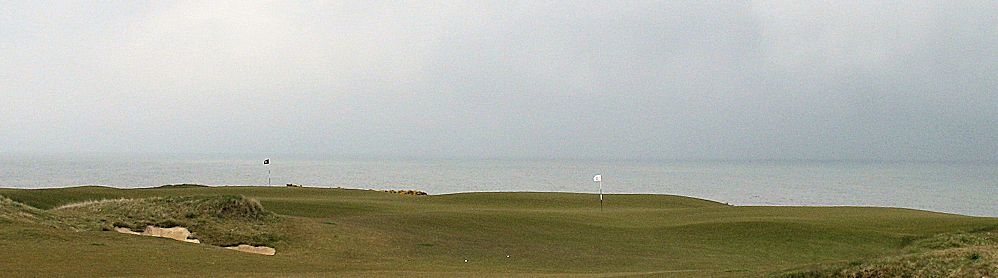
13th Tee - 154 Yards (119 Yards), Par 3
Although not as visually stunning as are the par-3 8th and 17th, this par-3 is an excellent hole that leads to a set of terrific finishing holes at The Castle.
This hole offers a good chance for a nice score! Take advantage of that: Hit the green and one-or-two putt! Why not?
Often, as shown by this photo, the front tee at The Castle gives a quite different view of the hole than that of the back tee(s).
If you play The Castle multiple times, I encourage you to play a different set of tees as your time allows.
As I get older and shot distance is not what it "was" in the past, I appreciate the opportunity to play different tees when offered by the golf course designer.
A pleasure for the player - and, again: Different views of the course. Nice.
The green is set up a bit, so don't hesitate to choose the longer of any club options that you may have in your bag.
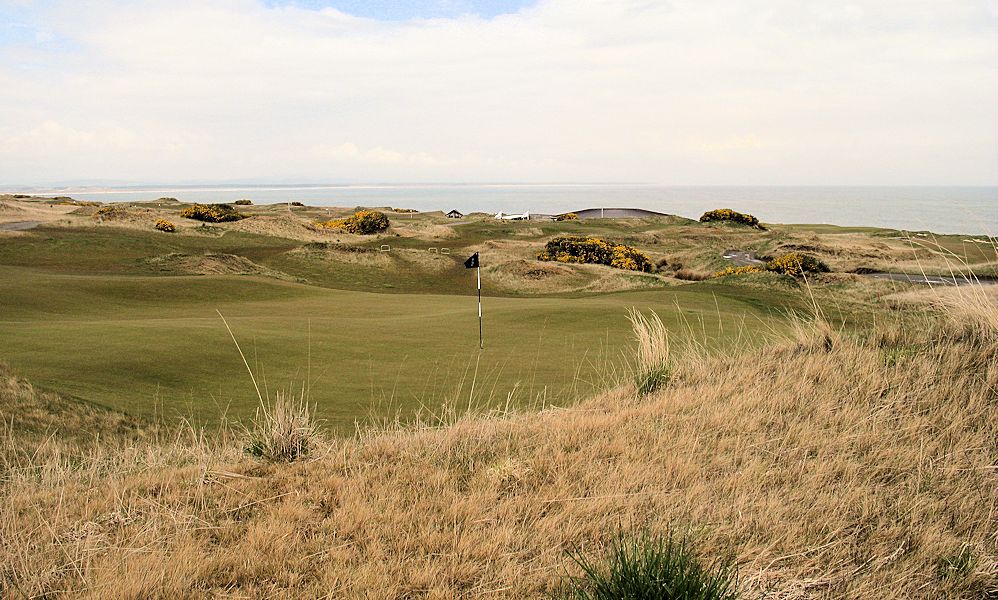
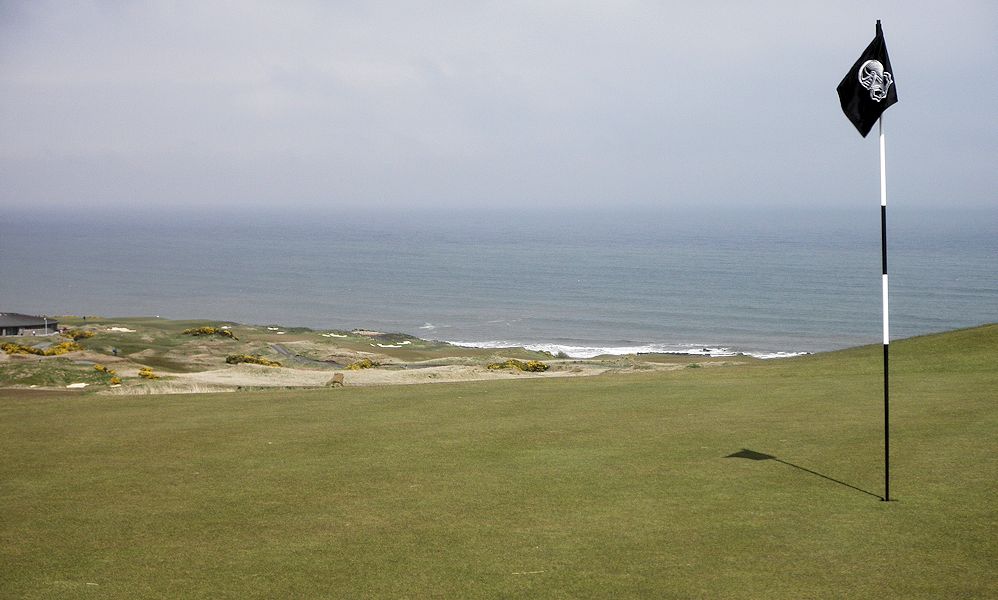
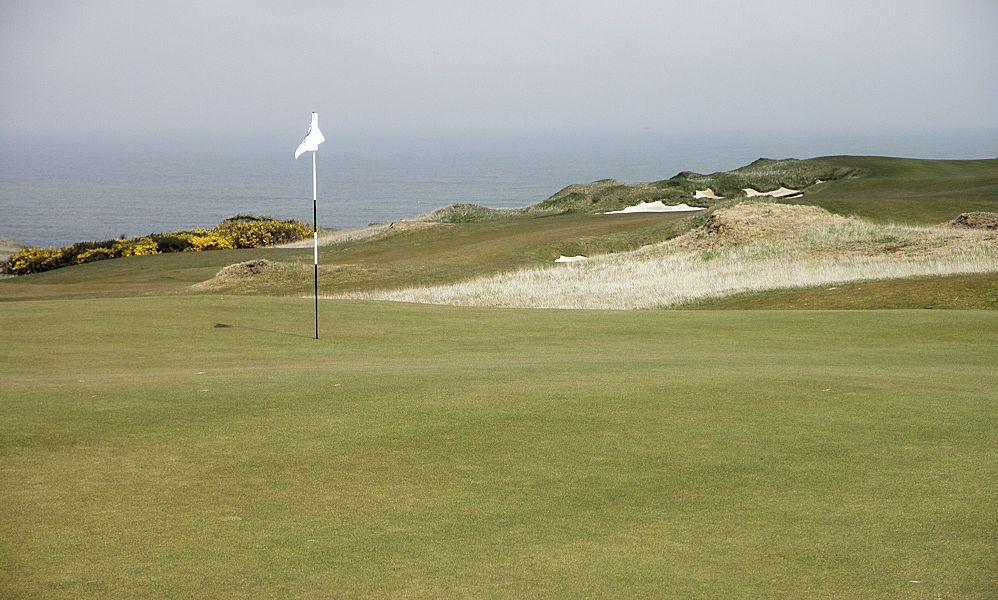
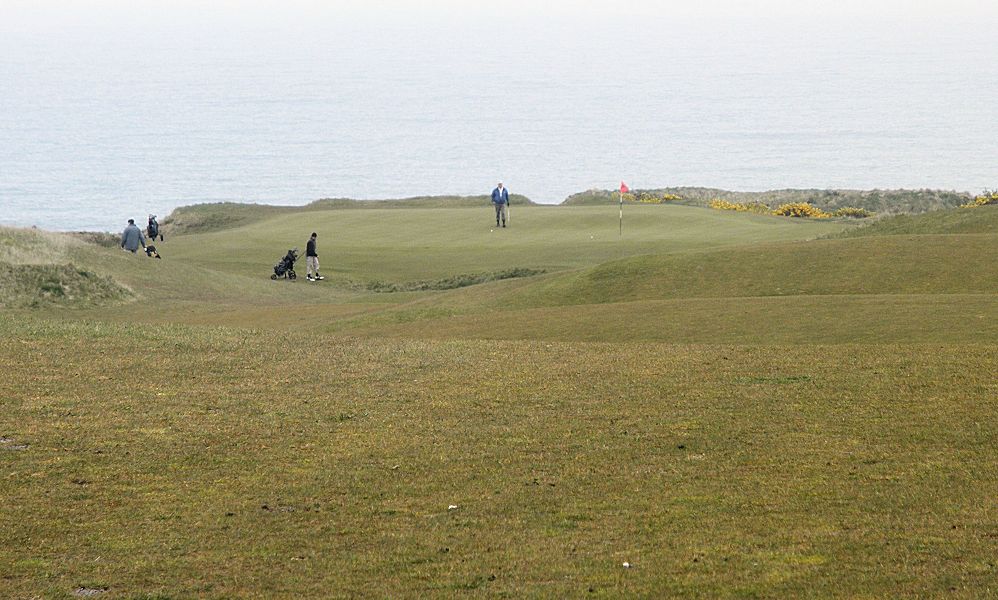
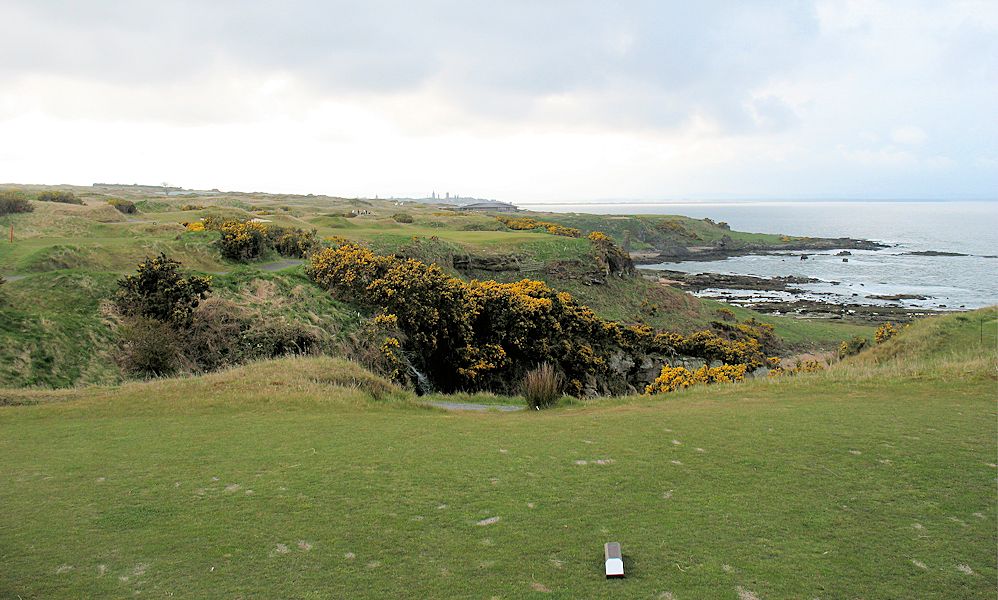
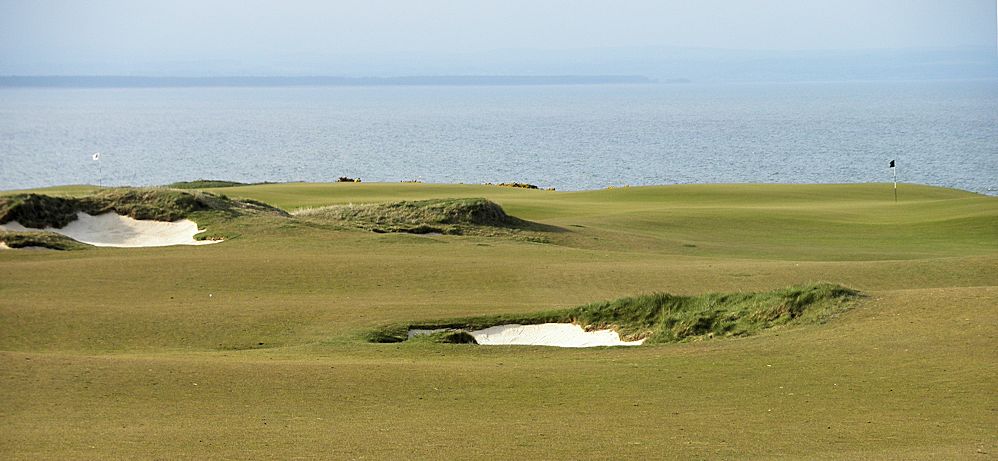
13th - Green Area
Looking out across the 13th green to other parts of the course and to the sea.
Take a few minutes to enjoy the view - and, of course, a photo or two.
|
|
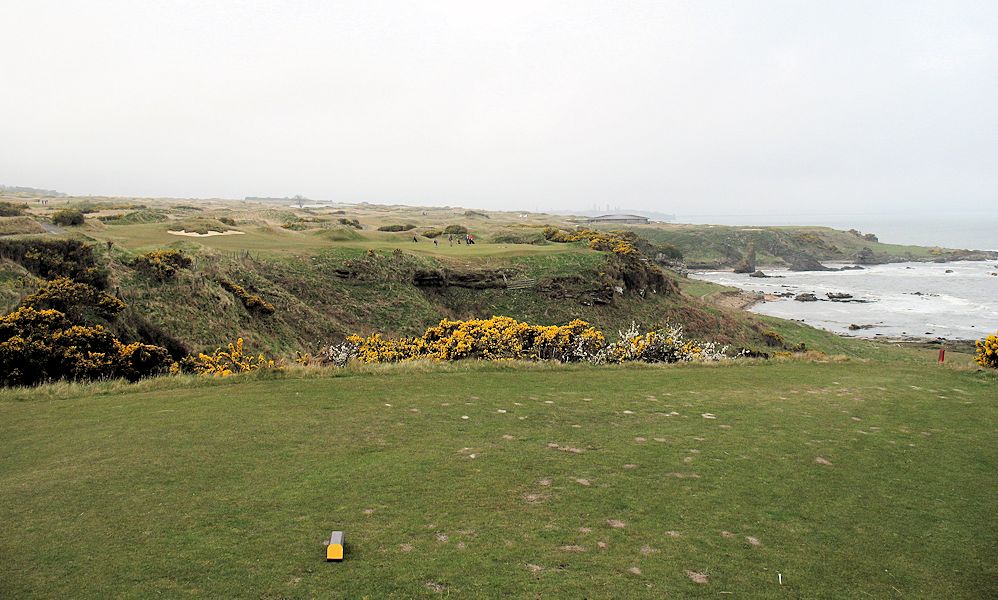
14th Back Tee - 400 Yards, Par 4
A caddie or "local knowledge" will be of benefit on this fabulous par-4: From any tee.
Please do not "rush yourself" past this back tee and golf hole. Pause, take time to appreciate the opportunity to play it.
There are many nice holes at The Castle. I earlier mentioned that I felt the 7th hole was the "best" golf hole of the front nine.
The 14th is another near-perfect par-4 -- from all its tees -- and, in my opinion: The best true-golf hole at The Castle.
If you play it - give me a comeback if you disagree and let me know what YOU feel is the best golf hole at The Castle.
A fun discussion if we ever meet in the clubhouse.
14th Tee - 376 Yards (312 Yards), Par 4
From this tee, the hole appears to go right-to-left. Wrong. Slightly left-to-right.
In my 2009 summary of The Castle, I mentioned that from the 14th's yellow tee a 3-wood may be sufficient. When I played the hole in 2012 I remembered that - and, played my persimmon 3-wood off the tee. A nice shot, followed up with a persimmon 5-wood 175-yards onto the green. I drained the putt. I am quite certain that I will be one of only a few players to play two persimmon clubs to the green and have a one putt birdie on the 14th at The Castle. I am VERY certain that it will be the last time I do so. From here on, I will have to use my "modern" metal wood driver off the tee! Ok. I had a once in a lifetime experience.
Now that I have "bragged"....
Do not go right on this hole!
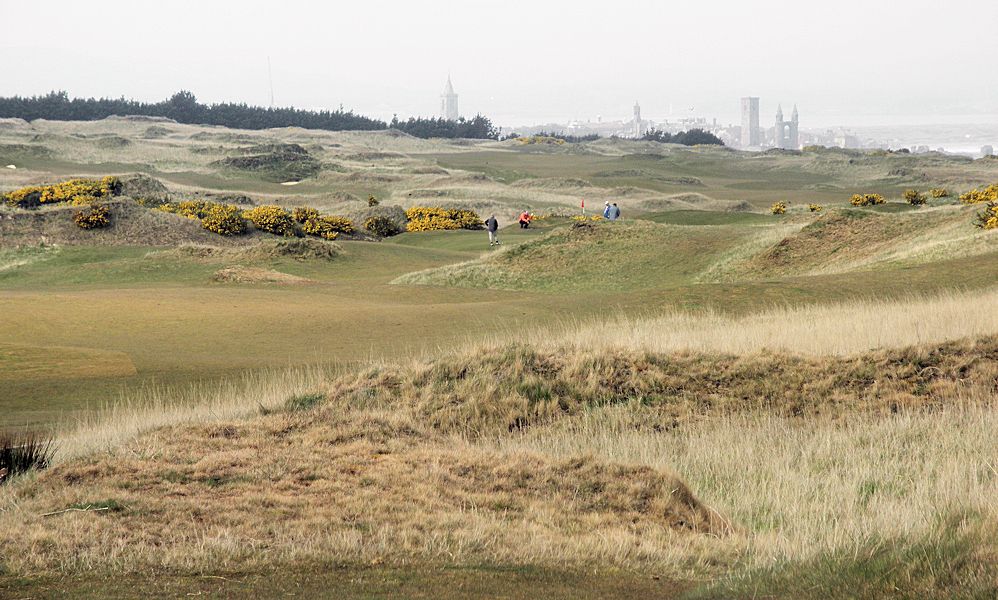
Play quite straight and be short of the "junk" that you can see straight ahead at the "end" of the fairway from the tee.
The green is right-ish (the group ahead on this day can be vaguely seen on this hole's green just to the right of the in-the-distance town's steeples).
From the forward tee - just play straight and long.
Unless their drive is hit near-perfectly, the red-tee player should just play this as a par-5.
One of the great things about this par-4 is that the player MAY choose to "cut the corner" and be close-to/on the green (depending on the wind).
OK... choose that sometime for fun. Just be aware that you run a good chance of a lost ball or a terrible lie for your upcoming shot(s).
The Links Trust "cleaned out" some of the "stuff" on the right since we played The Castle in 2009 - but, still: Don't go there....
Tee Shot Landing Area
A rolling "Scottish type" of fairway. You may or may not be pleased with your lie.
This photo is camera-zoomed. Your second shot will be played to the right as seen in this photo.
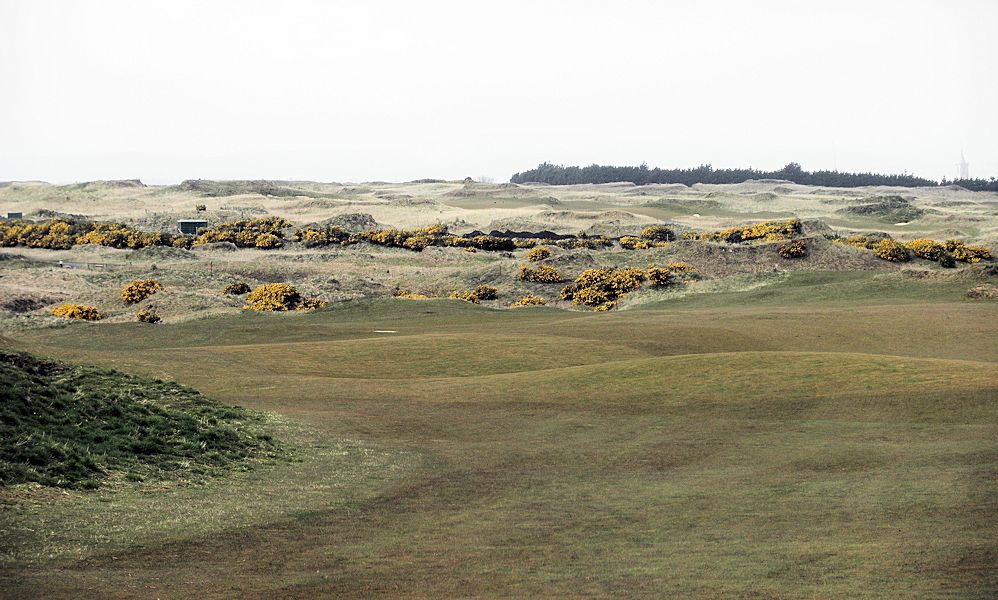
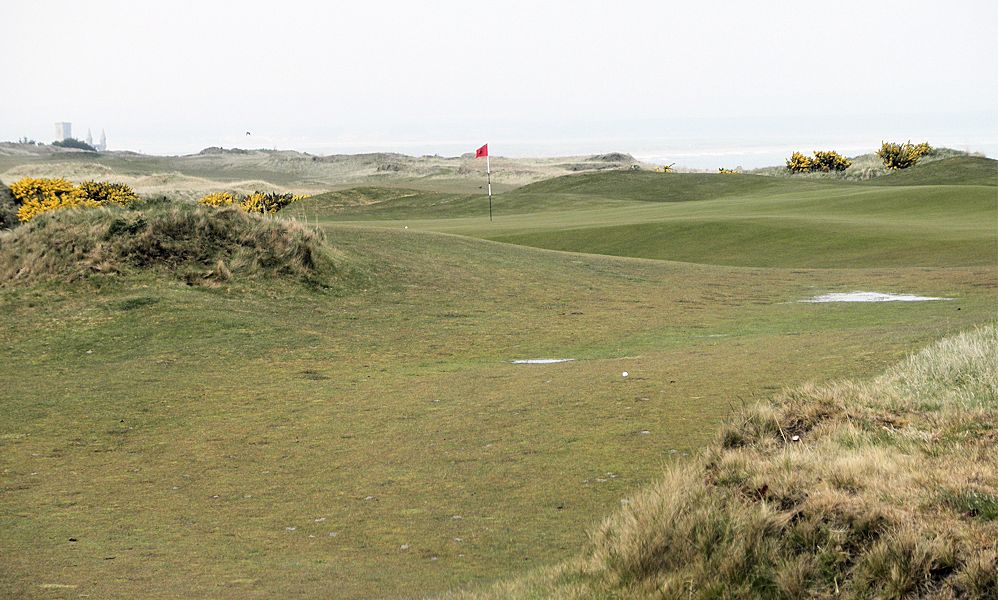
14th- Second Shot
Anywhere from 175 Yards and in; depending upon your tee shot and the wind. Possibly, a 3-wood got you to here.
If you pushed your drive right -- you cannot see the green; if you find your ball!
The second shot, clearing the center-and-right mounds/gorse, makes this a very challenging par 4 for the forward tee player;
He/she may have to use a lofted club to clear the mounds and will just play short of the green hoping for a one-putt par or, just, take a five.
No problem with such!
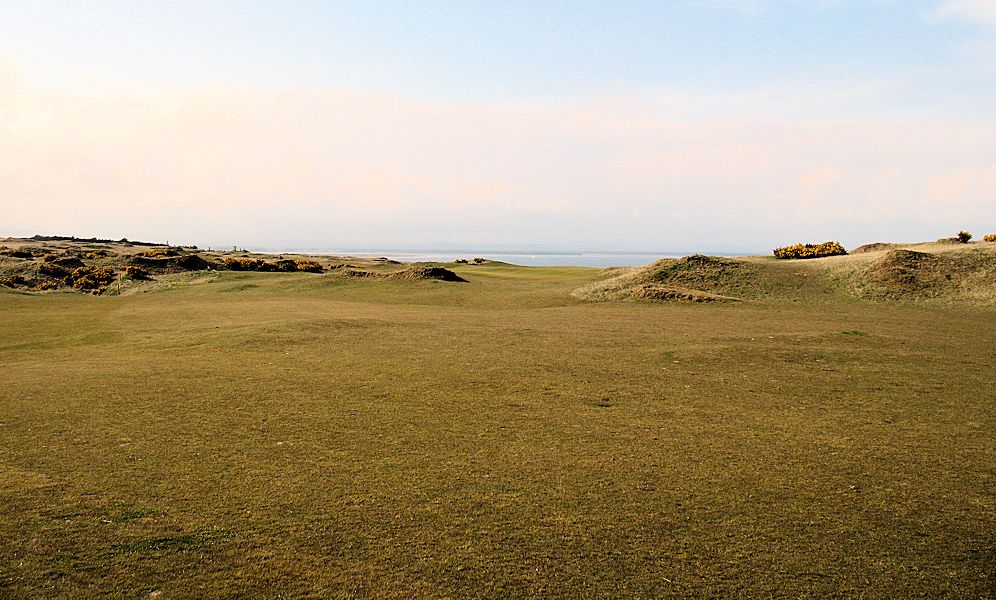
A beautiful green area awaits.
This photo is camera-zoomed and shows the landing area for players who may not be playing to the green on their second shot --
or, who opted to "go for the green" off the tee.
When you chip... Hit it! The green is mounded as are many Scottish greens.
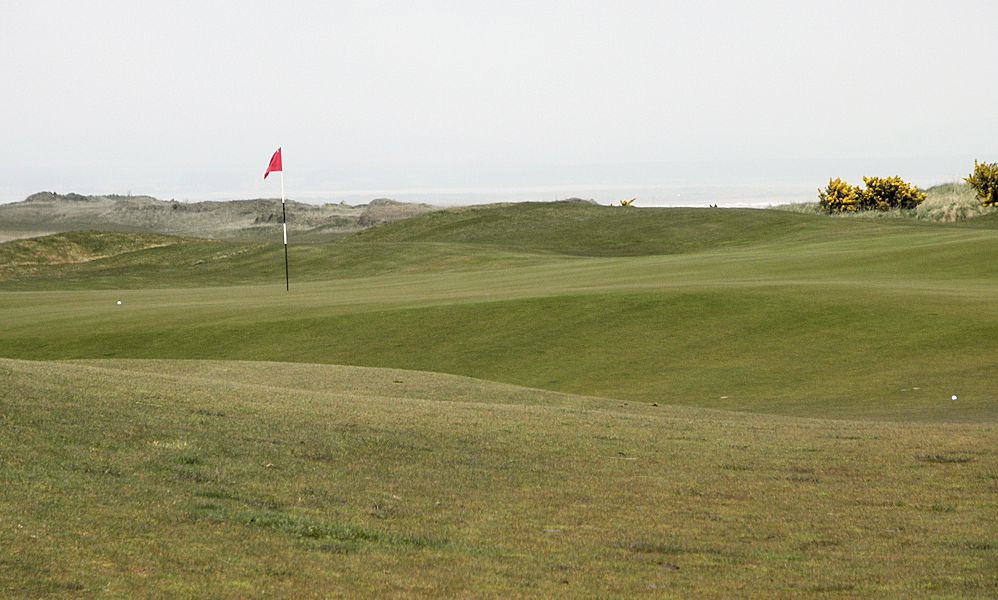
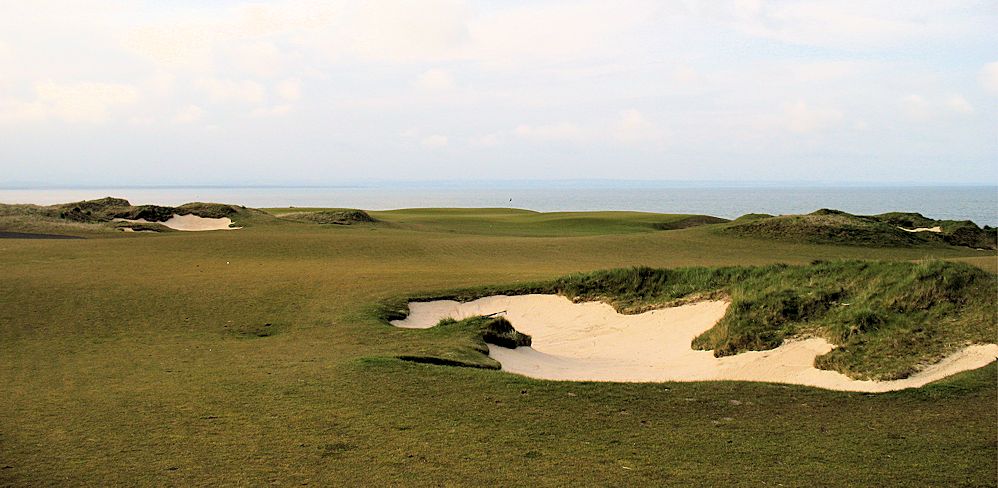
14th - Green Area
Some players will LOVE this hole. Others, will curse it.
Any two-putt is appreciated.
This hole continues to evolve and is certainly one of the best par 4s we play when we visit Scotland.

|
|
15th, Par 5
You just finished the wonderful par-4 14th. Climb a short hill, now, to this terrific par-5.
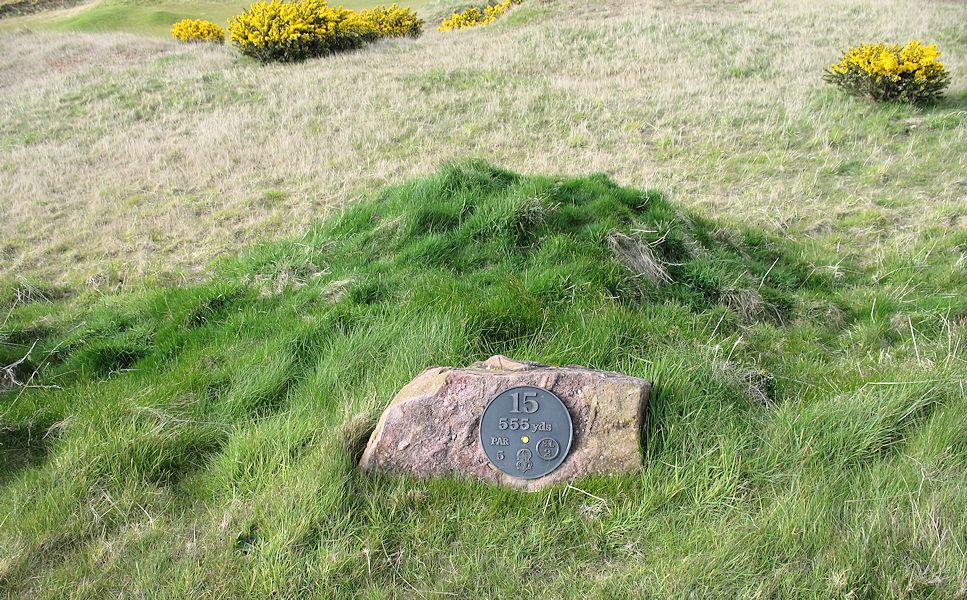
15th Back Tee - 585 Yards, Par 5
If not the highest tee on The Castle Course -- it is close to being that.
Get your camera out! The next four holes are very special. Don't rush, from here on in.
If the course is crowded - you will be waiting on some of your shots. Ok. Take photos and remember this stretch of finishing holes.
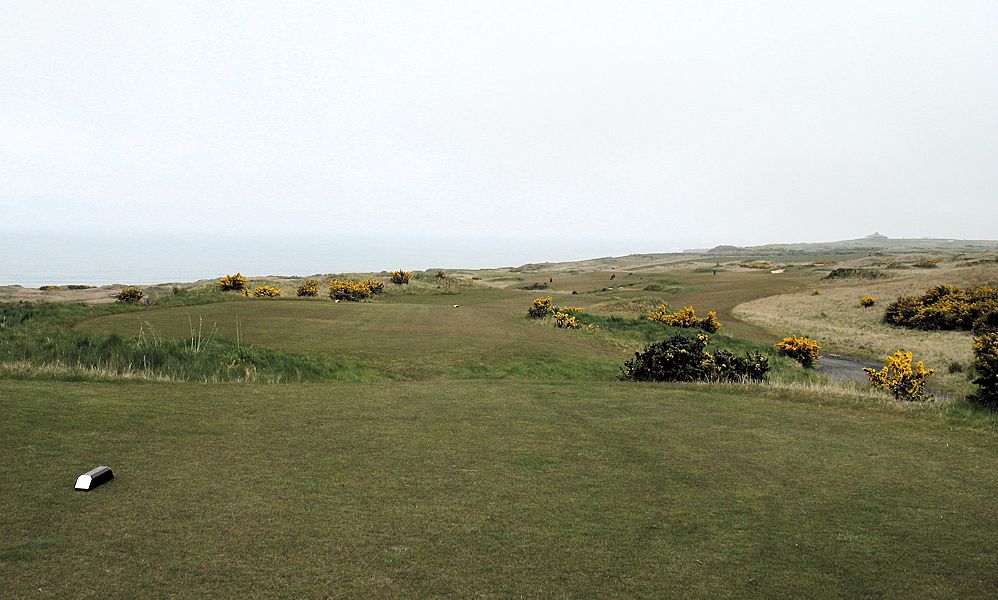
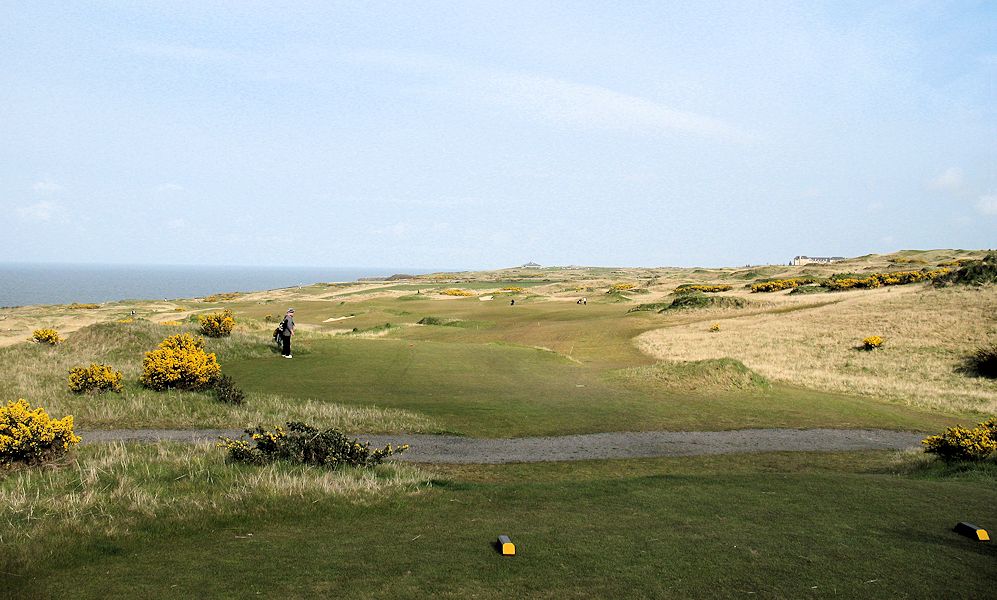
15th Tee - 555 Yards (509 Yards), Par 5
The first of two long holes headed to the sea.
Be careful with your second/third shot on this hole. A burn awaits before the green.
Slightly right or slightly left off the tee is OK. Bunkers right and left are reachable by the longer hitters.
I prefer the right side; it is slightly more generous.
If you don't reach the right side fairway bunker you have taken the center-fairway mounds/gorse out of play if you stay right.
Front Tee
Although this photo is slightly camera-zoomed, the two driving options: Left-side or right-side - are apparent from this tee.
Again - Both sets of in-view bunkers are in play... and, neither one is fun!
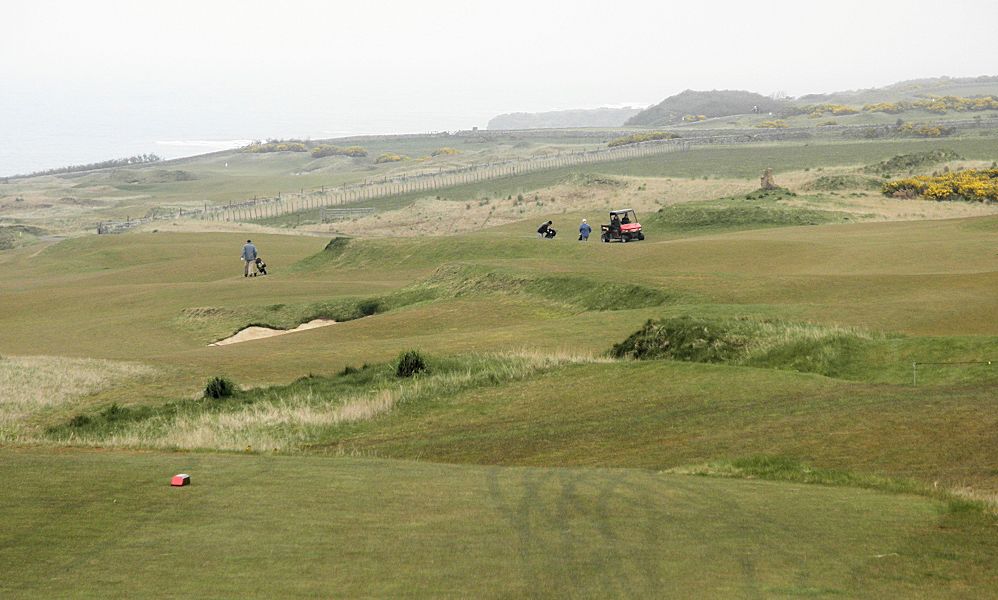
The cart and two of the people shown in this photo are from the Links Trust grounds crew.
They keep The Castle fairways and tees in great shape - even though it can be a struggle to do so in wet weather.
Remember, the land used to be pasture land - not the "sandy"/fast-draining land of a traditional links. Ok. We are not all perfect!

Tee Shot Landing Area
Again, camera-zoomed. Right-side seems better than left.... just, don't reach the bunker that is not shown in this photo!
15th - Second Shot
Note: The next two photos are from our 2009 trip. I did not get photos of the second shot this time around. Next trip!
From 300 Yards. Be careful to not get greedy. The burn in front of the green comes into play.
Depending upon the wind....
15th - Third Shot
From 140 Yards. Now, the burn is REALLY in play. Depending upon the wind....
Again, a camera-zoomed photo showing the second-or-third shot landing area.
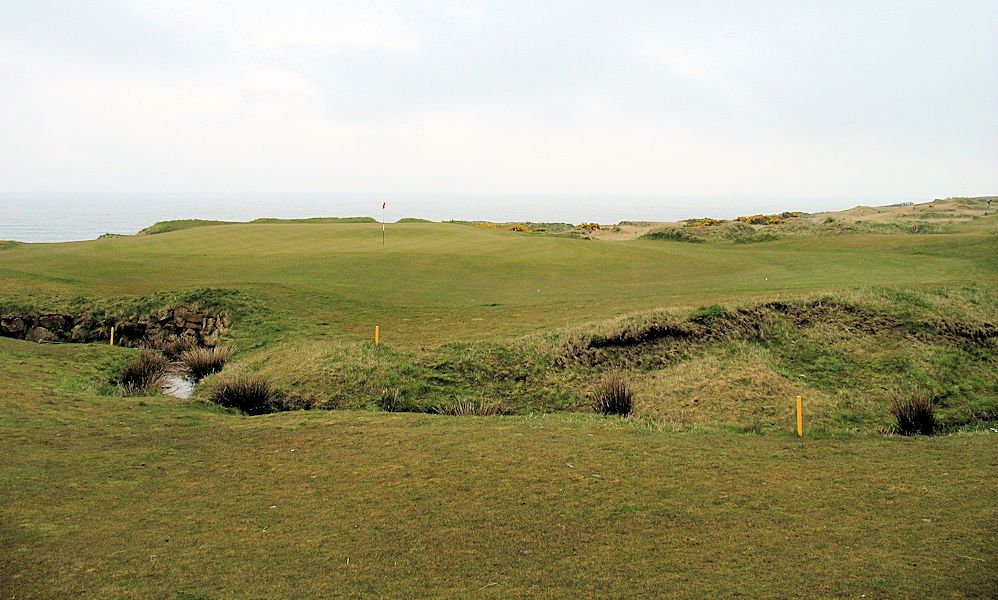
15th - Approach Shot and Green Area
Uphill, after the burn. Multi-level. Large.
Be happy to reach this green; in three, four, five, or more. Enjoy. Don't worry about your score!

|
|
16th Back Tee - 406 Yards, Par 4
This is a hard par-4. Not overly long, a very nice driving hole - but, a hard hole! Yet, beautiful.
16th Tee - 390 Yards (346 Yards), Par 4
A wonderful driving hole.
The hole plays longer than you might suspect - due to the slightly uphill green area and a green area false front ala many Scottish golf course designers.
Forward tee players: No mystery to this hole. Just, long! Plan on three shots.
16th - Second Shot
Generally, hit at least one more club than you think you should.
I doubt if many players are long (over the green) after this hole's second shot -
However, during one round this year a member of our foursome was just over the green near a retaining wall and in the "junk": Lost ball. So, don't go long...
Depending upon the wind....
16th - Approach Area
False front. Uphill. Multi-level. Large. A three-putt is a strong possibility.
You may be waiting on your second or third shot.
Take the time to look to your left and see the upcoming 17th and beyond.
There probably is a photo-session taking place on the 17th tee. No problem... you will do the same!
16th - Green Area
A beautiful view - of a challenging-to-hit green.
By now, hopefully, you are enjoying the round and not minding your score!
The bench shown on the left side of this photo would be a wonderful place for a late day respite after-the-round walk-back from the clubhouse,
following the service road. Enjoy the views and other player's shots. I do that, next time we visit Scotland.
Don't worry... I will stay on the service road while walking and not bother the players! Sounds great, to me.

|
|
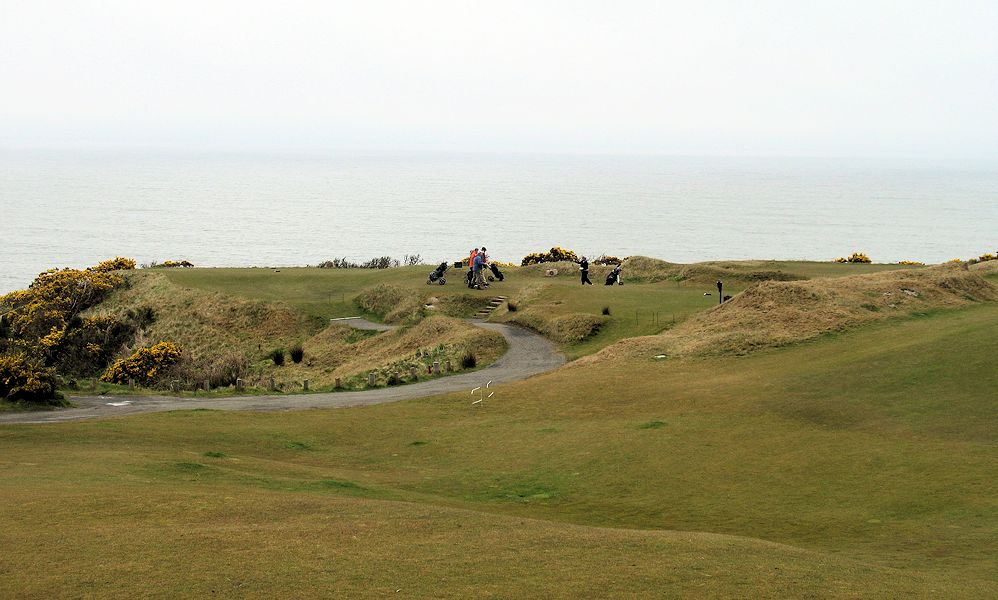
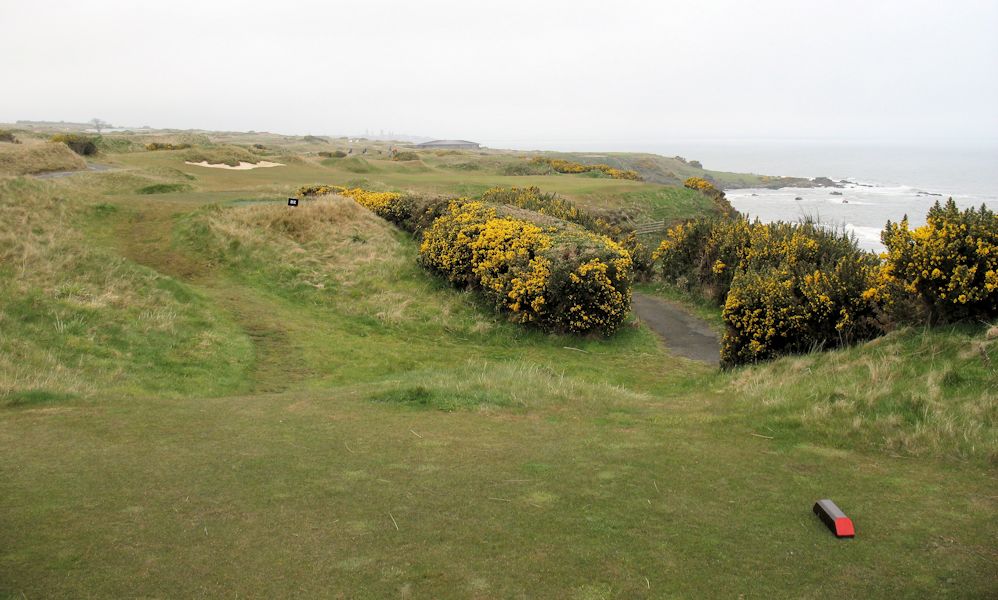
17th, Par 3
Not much to say about this hole - other than it is a (near) perfect par-3.
From every tee - and, yes from the drop area - it is a challenge, fair, beautiful golf hole.
You will probably wait on the tee. The group ahead of you - and, your group - will be taking photos. OK! Do it.
As your turn begins to come up - concentrate and commit. I know that you have heard that before!
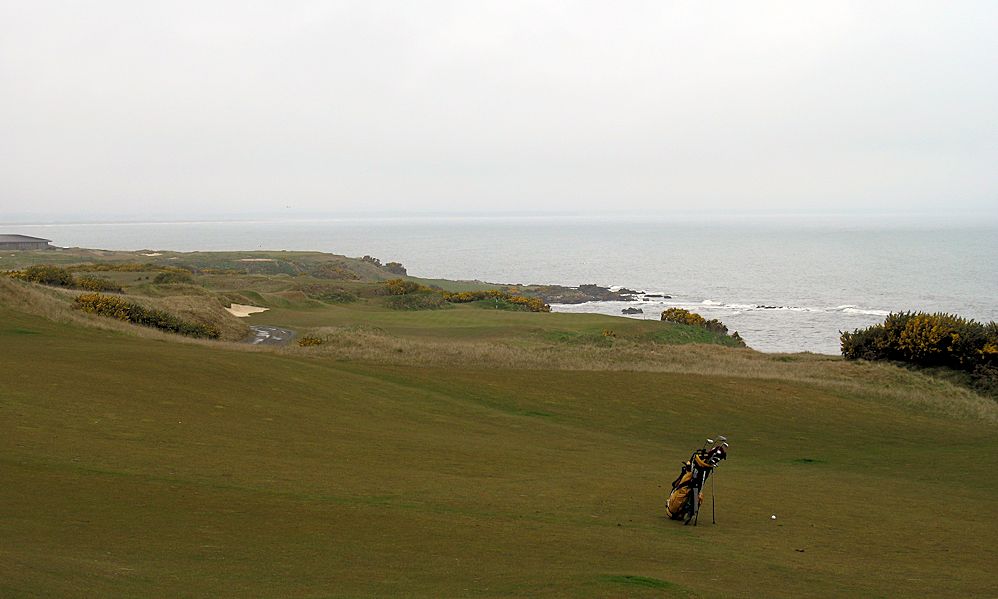
17th Back Tee - 184 Yards, Par 3
Enjoy this view - on your way to the Yellow or Red Tee.
The tee shot requires a full carry over the "grand canyon".
The multiple tee locations are welcome and invite a lot of variety to the player.
A "bailout" area is provided to the left of the green; however, the bunkers come into play if you take that path.
A Drop Zone is available in front/left of the Forward Tee (left side of this photo). A five from there will be welcomed by many players.
A wonderful match-play hole!
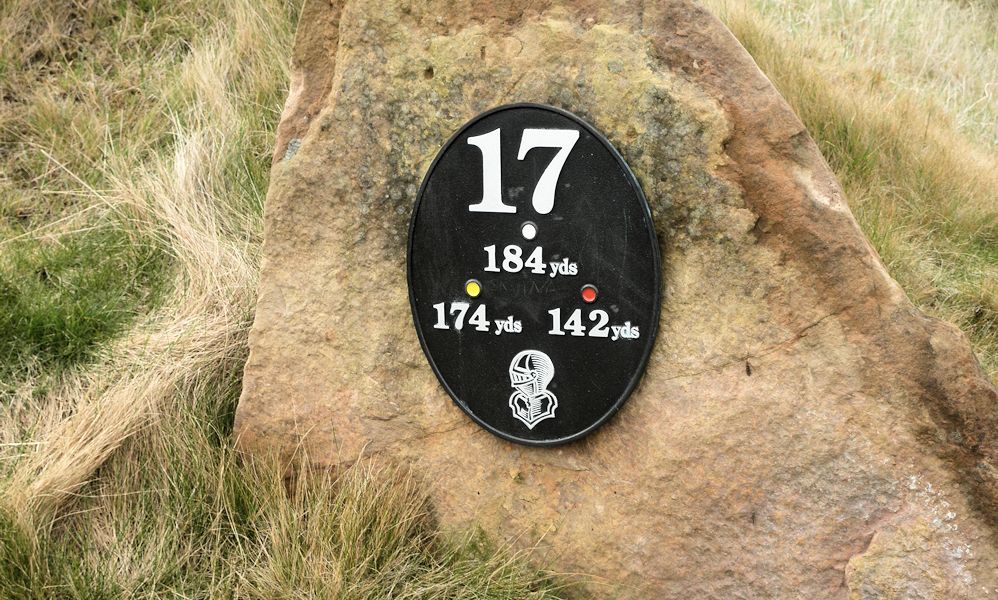
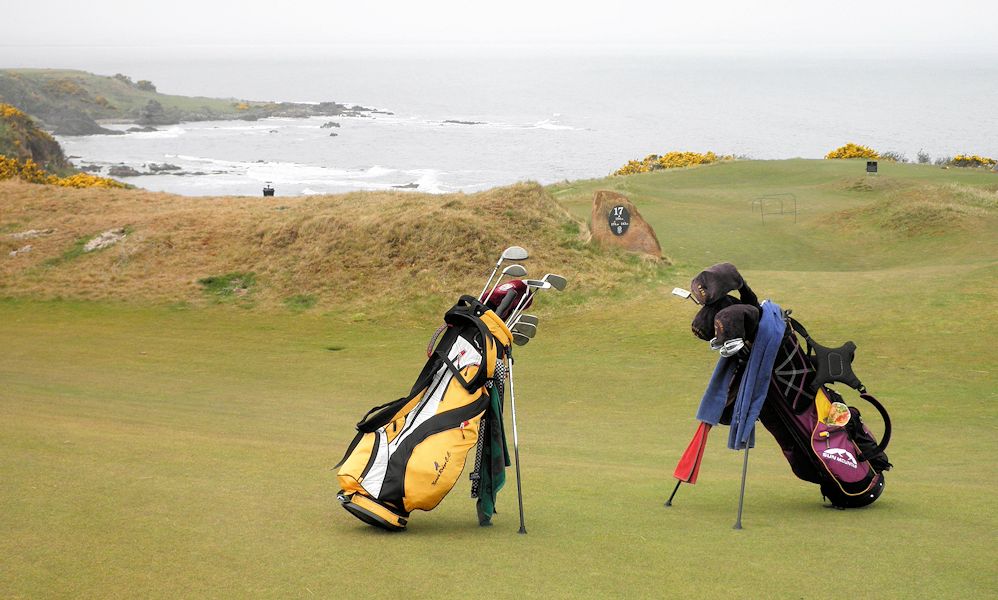
17th Tee - 174 Yards (142 Yards), Par 3
In 2009, I used the bailout area (left, on the line of the bunkers) the first time I played the hole.
The second time, the tee was forward (160 Yds) and I "went for" the green.
With one mulligan - Success. After two putts, I marked it as a 3 rather than as a 5. I was on vacation...
In 2012: Five-wood to the green was the club of choice each day we played this fine par-3. Even when I missed the shot - I enjoyed the hole/round.
Not committing to the shot may end up with:
A lost ball.
A broken leg.
I cannot tell you why the player did not use the drop zone!

Front Tee
Terrific views. Challenging shot - but, fair. Enjoy!
The Drop Zone is just ahead/left of this tee.
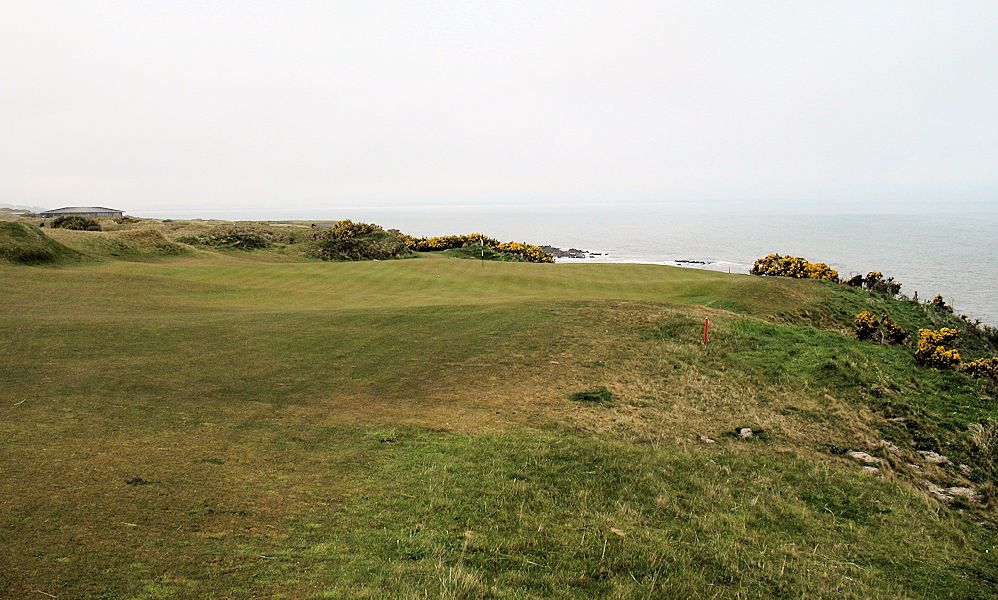
17th - Green Area From the Bailout Area
Even from the bunker, not a bad place to be - to approach the green. Thank you, course-designer!
The undulating green is not an easy two-putt. Bogie is fine on this hole; even a double bogie will often win in match play.
This green is laid out perfectly. From the tee, the player must be very precise (difficult to be, on a windy day).
From the bailout area, the green is "longer" and offers a chance for all of us.
17th - Green Area
Of course: Take a look back!
|
|
18th, Par 5
A long, sweeping hole. The line for the drive is to the left side of this picture.
The green is located to the right of the clubhouse.
Although a long hole; from every tee this is a fair par-5. A wonderful finishing hole.
If the player finds the fairway - the second and third shots are fun: Slightly downhill, long and needing to be precise due to fairway bunkers and mounds.
First, though: Hit the fairway with the opening shot!
"99%" of the players should not try to cut the dogleg and play right off the tee on the 18th.

18th Tee - 533 Yards (430 Yards), Par 5
From the Yellow and Red tees, the preferred line for the drive is quite clear.
18th - Second Shot Area
Tee shot landing area can be found to be mounded and your lie may be a challenge.
Find the fairway and you will probably be just over 300 yards from the green.
First: Enjoy the view!
Then: No harm in laying up, from here.
Hopefully, the sun is shining!
18th - Third Shot Area
This shot is pure pleasure.
Spectators may be in the area.
Getting closer.....
Sometimes we are short. Ok. Better than long right or in one of the bunkers!
18th - Green Area
Pay your respects to each other - and enjoy the rest of your day!
|
|
|
|
If you have not been there yet, and you wish to - click on:
St. Andrews Links - Castle Course - Front Nine, April 2012
St. Andrews Links - Castle Course - Selected Updated Photos, April 2014
To return to the main page of the Castle Course series - click on:
St. Andrews Links - Castle Course Selected Photos Main Page - April 2012
To return to the main page of this series - click on:
Scotland 2012 - St. Andrews Links - - Mid-April/Early-May 2012
To contact us about anything on this Web page, please eMail: eMail Regarding this Web page
-------------------------------------------------------------------
Use your Web browser's Back button or exit/close your Web browser as you normally do.
To contact us about anything on this Web page, please eMail: eMail Regarding this Web page