This month we discuss:
Here is a collage of some pictures from this month's example.
The images shown in this example are in the "computer" as a result of being obtained from a digital camera or from scanning a photograph or other item. The following shown images default to digital camera origin and, if not, the shown picture will be identified as a scanned image. If digital camera, the photograph has normally been taken at an Olympus Camera "HQ" setting of 1.3 megapixels (1280 x 960), with some pictures having been taken at less pixel detail ("SQ") 0.3 megapixels 640 x 480). In most cases, even if the digital picture was taken at these-mentioned sizes, the picture has been resized for showing on computer screens. I try to keep most images to have a maximum height of 600 pixels for computer-display. I use Paint Shop Pro (from JASC) as my primary application for modifying/resizing/coming photographic images into one image (photo).
Scanned photographs are scanned at 300 PPI (Pixels Per Inch), 150 or 100 PPI, and the chosen PPI will be identified in the comments for that particular image.
The following is aimed at showing examples of using a computer system, digital cameras, and perhaps scanners, as part of home computing environment. Hopefully, the shown pictures will give you some ideas for use of your home computer system.
Contact SCScompA if you have any comments/questions regarding anything that is shown in this Web page.
One of the Web pages that I assist with is involved with quilt fabric. As part of this assistance I regularly scan fabric and use the scanned results in the fabric store's Web page.
I wonder if someone in your home computing situation is a quilter? If so, I encourage you to use your home computing system's scanner as part of your activities.
Following are a few examples of scanned fabric and showing that scanned fabric on a PC display.
For my use, I have found 150 PPI (Pixels per Inch) is a reasonable level of detail.
If I was going to use the scanned image for printing, I would perhaps use a larger-than-150 PPI as a setting.
It is quite possible that a smaller-than-150 PPI setting might work fine for your situation.
The larger the PPI setting that you use when scanning requires additional resources (scanning time, hard-disk space, memory).
Some space summary information for this example:
The larger-than-150 PPI setting is, simply, too resource-required for my situation -- plus, the resultant scanned image is "too large" to be directly shown on a PC screen. So, we will resize the input anyway.
For this example, we want the PC-shown image to be a size of 400 or 200 pixels wide. For fabrics I work with (100% cotton or raw silk) I do not see significant differences if scanned at the above 72, 100, 150, or 300 PPIs and, in turn, resized for my use. So - I use 150 PPI (Pixels per Inch).
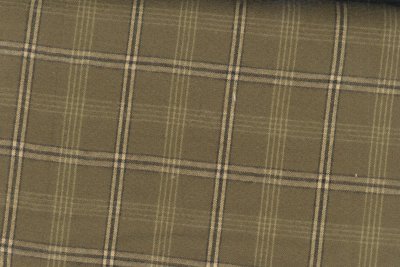
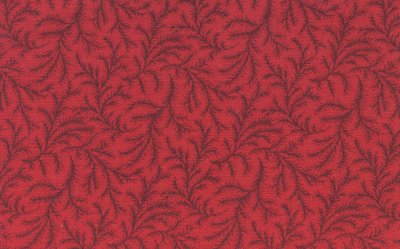
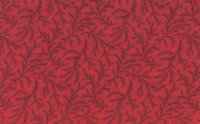
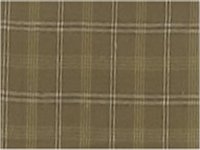
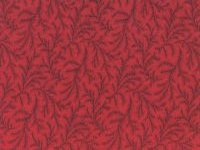
For this example, I chose six fabrics. First, lets see what three "normal" (non-pictoral) fabrics look like, scanned at 150PPI and the scanned image re-sized to be 400 pixels wide.
Example of Scanned Fabric - As Scanned
|
Fabric Scanned at 150 PPI and Resized for PC Viewing at 400 Pixels Wide
These three fabrics have repetitive fabric-designs/features within them. The scanning and use of the scanned image requires less care than do the next-shown three "pictoral" fabrics. |
|
| 
|
|
These three scanned fabrics are "normal" in that they do not have any particular feature/"scene" within the fabric that should be shown in any detail. Resizing or otherwise choosing what is used from the scanned fabric is not a complicated matter. |
|
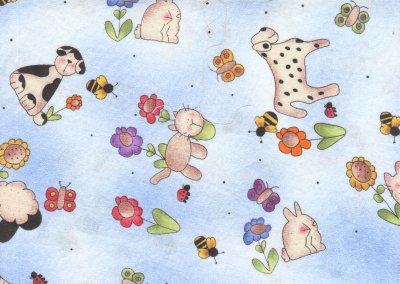
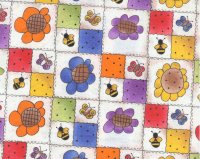
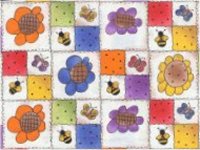
Next, lets see what three "pictoral" (sometimes called "novelty") fabrics look like. Also, scanned at 150PPI and the scanned image re-sized to be 400 pixels wide.
|
Fabric Scanned at 150 PPI and Resized for PC Viewing at 400 Pixels Wide
These three fabrics have "pictures"/"scenes" or other-such data on them. The scanning and use of the scanned image requires more care than do the above three "normal" fabrics. |
|

| 
|
|
These three scanned fabrics do have particular features/"scenes" within the fabric that may need to be shown in detail. Resizing or otherwise choosing what is used from the scanned fabric needs to be taken into consideration depending upon what the planned use of the scanned (and now in the PC) data. If the image is to be used for overall "design" of a a quilt or other media that makes use of the fabrics, it is possible we would need to be certain to capture (when scanned) the needed (for use on the PC) portion of the fabric -- and we may also need to have the used-for-"design" fabric block resized to a usable-size. The size in this case is 400 PPI. |

|
Now, lets look at our six fabrics look like scanned at 150 PPI and the scanned image re-sized to be 200 pixels wide.
| Fabric Scanned at 150 PPI and Resized for PC Viewing at 200 Pixels Wide | 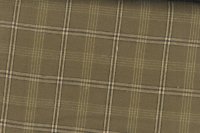
| 
| 
|

| 
| 
|
At the above 200 pixel size, the PC images may be usable on the home computing system as a "design aid" to someone in the home who is working on a fabric design (such as a quilt).
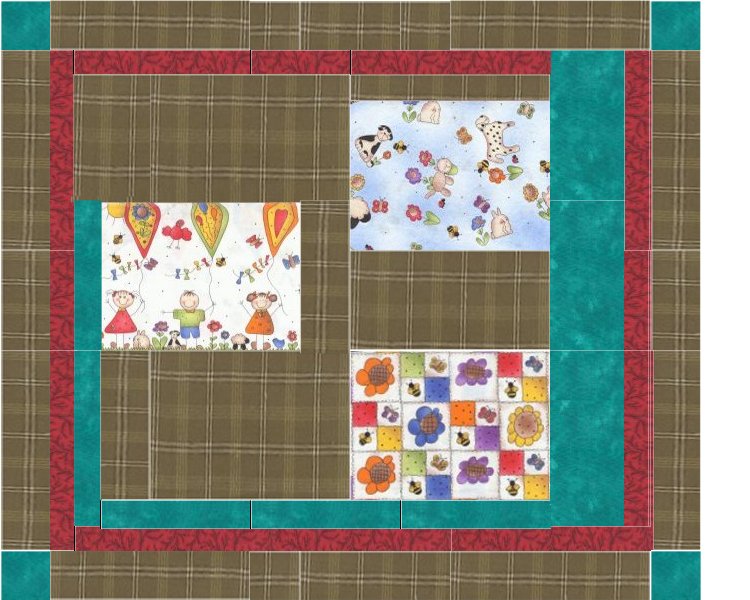
For example, I used PaintShop Pro to modify the above six images and "join" the images as shown below. I am not a quilter/fabric designer -- but perhaps the following prompts those of you who work on your home computing system to discuss the topic with someone in your home who is a quilter or other-such artist.
Beginning The "Design" Phase
|
Images Ready for Use In Design 200 Pixels Width
Resized to be the same height in addition to width. Height is 150 pixels in this example. |
| 
| 
|

| 
| 
|
Using the Scanned Fabric
I used the above-shown base scanned images in a number of ways as I progressed through the design:
|
The "Designed" Piece Using the Base Images
Although the following has some "lines� (white background showing through) I leave them as-shown. We are working with fabric -- and there would be in the sewn-fabric-piece seams that appear when the two fabrics are sewn together. I could, using PaintShop Pro, �get rid� of the light-colored lines -- but, I choose to leave them in for this example. |
|
If you are a quilter as you read this, give your scanner and home computing system a try as an assist in your quilt design. If you are not a quilter -- but there is a quilter in your family/home: See if you can assist in the design work! It could be fun/interesting.
One final comment on this matter: If you scan the fabric that a quilter is going to use in their design, you should be aware of the fact that the quilter will probably use �strips� (part) of the fabric and sew the strips together (forming a �quilt block�). So -- your above-shown and discussed �design� work, although of potential value to the quilter, is not as representative of the quilter�s work as would be when you scan a completed block the quilt has made.
If you are interested in some �test� data, here are three quilt blocks and three sets of plain fabric that you can practice with. Arrange as many copies of the following into something you feel is interesting from a design point of view -- and let me know how your progress is! Here is the test data. Simply save the image on your local home computing system (ckicking on the right button while over the image and, then, Copy / Paste or save the image onto your own hards disk.
Let me know how your design works out -- or if you have any trouble with this example.
I wish you a "Happy (PC) quilting"!
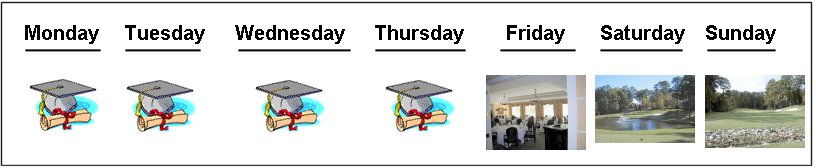
Sometimes, with an existing computer image, we want to arrange some information "on the same line" -- neatly.
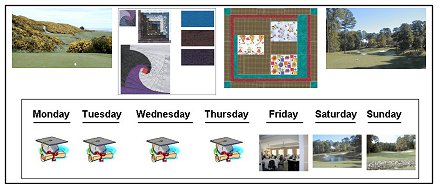
For example, we may want to line up existing smaller images on one larger image. One example of a need for this would be to align seven small images that represent days of a week.
For example, let's say we want an image that has the days of the week in text, and underneath the text a set of seven images representing each of the days.
Monday Tuesday Wednesday Thursday Friday Saturday Sunday
Image. Image.. Image.... Image... Image. Image... Image.
Aligning the above onto an image is made easier by using PaintShop Pro's "Snap to Grid" support. If you do not use PaintShop Pro, then something similar is probably supported in your image-processing application.
First, The Information
When using the Snap to Grid support, we want to know the actual size of what we are going to "Snap". This may sound confusing, but it is not. Basically, we size the item to be snapped -- and ask PaintShop Pro to make the "grid" a value that is a multiple of the sized item. For example, in our case, we are going to insert seven smaller images into our final/larger image.
In our example, each of the smaller images are 100 pixels square. So, we might make the grid 100 pixels. However, if we want the grid to help us separate the "inserted" image by (for example) 50 pixels, we would use a grid of 50 pixels -- or a value that is "divisible" into 50. For this example we started with a grid of 50 pixels and, eventually, used a grid of 25 pixels. We, then, easily could adjust our inserted images to "grid lines" that leave 50 pixels apart.
Let's look at one example, trying to align text and data using the PaintShop Pro's Snap to Grid support.
First, we see what the existing defaults are within PaintShop Pro. We take the General Program Preferences' path.
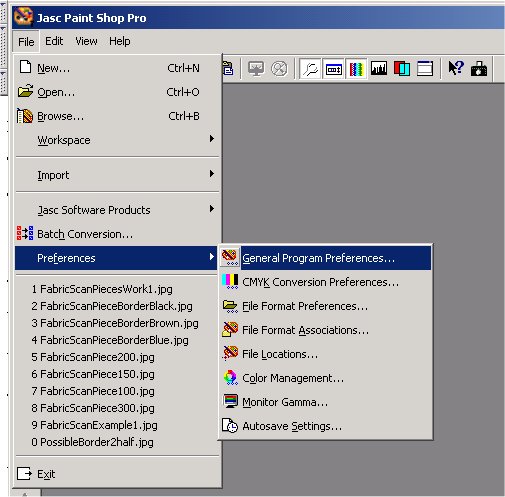
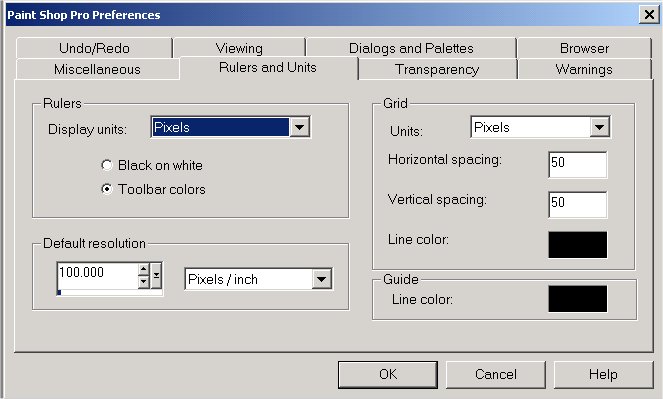
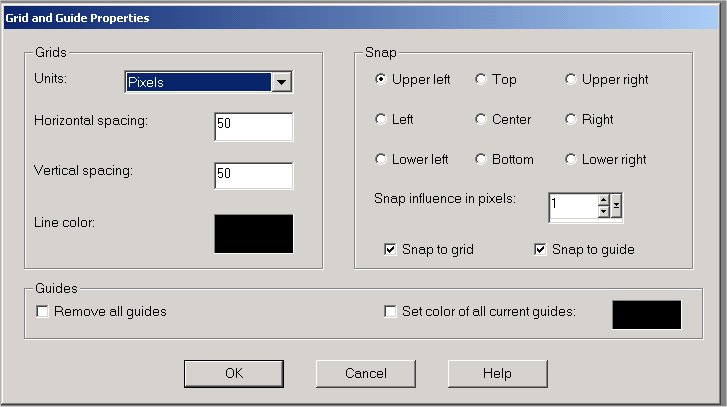
Once there, we look at the Rulers and Units. We can set the Grid to whatever we choose. This will be the value used when we use the Snap to Grid support. We can change this value later if we wish to.
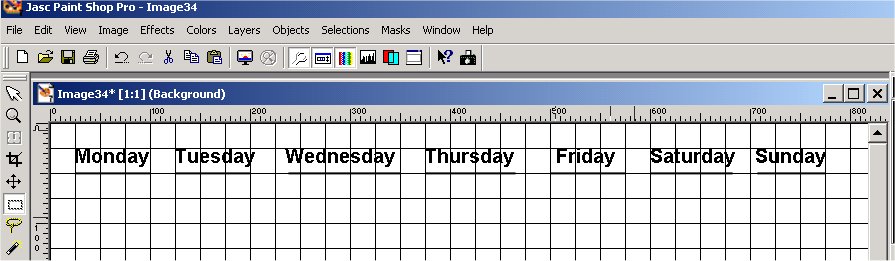
Later, when we have an image active, we click on View->Grid to turn on the Snap to Grid support.
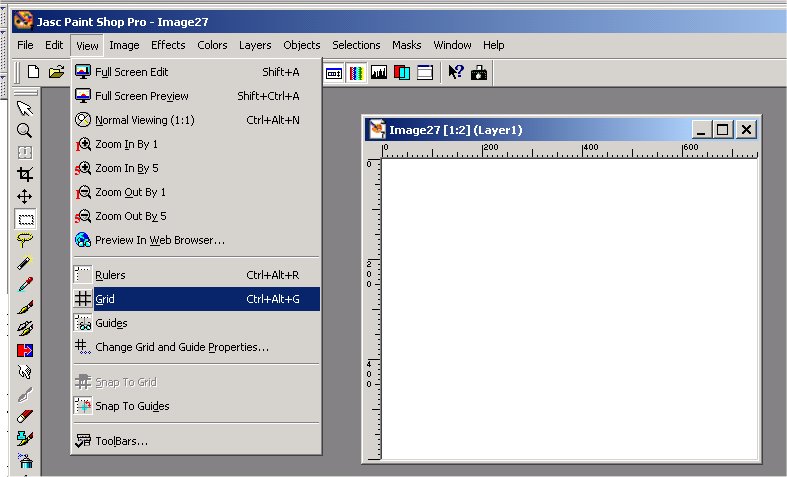
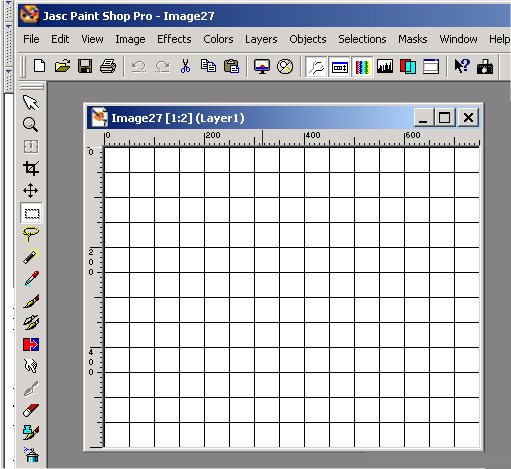
The grid, as shown below, is not actually in the image! It is a "layer" on top of the image that you may use for alignment.
As you can see, the grid is 50 pixels in width and height as we earlier had asked it to be set to.
We could click on View->Change Grid and Guide Properties.
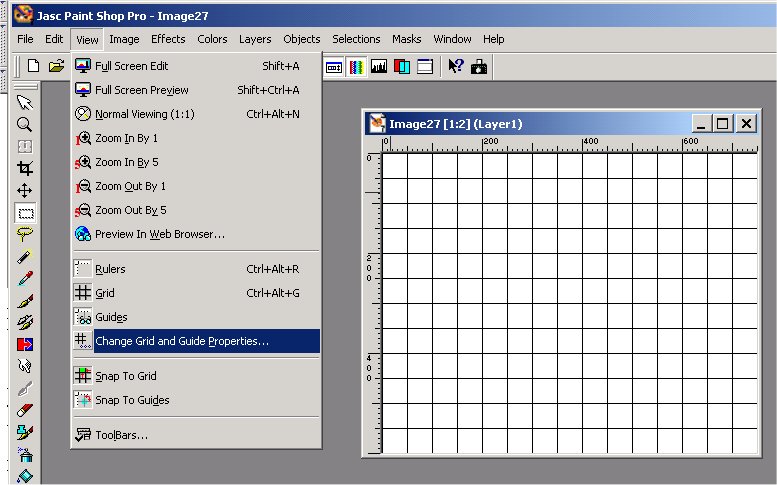
The "Snap influence" value is the value that the Snap to Grid support uses to "snap" (align-at-the-grid) when your selected field (text or data) is moved around the image near-to a grid. You will see later how this works if you try it. The smaller the value the closer you need to have your selection/text be to the edge of the grid before PaintShop Pro "snaps" to the grid!
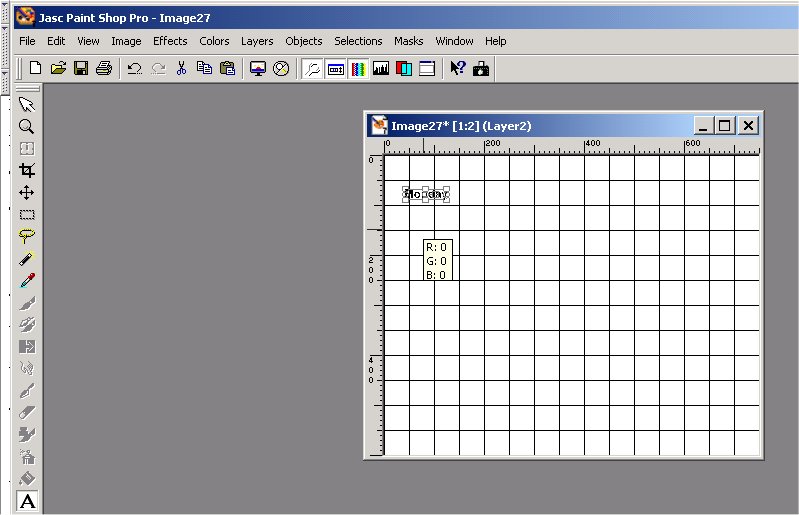
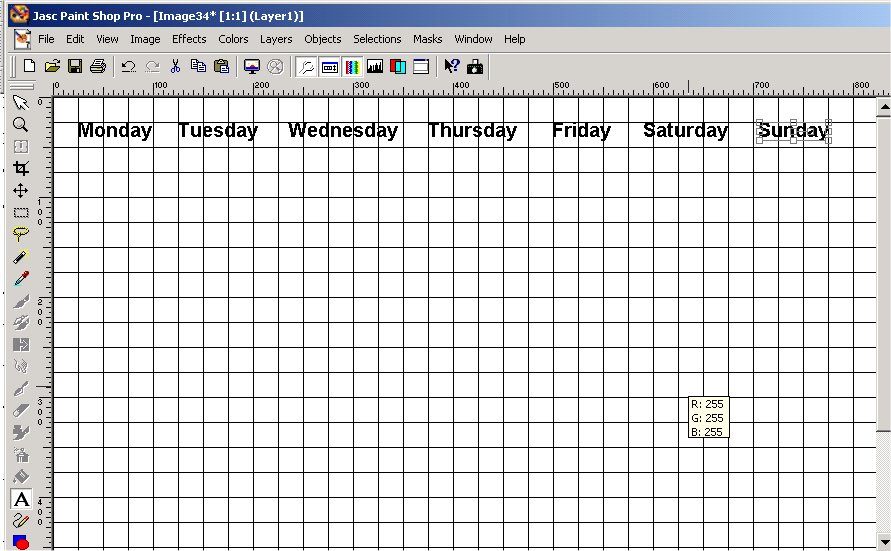
OK. We have checked/set our Snap to Grid values and we begin manipulating our data. We start with some text data, entering "Monday" using normal PaintShop Pro's text support.
The text comes to the image -- but is probably not "exactly" where you want it to appear.
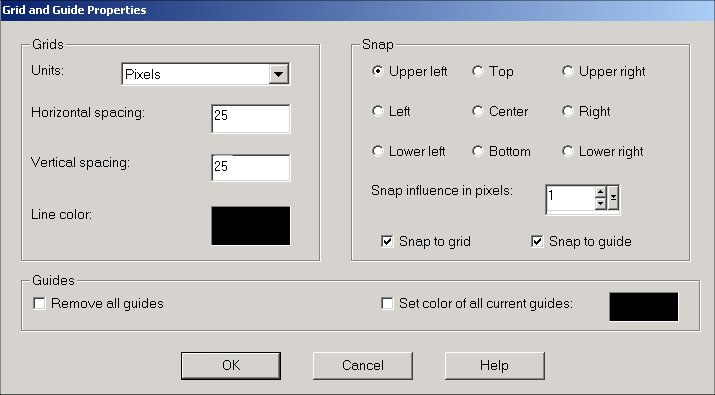
We decided, for this example, to return to the Change Grid values' panel and, there, change the grid to be 25 pixels.
Then we align the text as we move along, until we have completed the text-aligning for our example.
We can click on the earlier-mentioned View->Grid to turn off the Snap to Grid support.
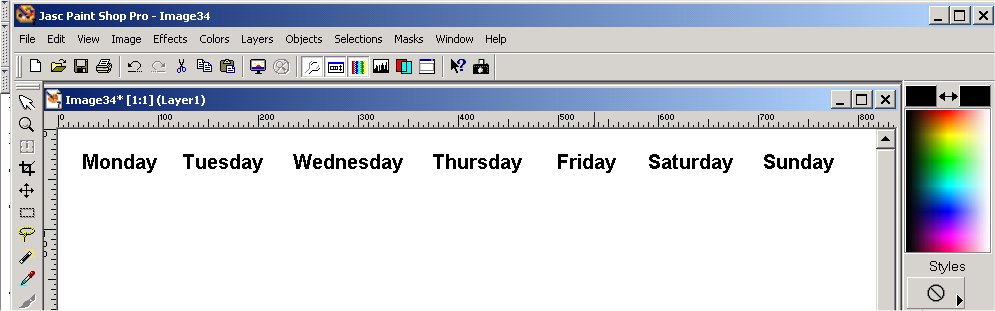
Next, we click on View->Grid to turn back on the Snap to Grid support and add some more text -- in this case, "underlining" the earlier-entered days of the week text.
Finally, we bring our other data (100x100 pixel small images) into our planned-final image and use the grid as a guide for alignment.
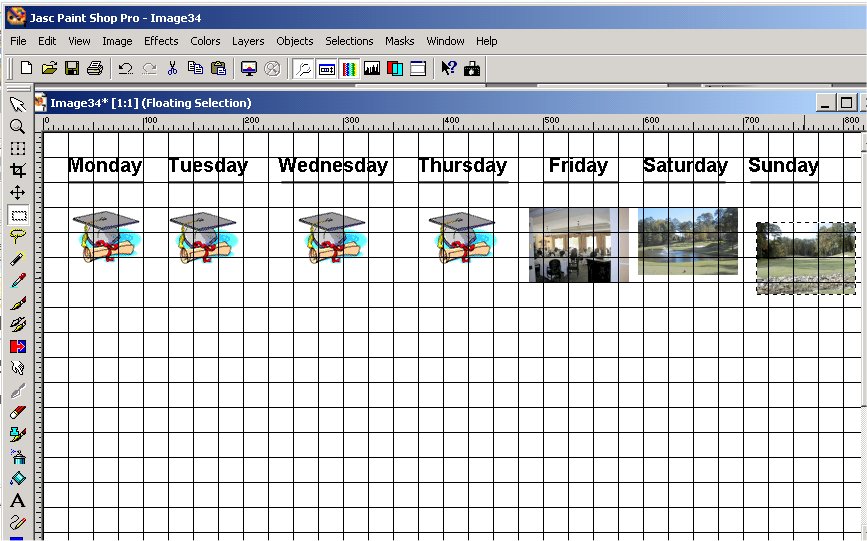
Eventually: All done! Looks good - with assistance of the Snap to Grid support of PaintShop Pro.
What was planned for the week? Education/self-improvement on Monday-thru-Thursday, dining out on Friday, and golf on the weekend. It is a good weekly plan!
If you are not using similar support with your image processing application, give it a try.
Good luck in your "aligning" challenges if you have any in your home computing activities.
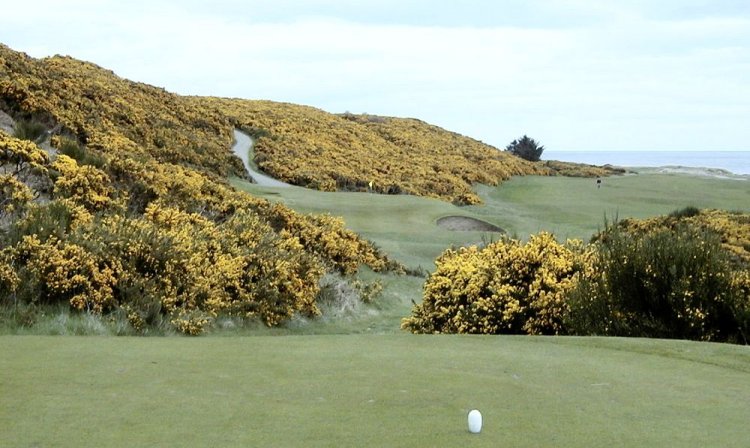
Again, this newsletter, we look at two different holes -- both are par 3s -- in different parts of the world.
First, a fine golf hole in Dornoch, Scotland. I have been privileged to have played this hole a few times -- and, hope to play it again in the future.
Scotland's Royal Dornoch Golf Club - Seventh Hole
My favorite par 3 that I have played in Scotland.
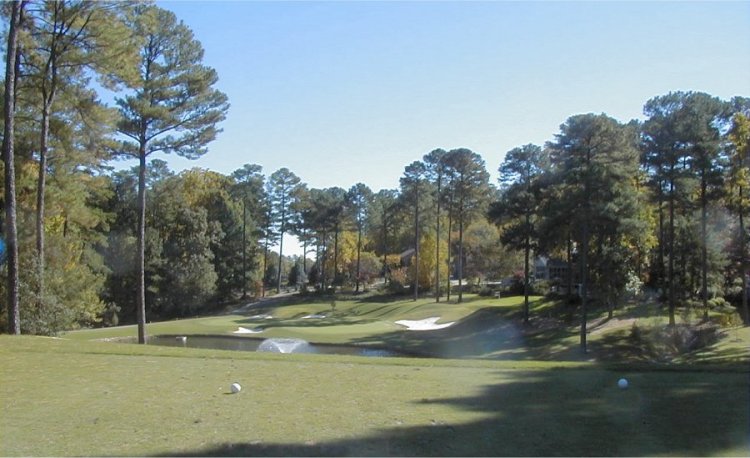
Raleigh NC's North Ridge Country Club Oaks Course - Eighth Hole
I play this hole regularly -- and the water comes often into play for me. As do the trees on the left side.... Oh, well, that's golf!
.........
If you play either of the above golf holes, let me know how you do!
I wish you well in your picture taking and travels or other activities -- and hope you share that with a journal and Web-type of presentation you share with family/friends.
---------------
To contact me about anything on this Web page, please:
send mail to: SCScompA@aol.com
------------------------------
To return to SCScompA's newsletter March 2003 page click on: SCScompA March 2003 newsletter or use your Web browser's Back button.