As part of the July, 2002, monthly newsletter from SCScompA, an item of the newsletter was a brief example of using PaintShop Pro to create an image for use in a paper/presentation.
This Web page is aimed at expanding that discussion.
Some of the images shown in this Web page have already been included in the July 2002 newsletter -- but are here, as well, for convenience of this Web page.
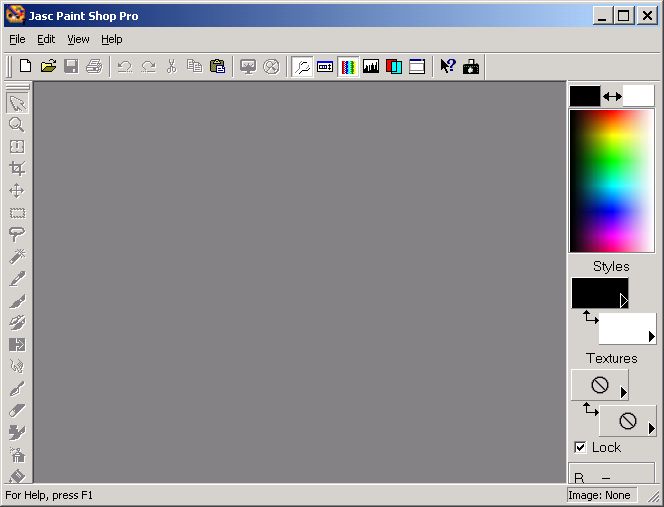
Upon starting PaintShop Pro we see the main panel.
We begin by asking for a blank (new) image. We intend to fill the new image in to meet our needs.

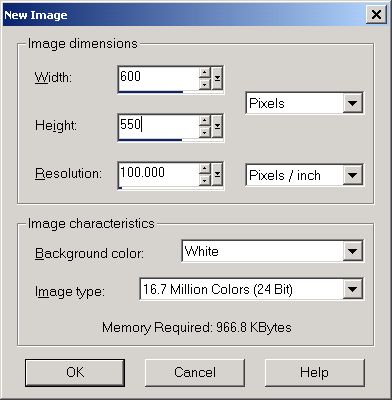
We are offered some New Image settings that we can change to meet our needs.
A width of 600 and a height of 550 at a resolution of 100 pixels per inch work fine for most of my needs (printing and PC screen).
A width of up to 1000 pixels is OK for many larger PC displays. I keep the height at a max of 600 pixels (again: At a resolution of 100 pixels per inch).
I prefer to work with a white background; I can modify this later if I find a non-white background (especially for PC display) would work better for a particular paper/presentation.
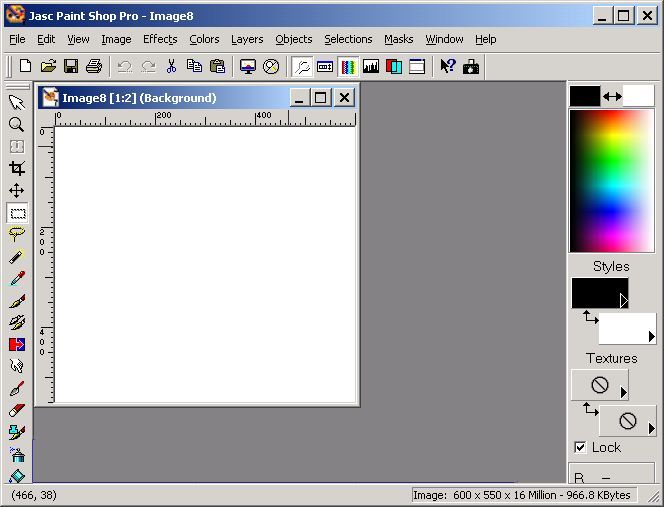
I have a "canvas", now, on which to place the information I want to include for my image.
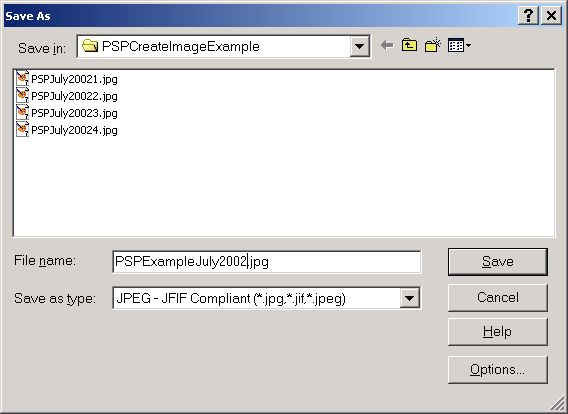
I always "Save As" the new image into a PC directory/folder on my hard disk so that I can save (later) as I do my work and after the image is created.
The previously-shown New image had a PaintShop Pro-provided name of "Image..." This "Save As" will change the PaintShop Pro image name.
Normally I will start with a box that will contain, later, some text.
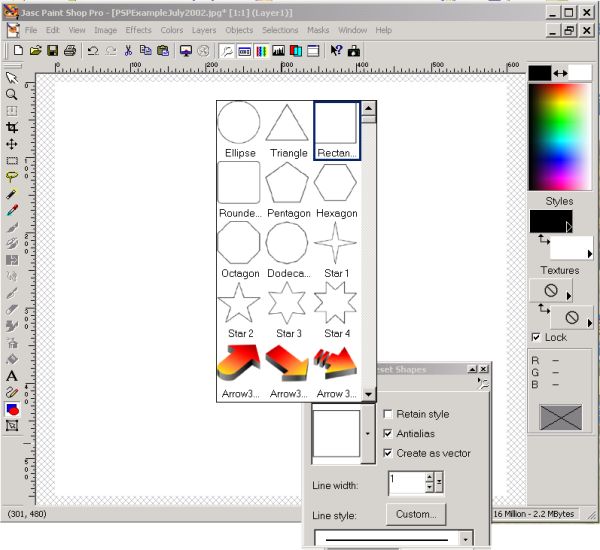
PaintShop Pro provides some preset shapes and I select the "rectangular box" shape for this example.
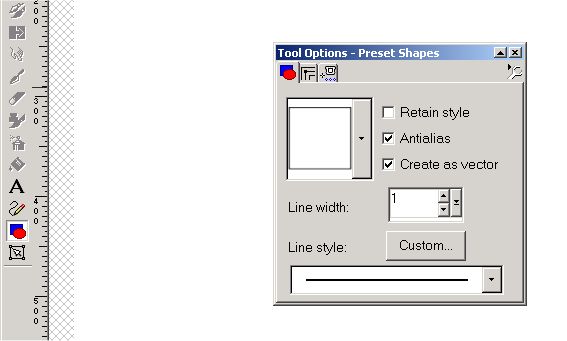
Clicking on the downward arrow on the Tool Options panel for the preset shapes will show other PaintShop Pro-provided shapes that could be used.
The two "blocks" under the Styles section of the PaintShop Pro panel indicate what you would like to do with regards to the preset shape you are including. The top Style block is the outside color of the shape. The bottom Style block is what you want "inside" the shape. If you choose to not have anything "inside" the shape, you would modify the bottom style block to indicate nothing should be placed inside the shape.
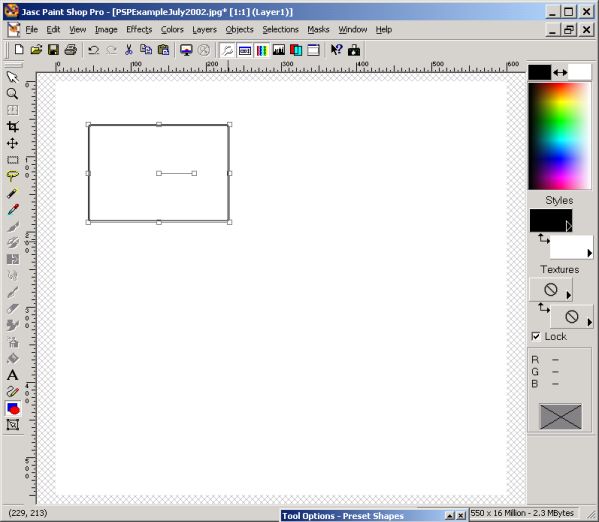
When the preset shape has been "drawn" with the mouse, the shape may be stretched or moved.
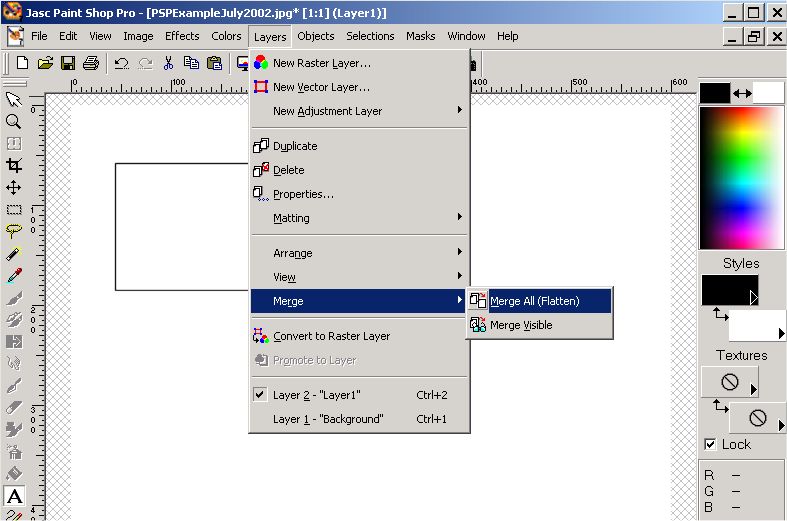
PaintShop Pro has a "layer" concept. The preset shape you have added has been placed in its own layer. For this example, we merge the layers. As your experience with PaintShop Pro grows, you will no doubt take advantage of the "layer" feature.
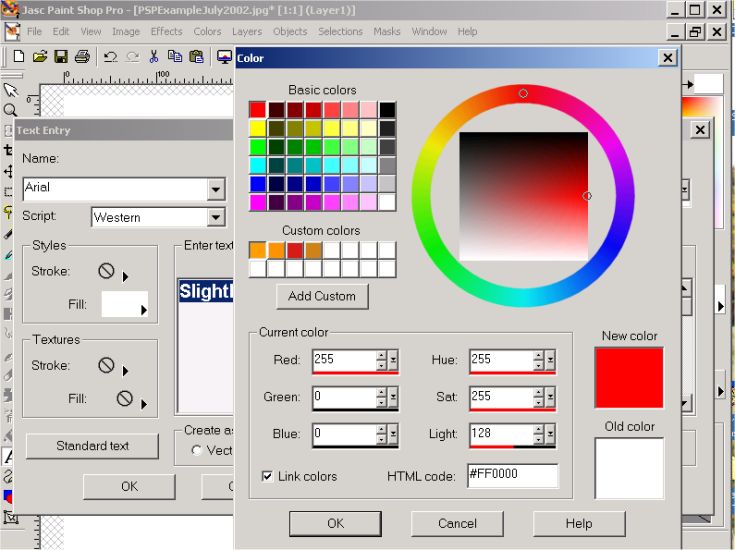
Next, we click on the large "A" on the left side of the main PaintShop Pro panel to add some text.
We choose to click on the Standard Text button and, in turn, choose a color for the text fill. The text will, then, be the chosen color.
We also decide the size of the text font and the particular font we want to us. In this case, we chose Arial.
The text we have added is a "Selection" in PaintShop Pro. While a selection, we could (for example) move the text. Or delete the selection if we are not satisfied. We choose to "un-select" the text after we have the desired information and placement of that information.
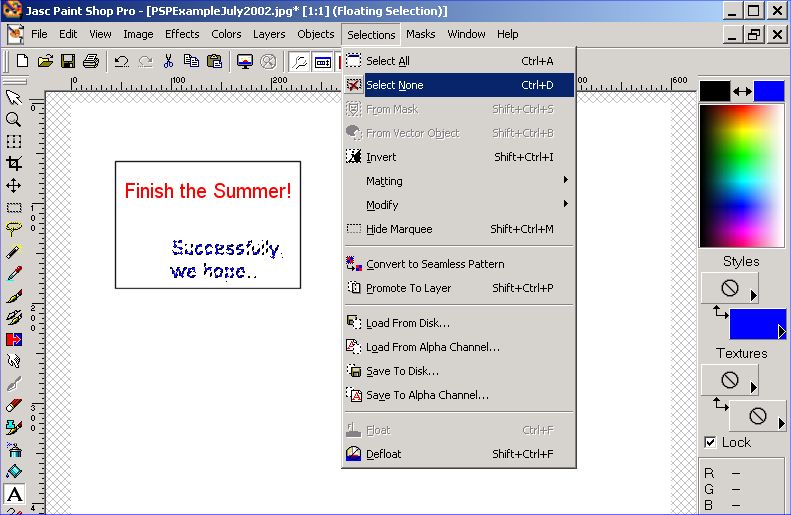
The text is no longer a separate selection -- but, if we wanted to... we could reselect.
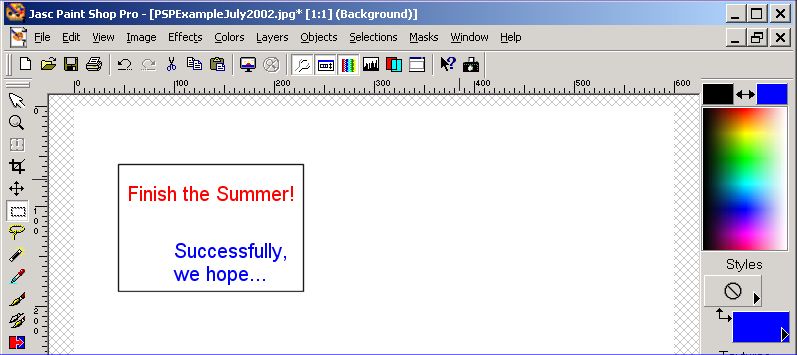
We may (well, in fact, we probably want to) add something to our image that is not provided by PaintShop Pro.
We could find that "something" (such as a photo, or portion of a photo) on our own PC.
One of our other Windows application (such as PowerPoint) or another application on our PC may have some images we want.
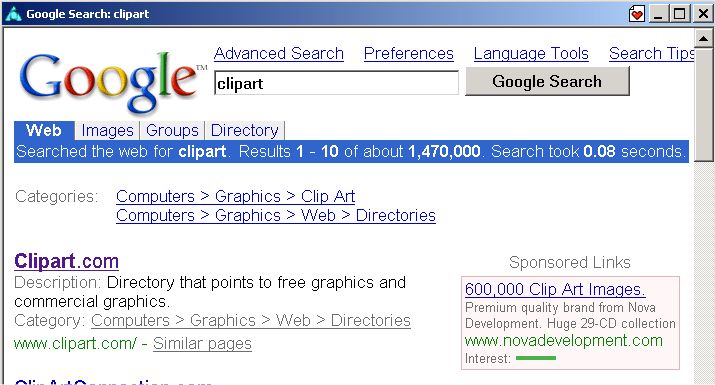
Or we could try to go to the Internet and ask a search engine to find us something.
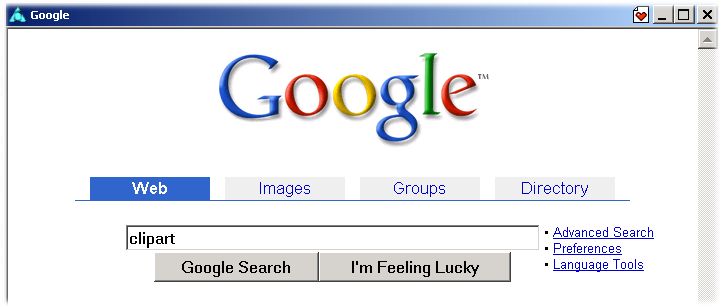
Well... we no doubt will find many possibilities.
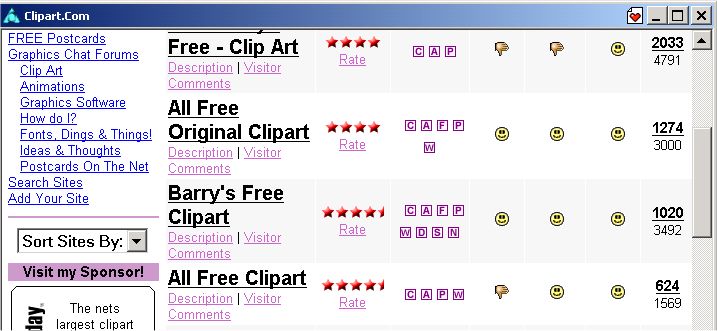
In this example, we just clicked on the top-listed one to see what they offered.
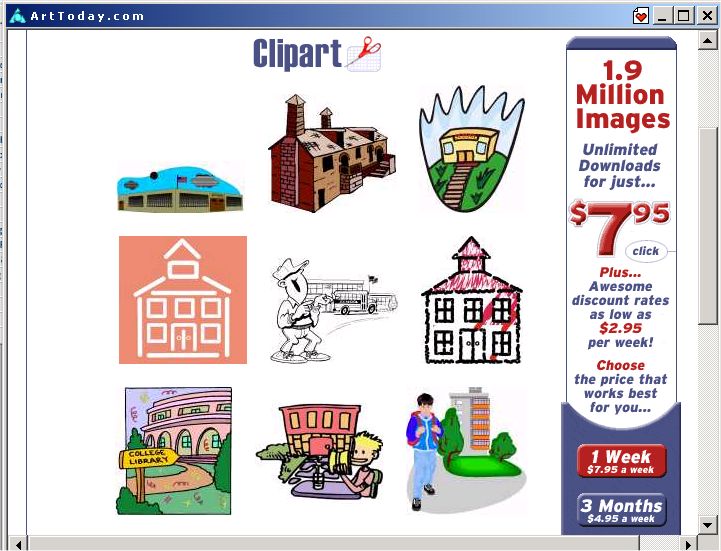
We were looking for a "school house" clipart.
We proceeded down the path of what was offered -- and found some.
We were not interested in paying for what we selected -- we were looking for something at no charge for this example.
Should we pay? Is it of value to pay a fee for clip art? Certainly, if we are doing this often and want a large selection: By all means! It is, just, this example we wanted something free/simple.
I had another option. A few years ago I purchased a version of IMSI's "Master Clips". It included 303,000 clip art items.
I searched them, also, for "SCHOOLHOUSE".
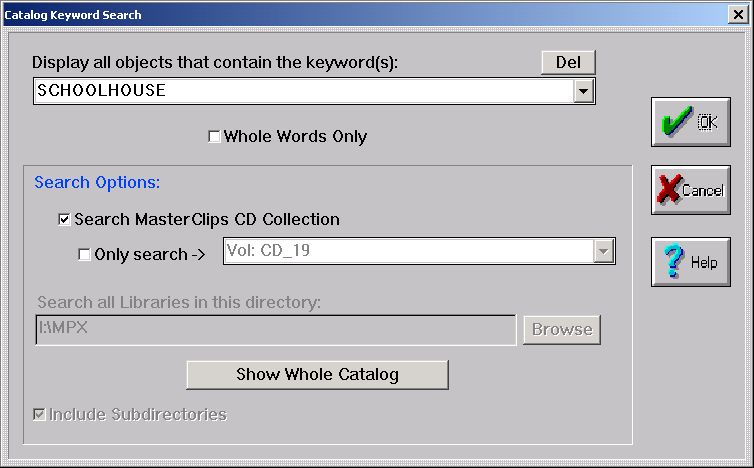
I selected two of the provided images.
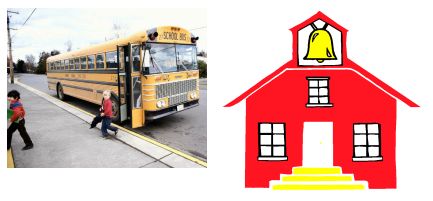
I also found a photo I wanted to include in my image.
This photo was already on my PC. I could have, though, scanned the photo into my PC using my scanner.

Once I get the clip art, photo, or scanned information onto my PC, I simply Copy->Paste them into my PaintShop Pro image.
I add additional text as necessary -- keeping the text as brief as possible -- and add a few other preset shapes (arrows, in this case) from PaintShop Pro.
I also outline the image with an outer box.
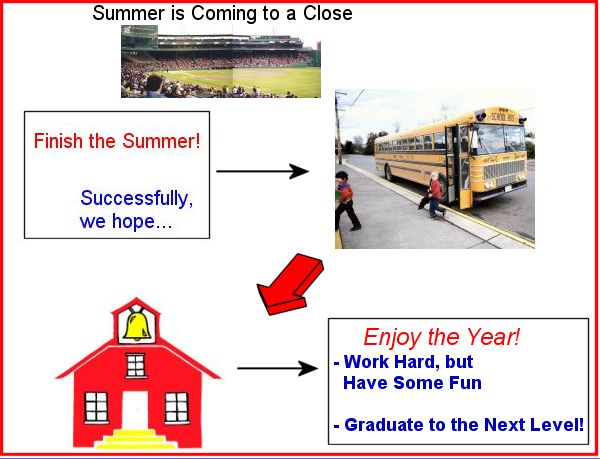
Assuming the image is what you want -- don't forget to Save it using PaintShop Pro. That way, you can modify or re-use it later.
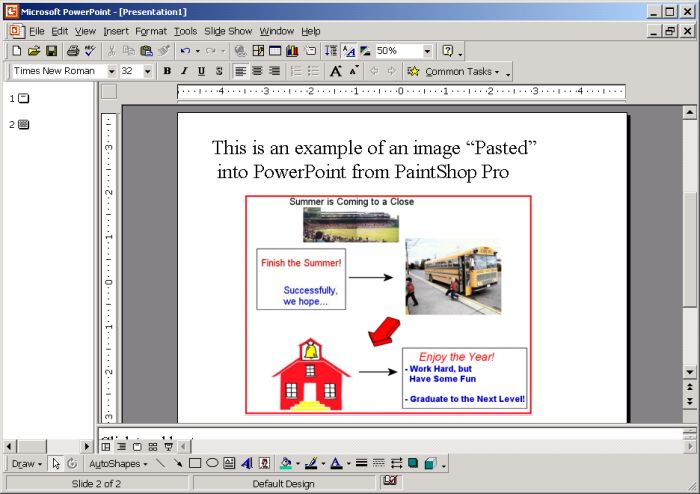
To get the image into Word there are a number of ways to do that. For this example, we simply Copy from the PaintShop Pro panel (application) and Paste into Microsoft Word.
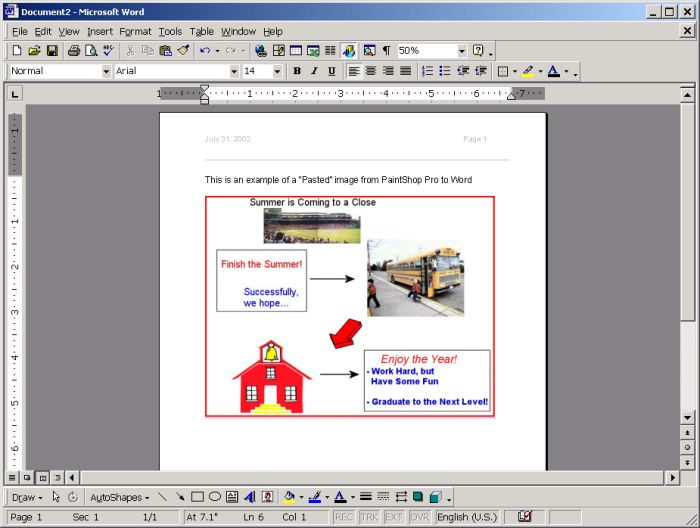
We also could Copy from the PaintShop Pro panel (application) and Paste into Microsoft PowerPoint.
-------
If you have papers/presentations to create during your upcoming schoolwork or other responsibilities, I hope this brief example of using PaintShop Pro will give you some ideas.
Good luck!
---------------
To contact me about anything on this Web page, please:
send mail to: SCScompA@aol.com
------------------------------
To return to SCScompA's newsletter July 2002 page click on: SCScompA July 2002 newsletter or use your Web browser's Back button.