This month we show:
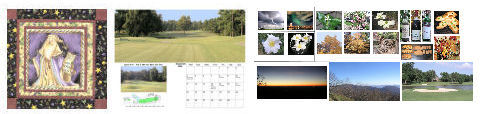
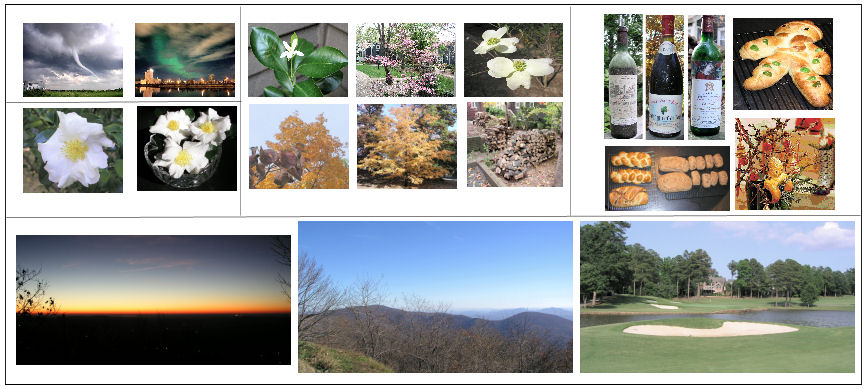
Here is a collage of some pictures from this month's example.
The images shown in this Web page are in the "computer" as a result of being obtained from a digital camera or from scanning a photograph or other item. The following shown images default to digital camera origin and, if not, the shown picture will be identified as a scanned image. If digital camera, the photograph has normally been taken at an Olympus Camera "SHQ" setting of 4.9 megapixels (2560x1920), with some pictures having been taken at less pixel detail ("HQ" or "SQ") 1.3 or 0.3 megapixels 1280x960 or 640x480). In most cases, even if the digital picture was taken at these-mentioned sizes, the picture has been resized for showing on computer screens. I try to keep most images to have a maximum height of 600 pixels for computer-display. I use Paint Shop Pro (from Corel) as my primary application for modifying/resizing/coming photographic images into one image (photo).
Scanned photographs are scanned at 300 PPI (Pixels Per Inch), 150 or 100 PPI, and the chosen PPI will be identified, if deemed important to do so, in the comments for that particular image.
The following is aimed at showing examples of using a computer system, digital cameras, and perhaps scanners, as part of home computing environment. Hopefully, the shown pictures will give you some ideas for use of your home computer system.
Contact SCScompA if you have any comments/questions regarding anything that is shown in this Web page.
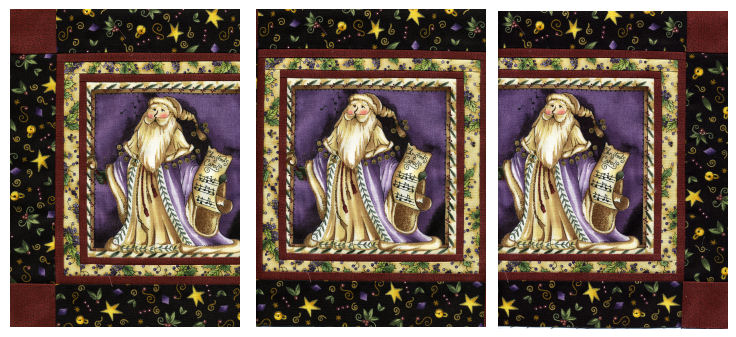
We have shown examples of doing this in some earlier SCScompA newsletters, but as it is holiday season and the Santa example used, below, was part of our holiday.
The scenario is:
Prior to putting the images together, adjust the images (alignment-wise) to as same-position as possible.
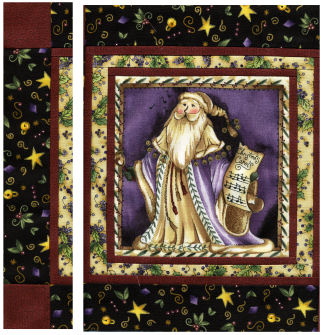
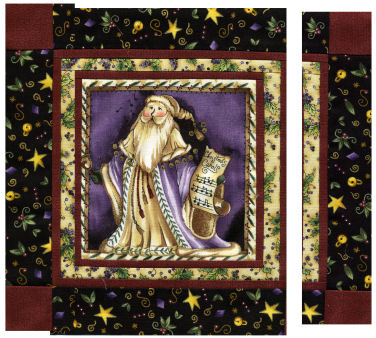
Three Images After Scanning - Left Side, Center, Right Side
|
Selection of Left Side and Center | |
|
|
|
|
| |
|
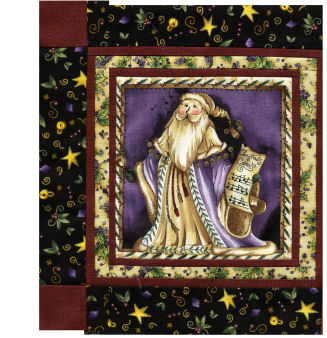
Merged Left Side/Center end Selection Of Right Side | |
|
|
|
|
| |
|
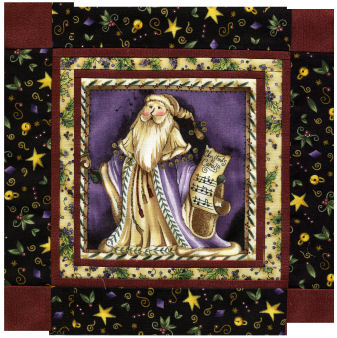
Cropped merged Image - And Auto Contrast(ed) Image | |
|
|
|
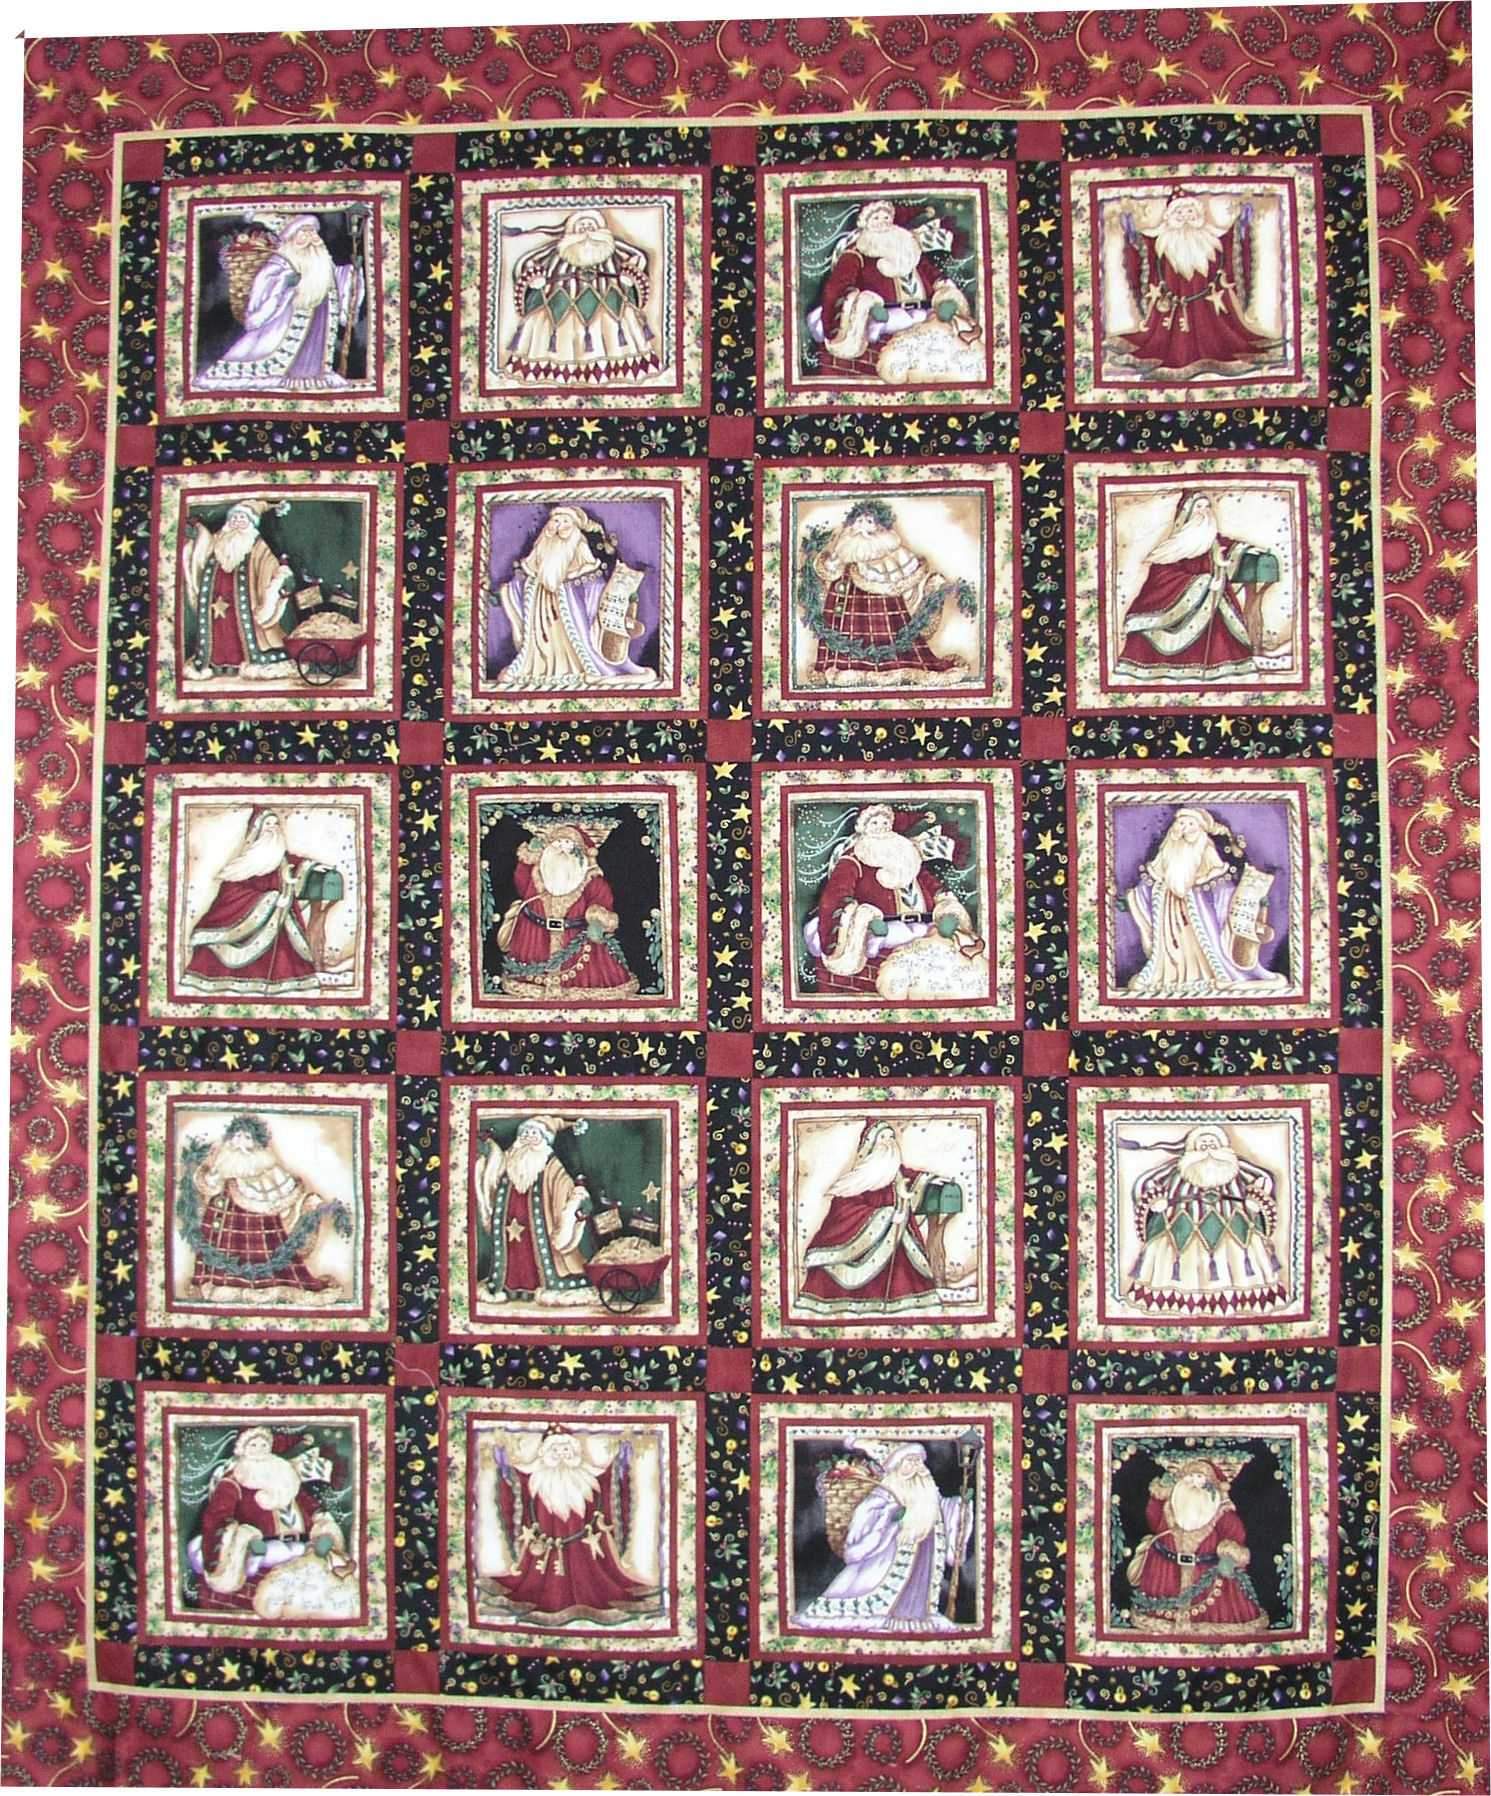
The Quilt Top
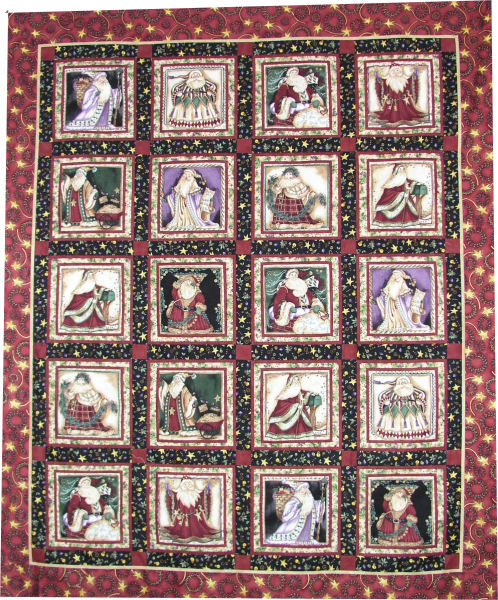
A Closer Look
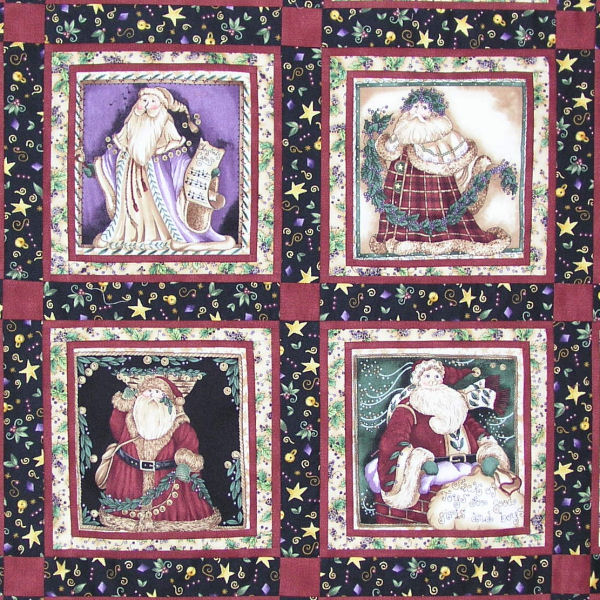
If you are on a "Hi-Speed" Internet collection and want to see all the Santas in a closer look, click on: For Hi-Speed Internet Users Who Want To See The Santas In Closer View
If you received a new/updated computer system recently, I hope that you connect a scanner to it -- and, use the scanner!
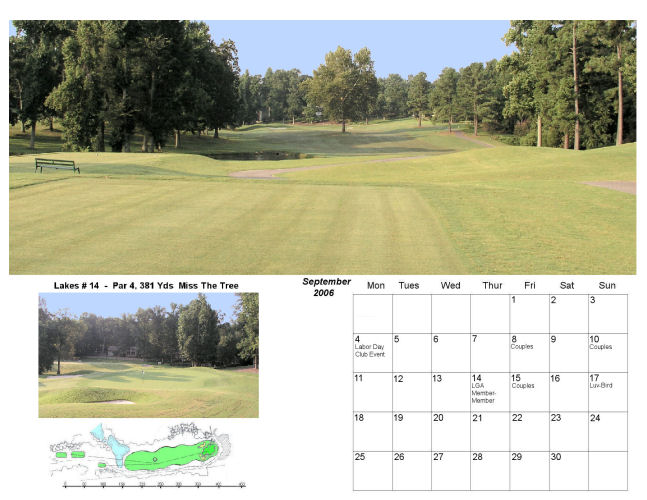
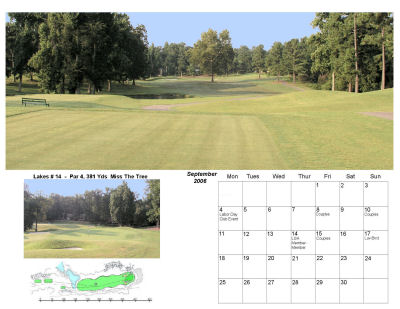
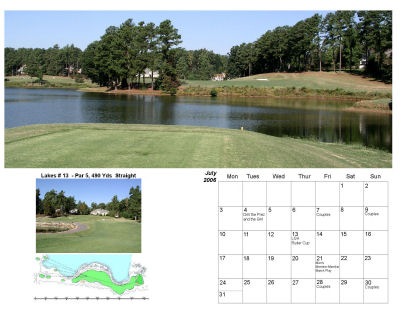
In the December 2005 newsletter I show an example of a calendar page. Within the calendar page are two pictures taken from a 5-megapixel digital camera.
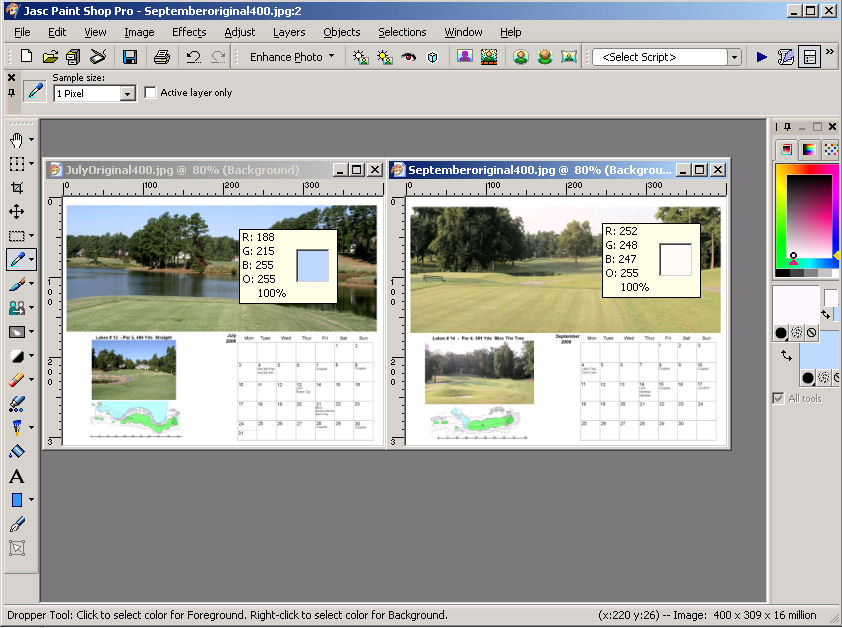
The two pictures were taken outside, during the daytime. The project involved in getting these daytime photographs (of a local golf course, 36-holes, two-to-three pictures per golf hole) extended over a three month period. During that period of time there were some "Carolina blue skies" days -- and, as importantly, the sun's position at the back of the camera was fine. Other times... not so fine.
|
Taken on a Carolina Blue Sky Day
|
Taken on a not-a-Carolina Blue Sky Day
|
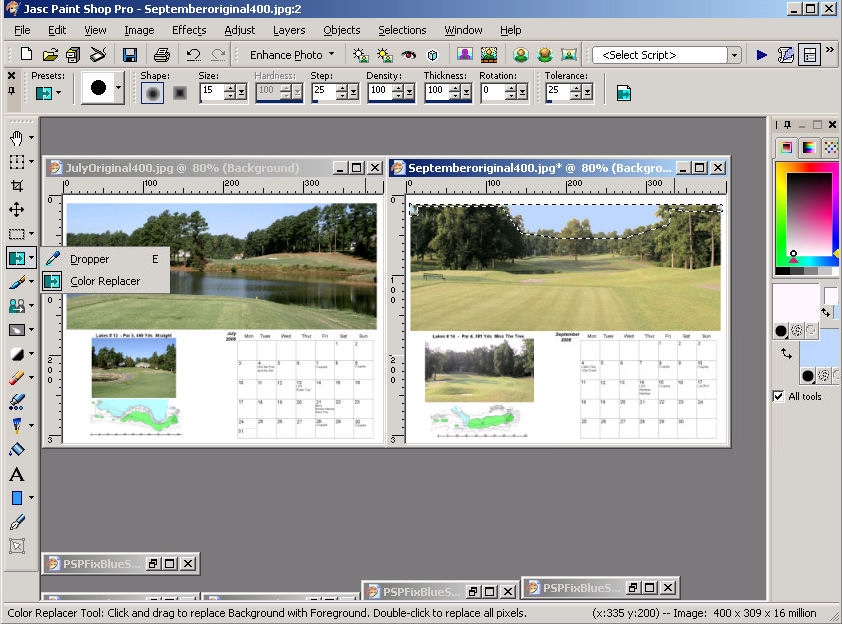
I decided, for the calendar, to use PaintShop Pro to modify the sky. Why not???? The calendar is my own -- so, I have literary rights to modify it!
I then left-button click on the not-so-blue sky and that color is placed in the top portion of the Materials' area. That color is: 252,248,247,255
The two pictures were taken outside, during the daytime. The project involved in getting these daytime photographs (of a local golf course, 36-holes, two-to-three pictures per golf hole) extended over a three month period. During that period of time there were some "Carolina blue skies" days -- and, as importantly, the sun's position at the back of the camera was fine. Other times... not so fine.
Original
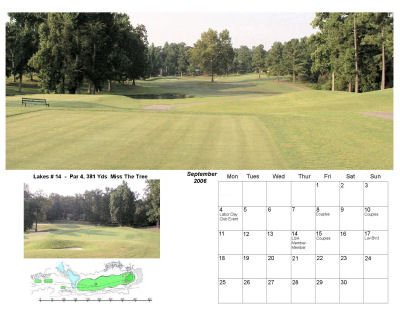
Modified
I guess that I will do this for all my calendar pictures -- except if there are puffy clouds in the picture! I have to think about that situation. Experimentation can be fun!
Each year I try to put together a "collage" of pictures that will trigger memories/comments if and when I look at them in the future.
Following, is 2005's edition.
(Click on any of the following "sets" of images if you wish to see them in a larger size)
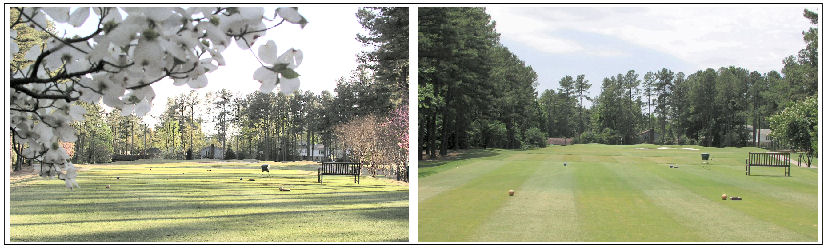
Actually, three great Par 3 golf holes, to close out 2005.
I show two different golfing environemnts: "Parkland" golf, Raleigh NC USA and Scottish Links golf, St. Andrews Scotland.
The Raleigh example shows the same golf hole (175 yard Par 3) at two different times of year: Spring and Summer. The advantage of the Spring: Colorful fruit trees surround the player - although the grass is still dormant/brown and the hardwood trees are not yet fully leaved. The advantage of the summer: Grass is grean/lush and the hardwood trees are full/ready for Fall.
Raleigh NC: 175 Yd Par 3 - Spring and Summer
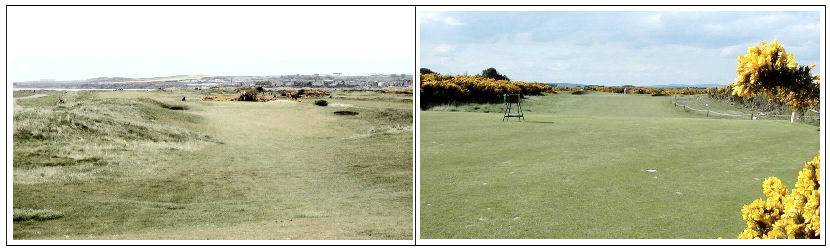
The St. Andrews example shows Springtime views of similar golf holes at two different golf courses -- located quite close together. One hole is in a in a traditional, beautiful/bare-looking links-golf setting while the other is in a setting of colorful gourse-in-bloom. Both shown golf holes are also 175 Yd Par 3s.
St. Andrews, Scotland: Springtime at The Jubulee Course and The New Course
---------------
------------------------------
To return to SCScompA's newsletter December 2005 page click on:
SCScompA December 2005 newsletter or use your Web browser's Back button.
-----------------------------------------------------------------
A Few 2005 Pictures
-----------------------------------------------------------------
A Great Golf Hole
To contact me about anything on this Web page, please:
send mail to: SCScompA@aol.com

