Scotland 2012 - Photos - St. Andrews Jubilee Course - Front Nine
This is a set of photos taken during the 2012 trip to Scotland.
If you have any questions or concerns about this Web page -- give me a shout.
eMail me regarding this Web page
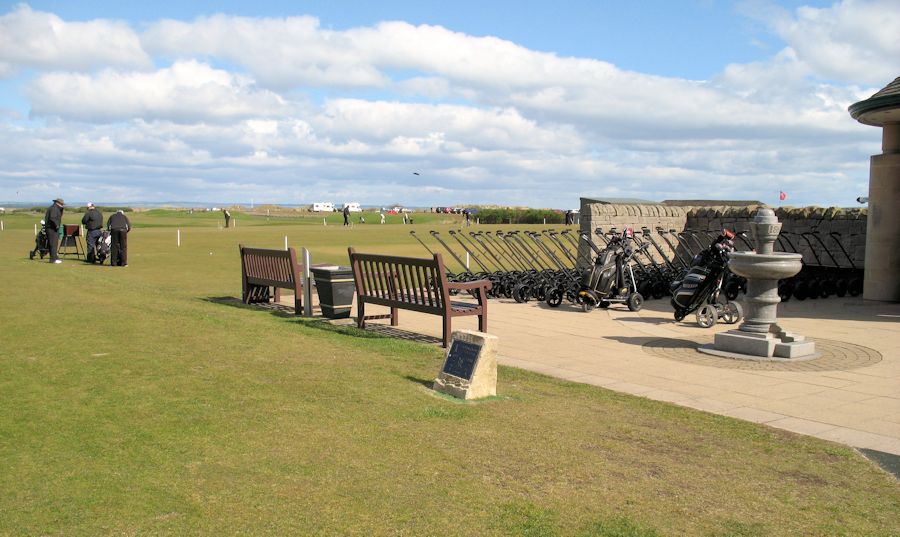
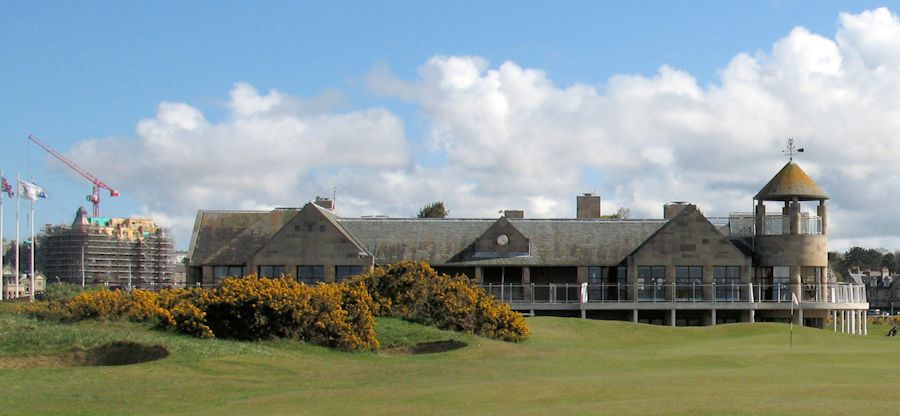
Visitor's Clubhouse and Jubilee Check-In Area
The clubhouse is shared by players of the Jubilee and the New.
The Starter's Area (check in) is just to the right as you pass the clubhouse to enter the golfer's area.
The clubhouse is a perfect place to relax and take photos before your arranged tee-time.
|
|
|
|
St. Andrews The Jubilee Course - Front Nine
Distances are from the Yellow Tee markers; "Regular" tees and (Red) "Forward" Tees
|
|
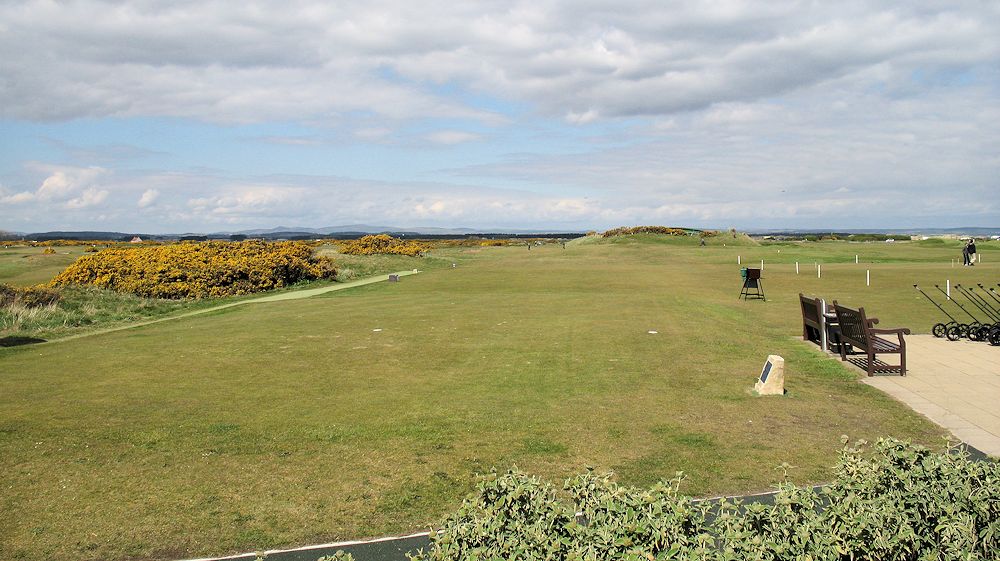
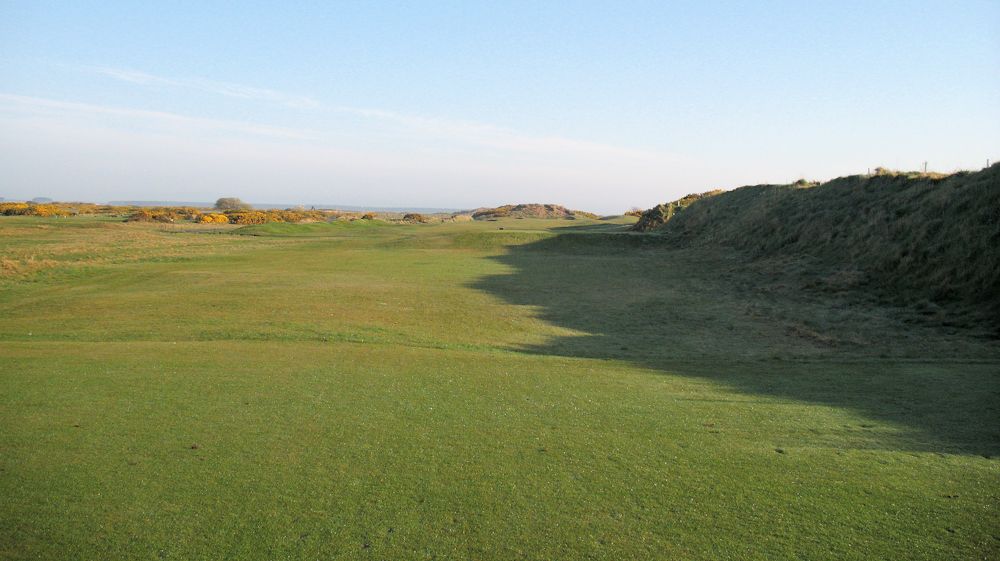
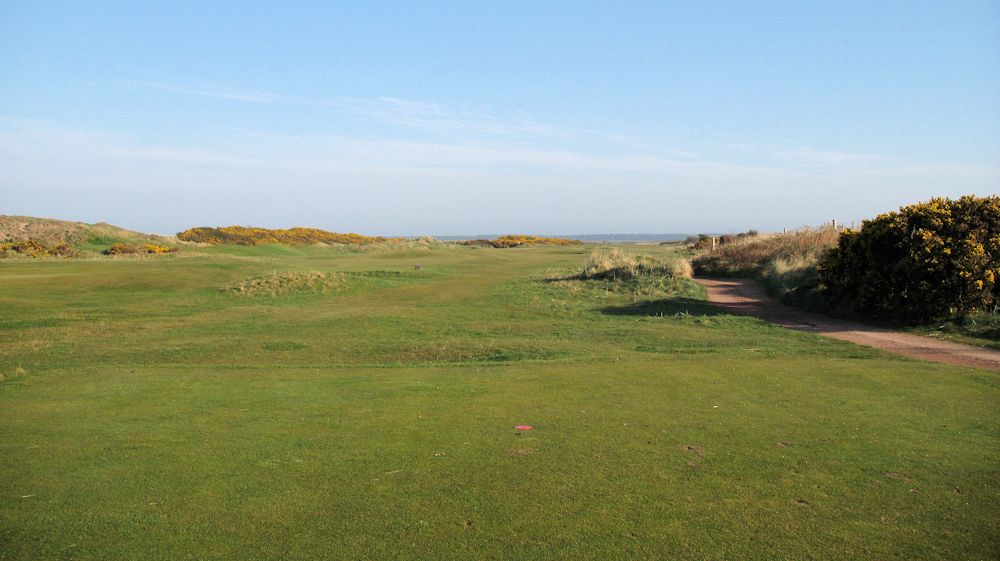
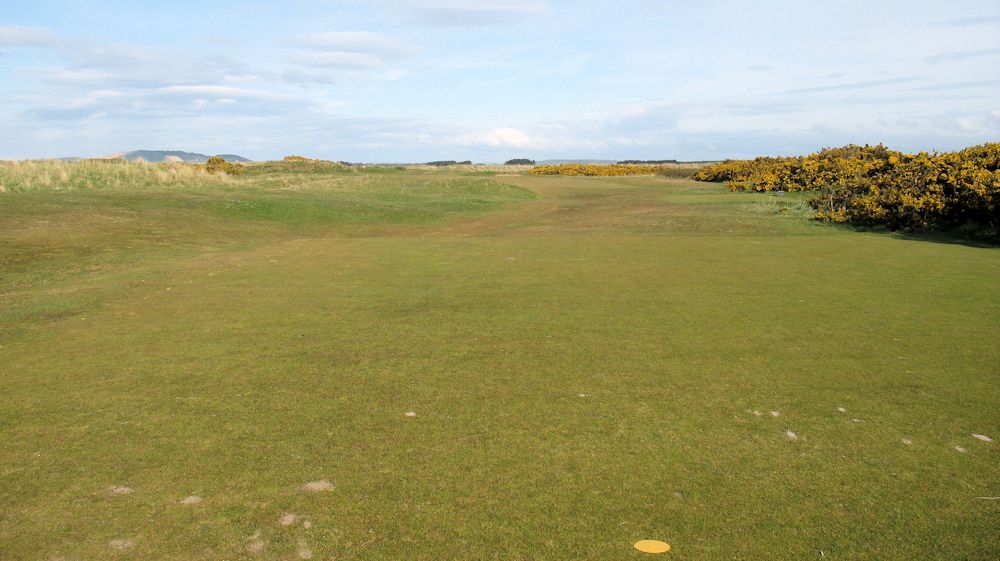
1st Tee - 337 Yards (318 Yards), Par 4
A nice starting hole, with no real complications except that your second shot is to a well-protected, slightly-downhill green that is not an easy distance to judge:
Especially in the morning for us who struggle to wake up!
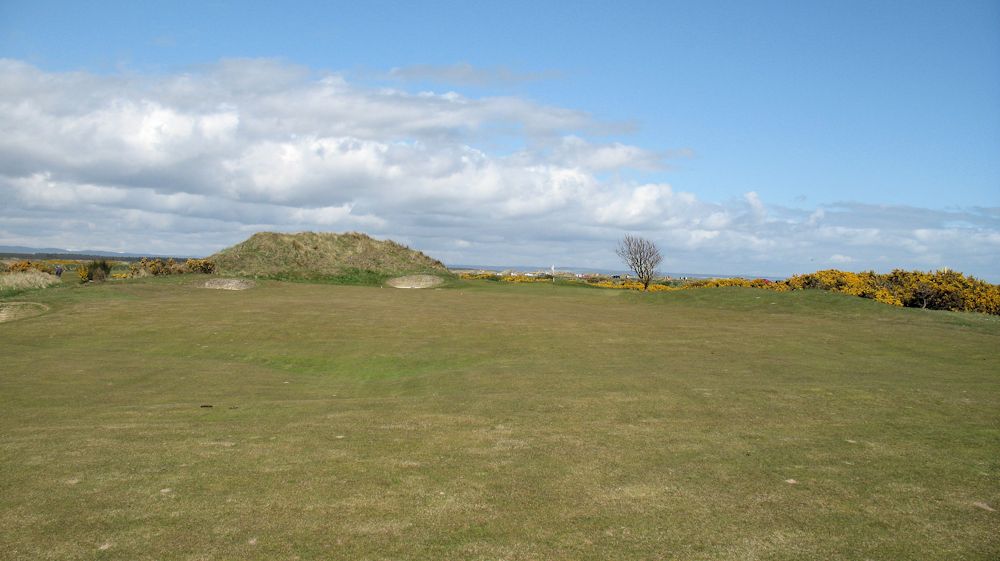
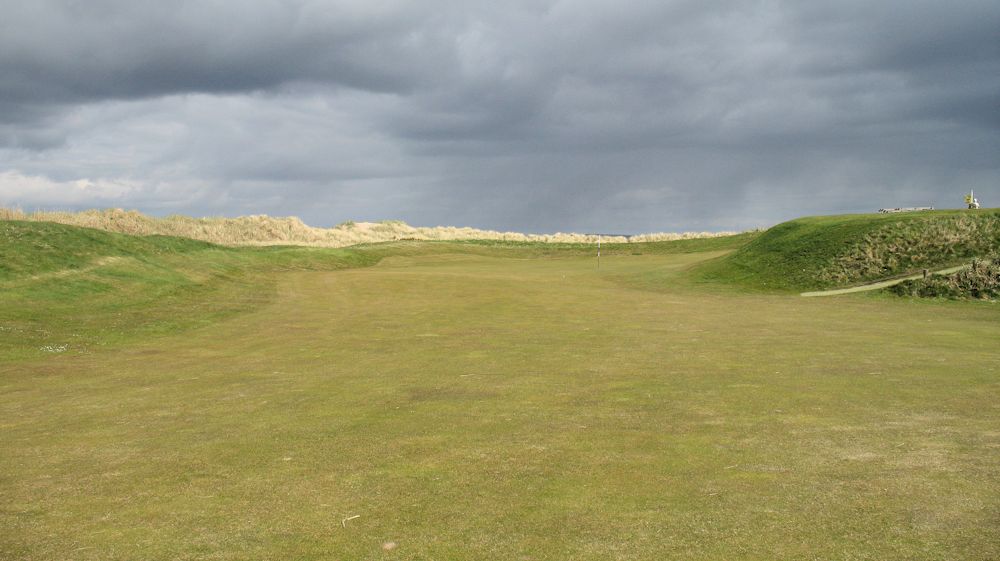
1st - Second Shot
This photo is from our April 2009 trip.
The green is slightly downhill for your second or approach shot and mounded ala Scottish-style.
A short - but, challenging start to the round.
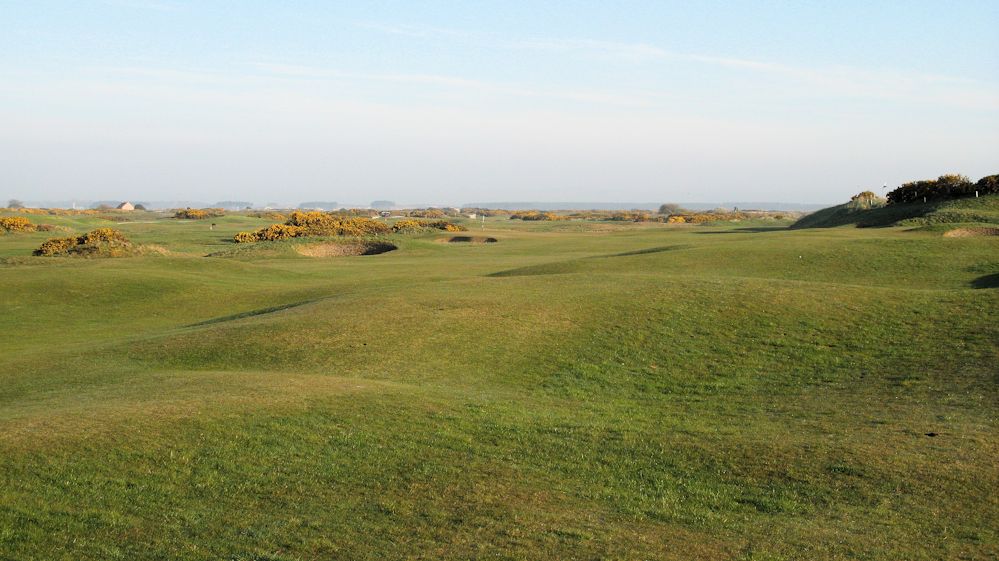
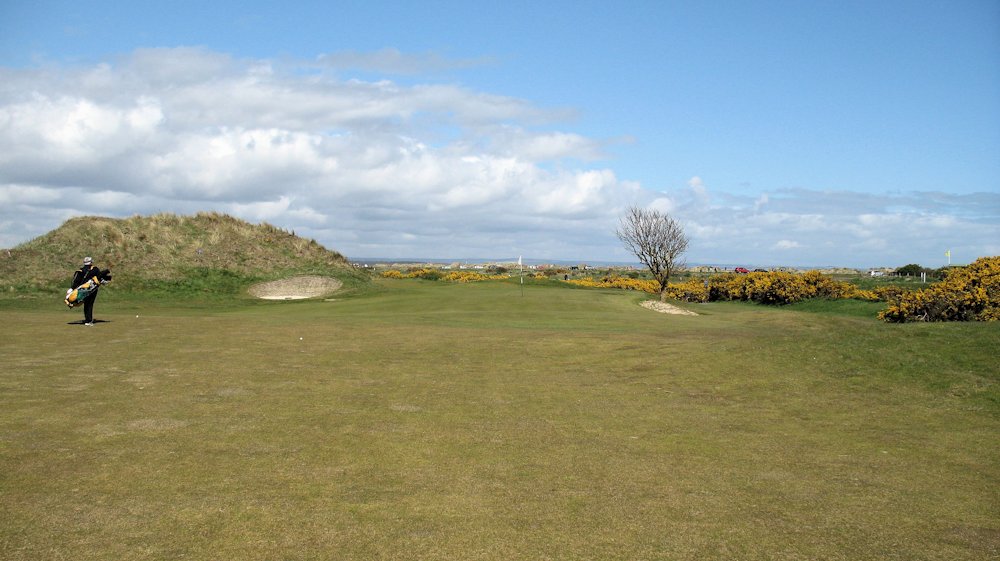
1st - Second Shot...
That is the 2nd tee that you see to the right of the green, showing once again the short-distance green-to-tee walks
that we have on the St. Andrews' golf courses.

|
|
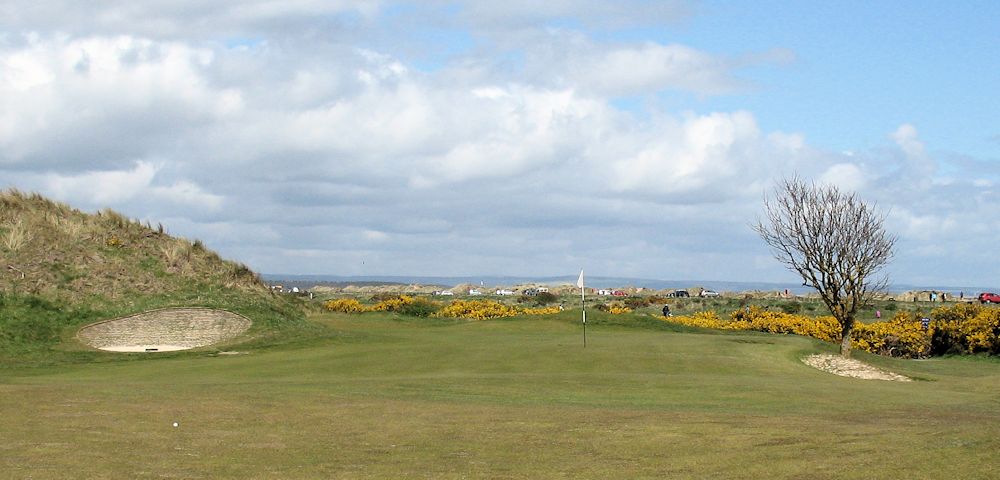
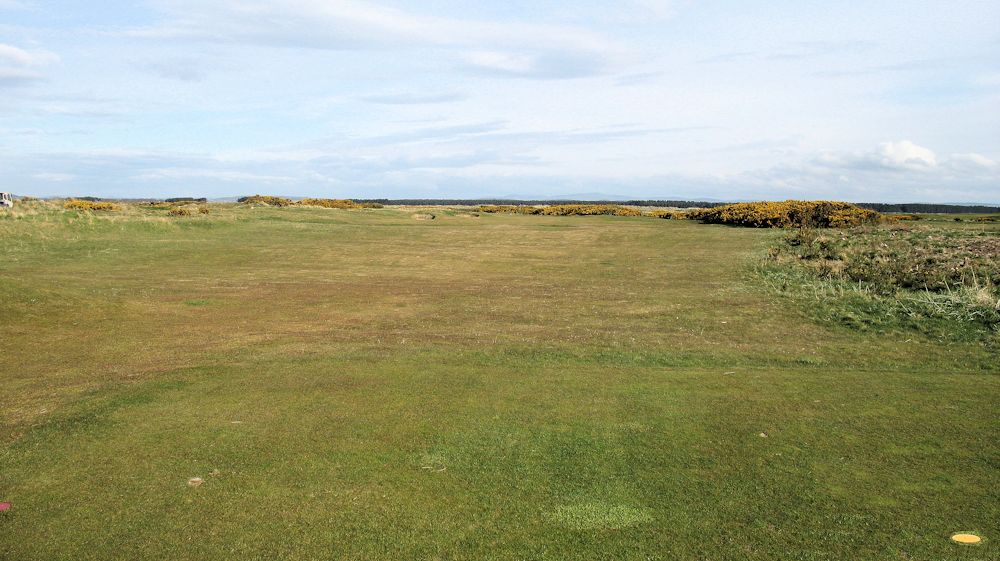
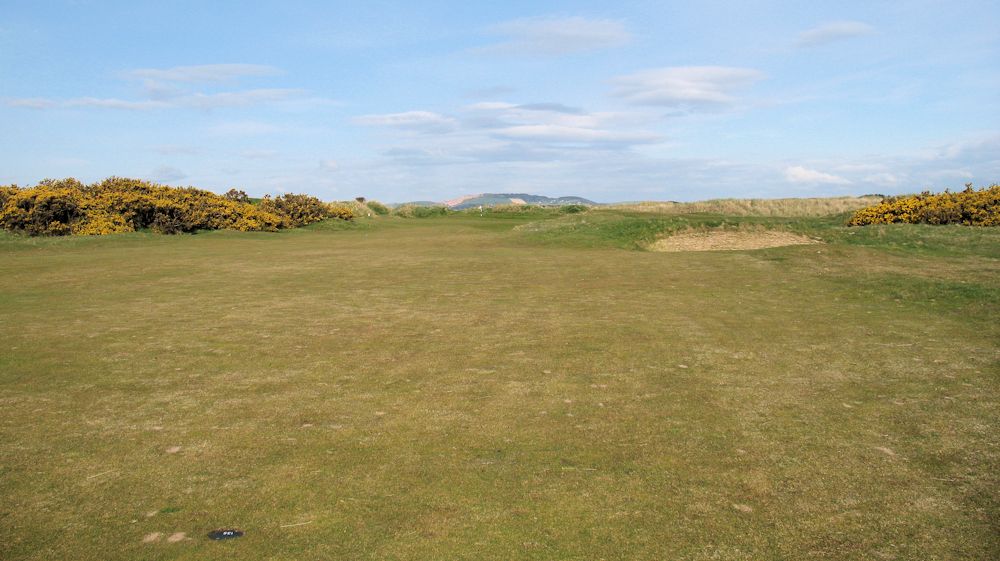
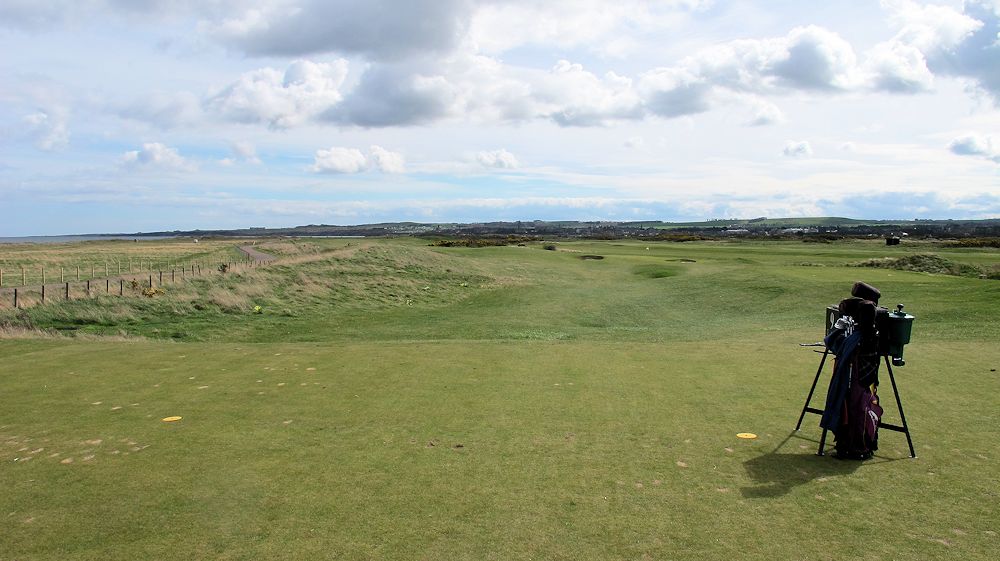
2nd Tee - 352 Yards (271 Yards), Par 4
For some reason - a challenging driving hole for many of us.
If you end up heading right - yell "fore sheds!" to give workers who may be in that area a chance to clear your out-of-bounds landing area.
This photo is from our April 2009 trip.
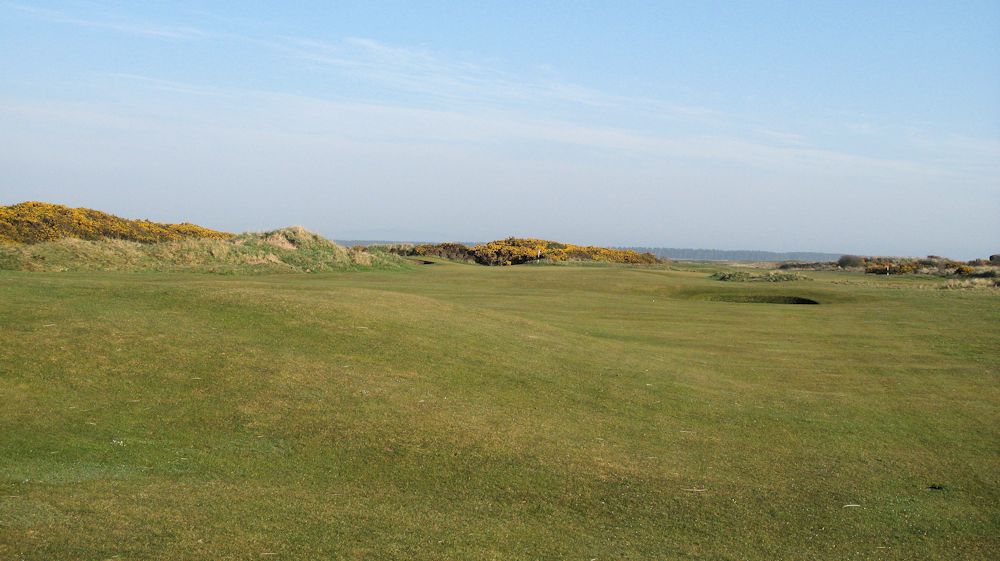
2nd - Second Shot
The green is, once again - as with many Scottish greens, slightly mounded and well protected.
Even though a relatively short par-4; ending up short with your second shot is not a bad result.
Left bunkers or falling off the green to the right leads to a probable bogie.
2nd - Approach Area
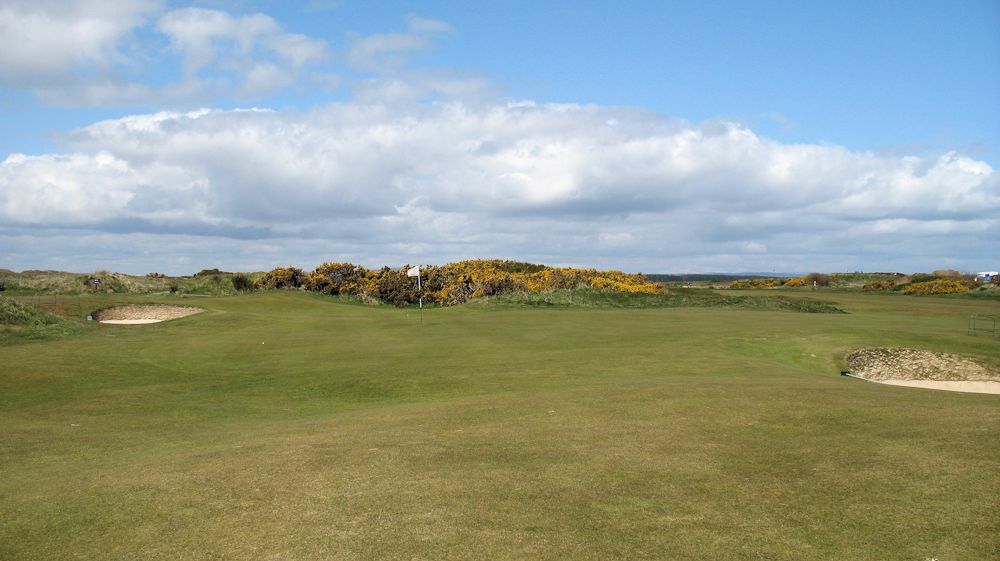
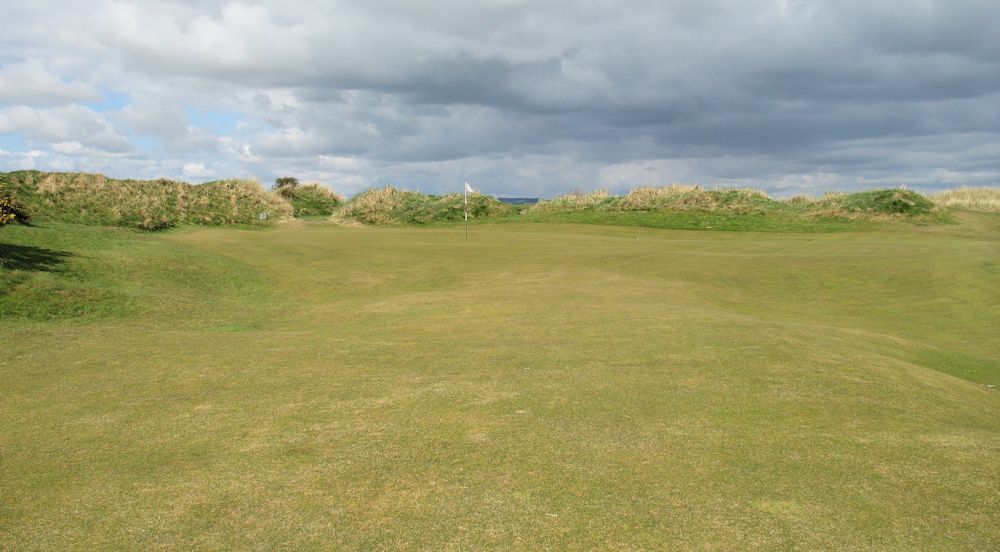
2nd - Green Area
A small green, well-protected - fun!
2nd - Green Area...
From just past the green. You don't want to end up here with your approach shot ...
Later on, you will walk past here on the way to the Jubilee 17th.
|
|
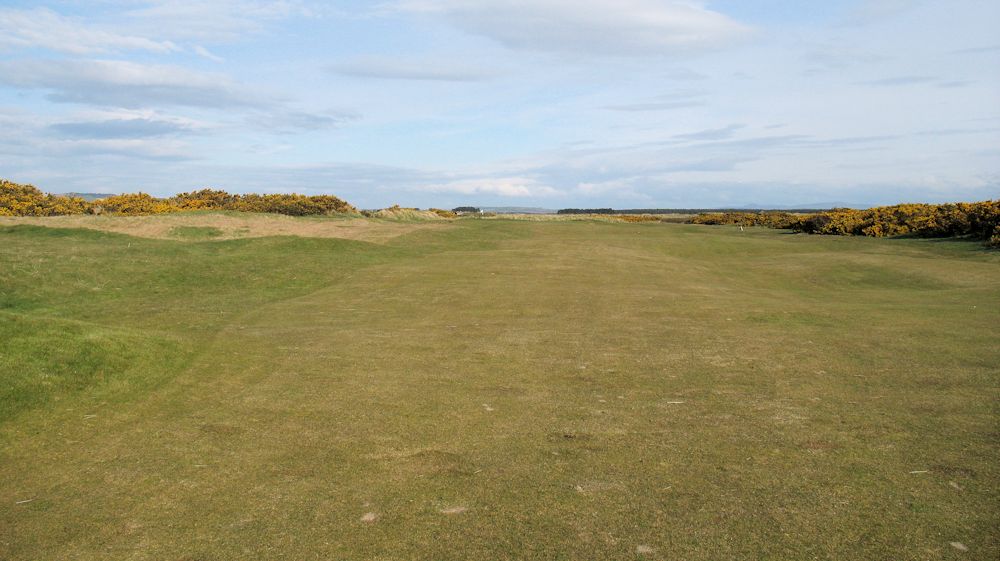
3rd Tee - 524 Yards (506 Yards), Par 5
The first of many terrific driving holes on the Jubilee.
The fairway bunker left-side is a good line -- but, it is reachable -- depending upon the wind.
This photo is from our April 2009 trip.
3rd - Second Shot
Determine the distance to the green - and, know that there are fairway bunkers around 200 yards from the green -
and another set around 70 yards from the green.
The left-side rough can be a lost-ball type of situation....
3rd - Approach Area
There is a bunker (hidden, in this photo) protecting the right-front of this 3rd green.
This photo is from our April 2009 trip.
|
|
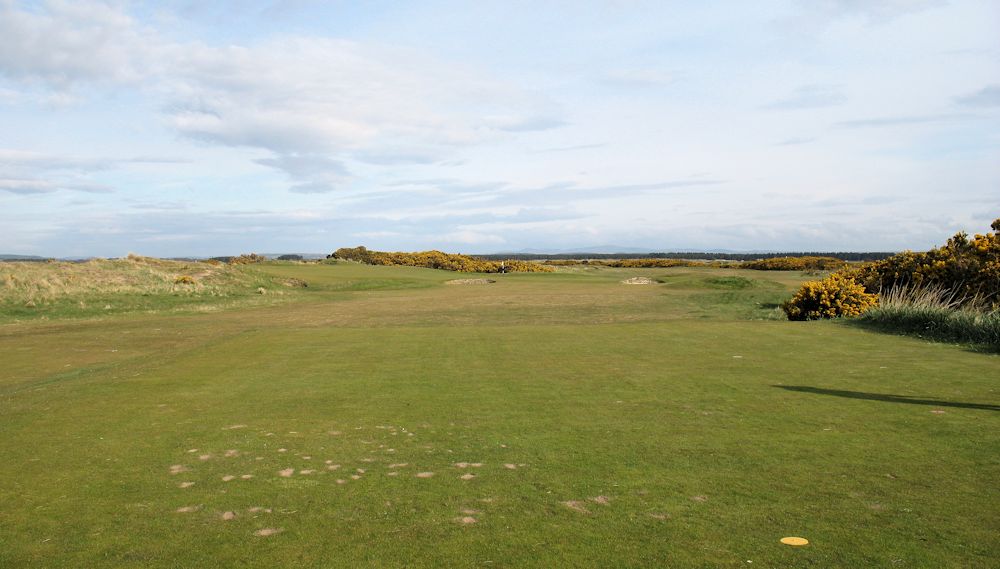
4th Tee - 349 Yards (332 Yards), Par 4
The second of many terrific driving holes on the Jubilee.
I find this a difficult tee to line up the shot.... I can attest that the right-side rough and gorse are unplayable.
The fairway bunker right-side is reachable.
This photo is from our April 2009 trip.
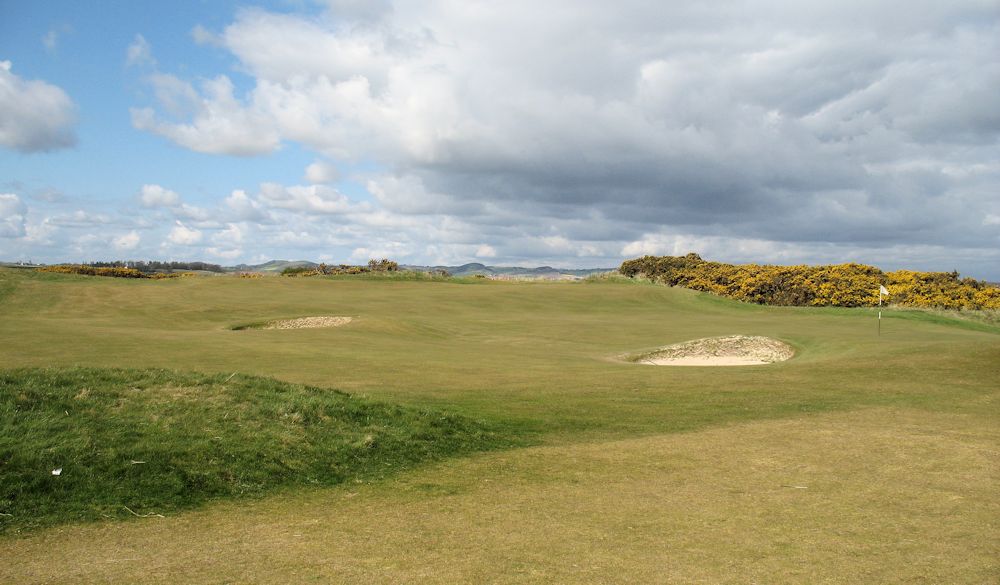
4th - Second Shot
A short hole leads to a nice second shot opportunity - yet, it is still a challenge!
This photo is from our April 2009 trip.
4th - Green Area
I love this golf hole.
The 14th hole is to right of this green - a shared-green, but rarely that is an issue on this large-green area.
The 5th tee is a short walk up the mound shown on the upper-left part of this photo.
Players headed to the 15th tee share the same walk.
|
|
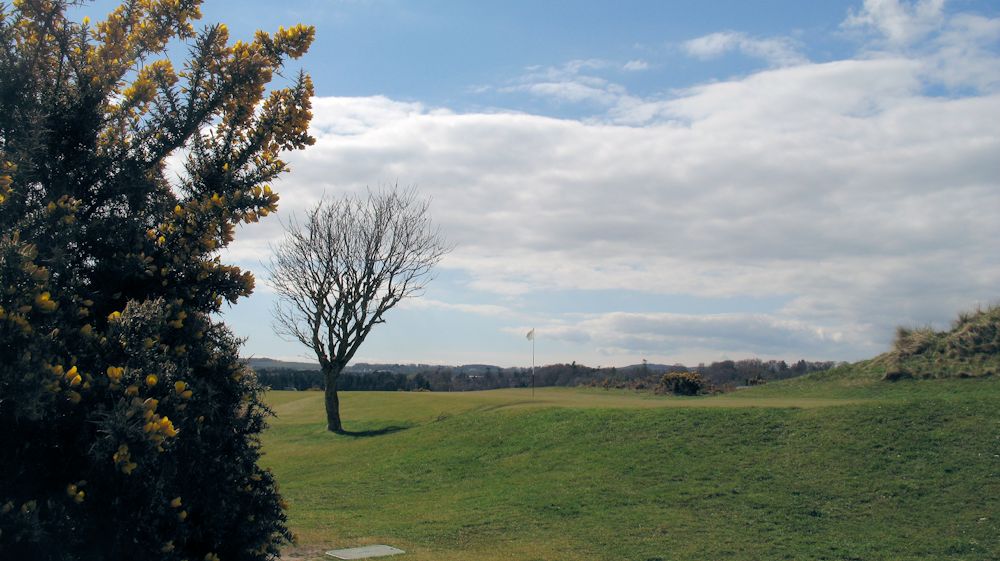
5th Tee - 141 Yards (132 Yards), Par 3
Selecting the correct club is a challenge to this par-3. Depending upon the wind....
Although a short golf hole, a run-up shot sometimes is a good choice - as long as you miss the bunkers.
The green is very wide (to the left side, "up the hill" as viewed from the tee).
I suspect that the pin is rarely placed up there.... at least, in April I can attest to that being so.
The green falls off, slightly, on the backside - so, other than a well-struck shot may end up long.
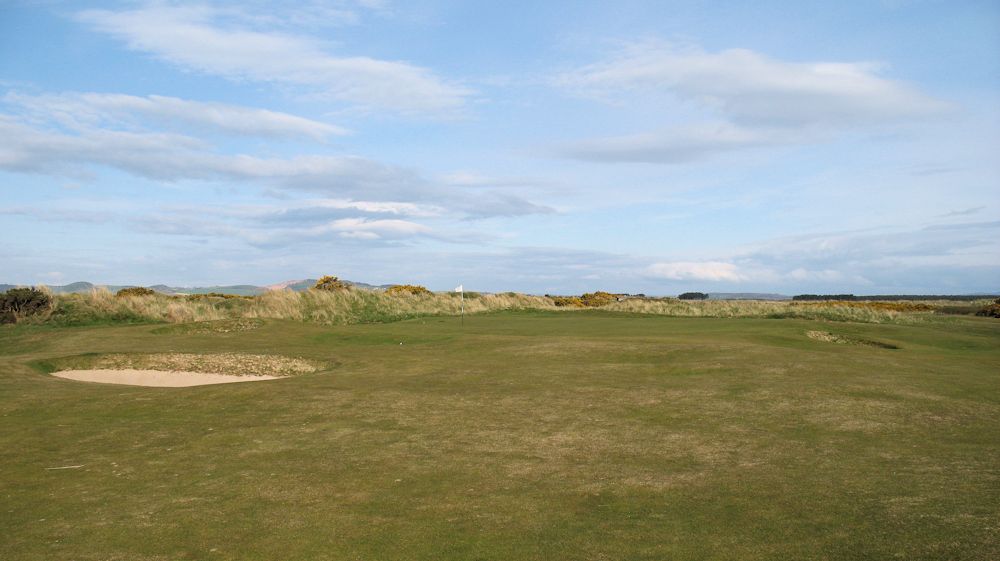
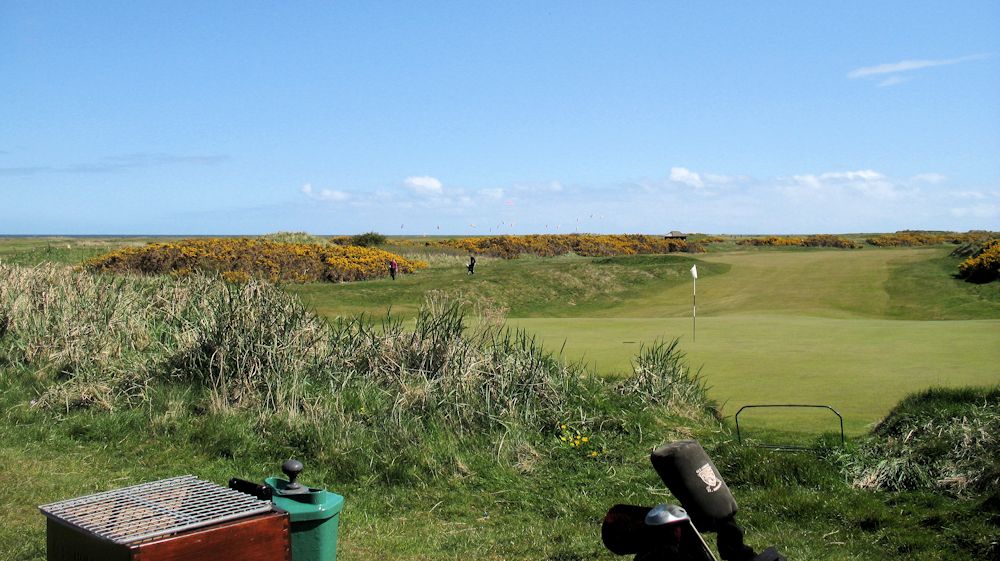
5th - Green Area
A look at the 5th green from the 6th tee area shows the challenges that the 5th green offers.
|
|
6th Tee - 480 Yards (422 Yards), Par 5
The fairway bunkers left-side are reachable - Depending upon the wind....
Many of us will not worry about those bunkers until our second shot.
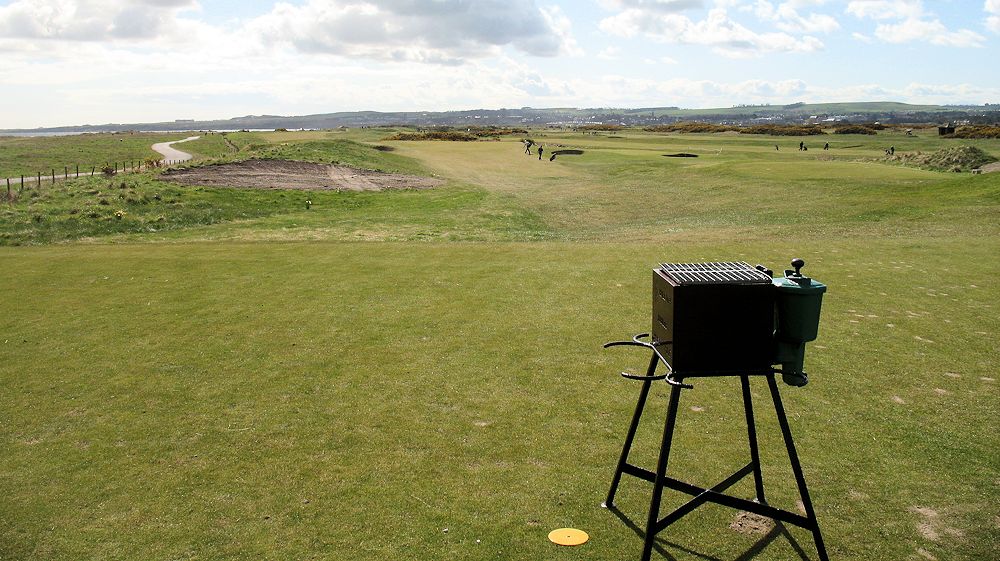
6th - Second or Third Shot
This is from 185 yards to the green.
For some reason, I find myself often left after this shot - even though I SHOULD favor the right side.
All players: Second or third - or fourth shots - have bunkers in-play.
6th - Green Area
A fun par-5 with a very fair green. Well-protected... as with all greens on the Jubilee.
Once you reach here, you can see that the bunkers are well-set for approaching long-or-shorter shots on this fine par-5.
|
|
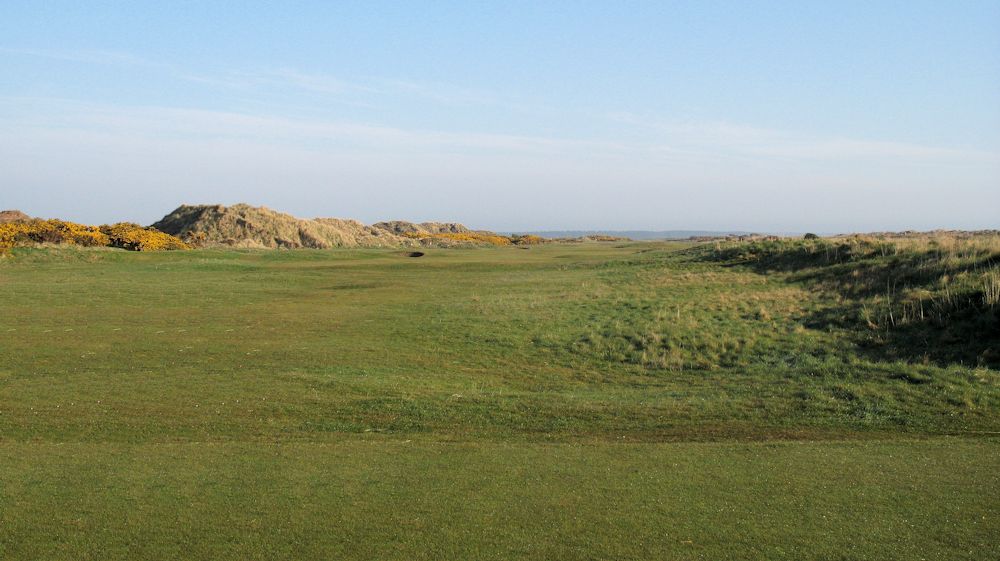
7th Tee - 341 Yards (329 Yards), Par 4
Another wonderful driving hole on The Jubilee, although for some:
The fairway bunker right-side is reachable.
You well may have to wait for your tee shot and/or second shot, as there is a stop/convenience area to the left of the 7th fairway.
It is well-positioned for those who had tea and breakfast prior to the round!
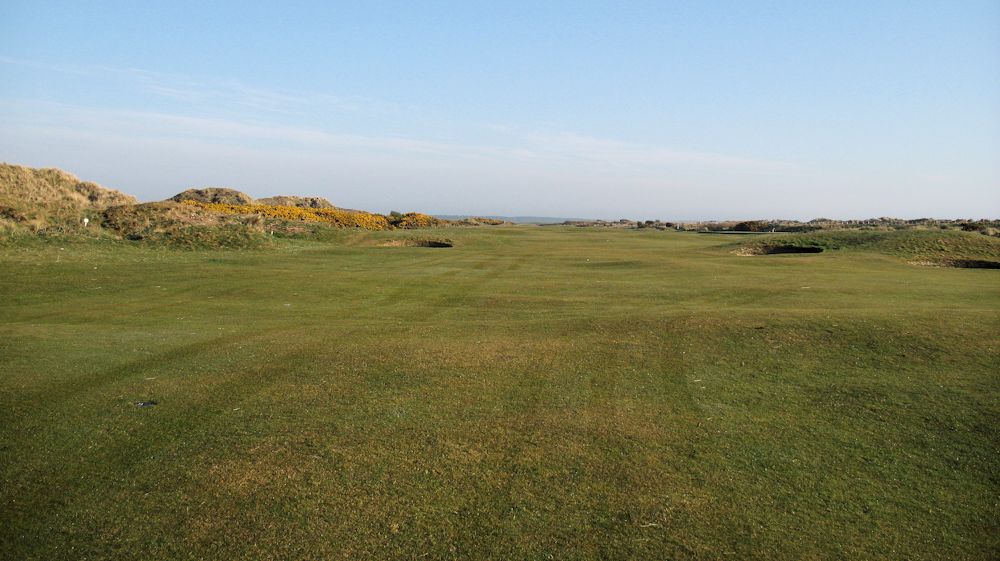
7th - Second Shot
This is from 135 yards to the green.
The green is well mounded and protected with a false front.
Long MAY come back to the green - but, just as likely may stop as it is backing up off the green's rear-located hill that leads to the 8th tee.
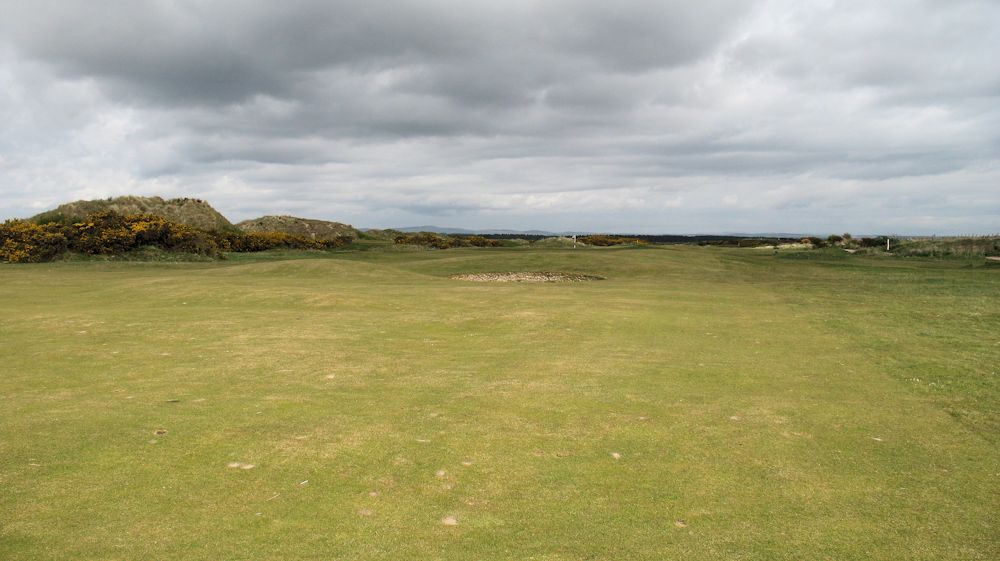
7th - Green Area
Three putts are not unusual on this green.
A short-ish hole - but, fun/challenging and bogie is as possible as is par or birdie.
7th - Green Area...
This is a look back down the 7th, from the 8th tee.
The players on the left of this photo are looking for one of the long-hitter's tee-ball on the 7th.
|
|
8th Tee - 344 Yards (326 Yards), Par 4
If you have a right-to-left tee shot in your repertory, you will love the back tee on the 8th on The Jubilee.
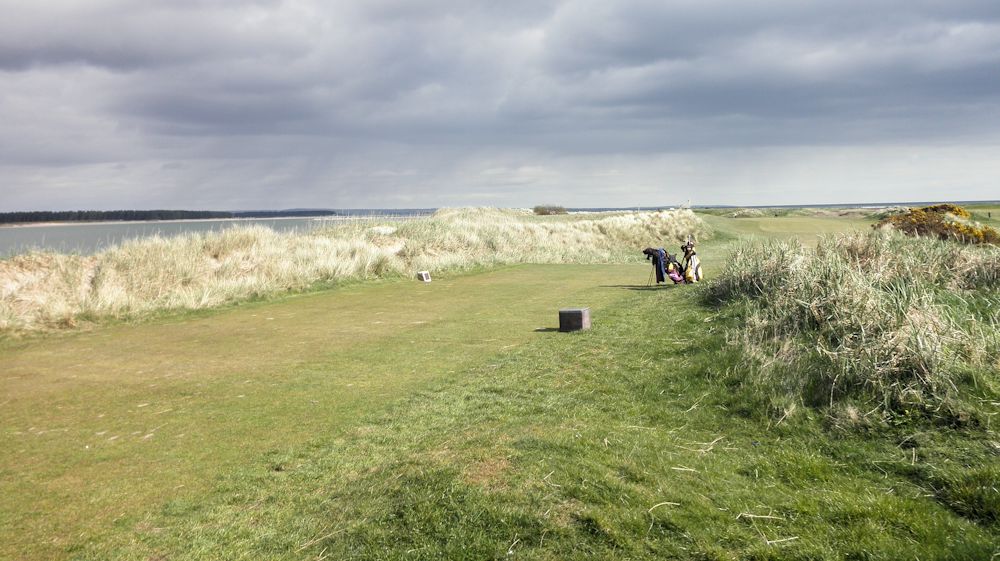
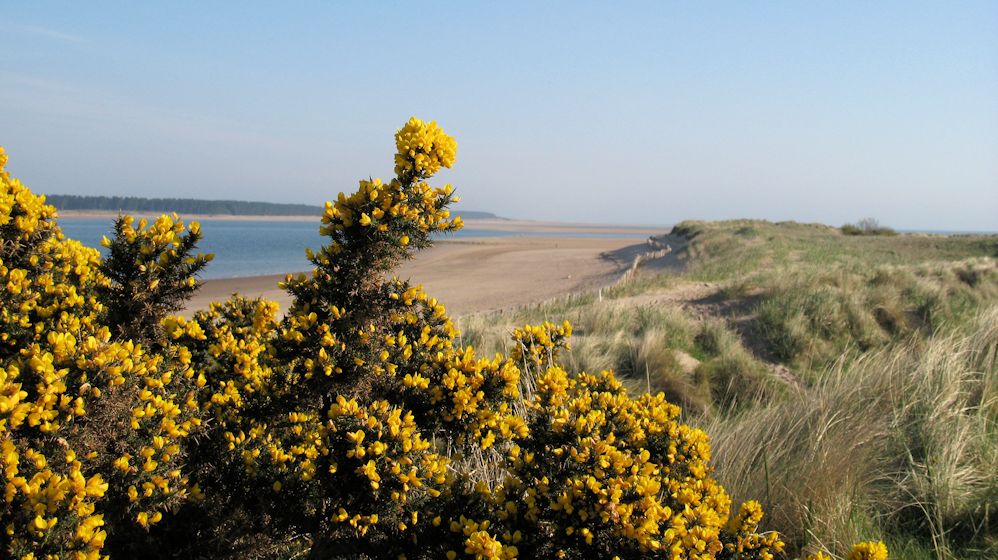
8th Tee...
Just don't go left into the Eden Estuary! (Photo taken from the 8th tee).
This photo is from our April 2009 trip.
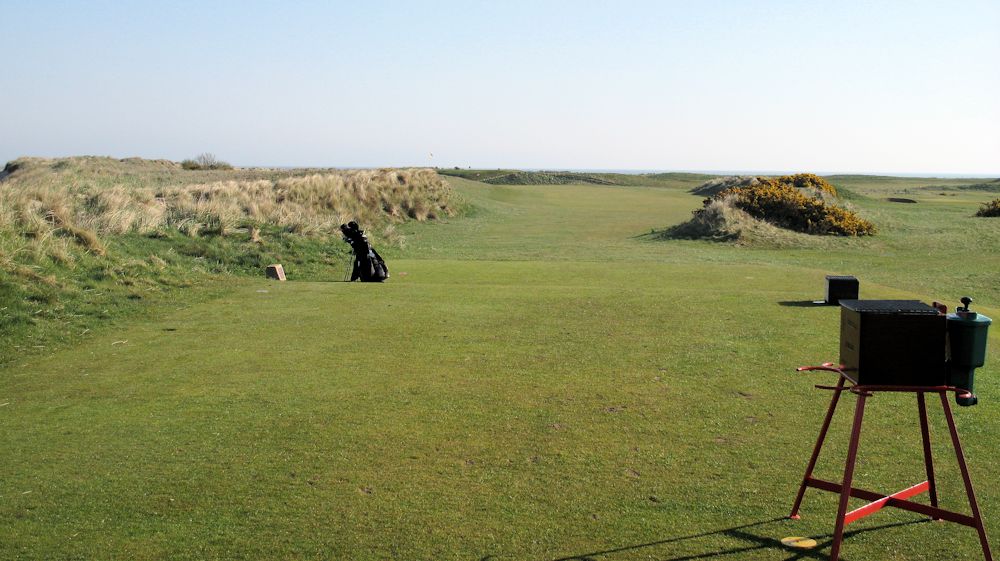
8th Tee...
From the Regular and Forward tee - a straighter shot... but, slightly left-to-right is terrific.
This photo is from our April 2009 trip.
8th - Second Shot
After a fair drive - this is your second shot.
This photo is from our April 2009 trip.
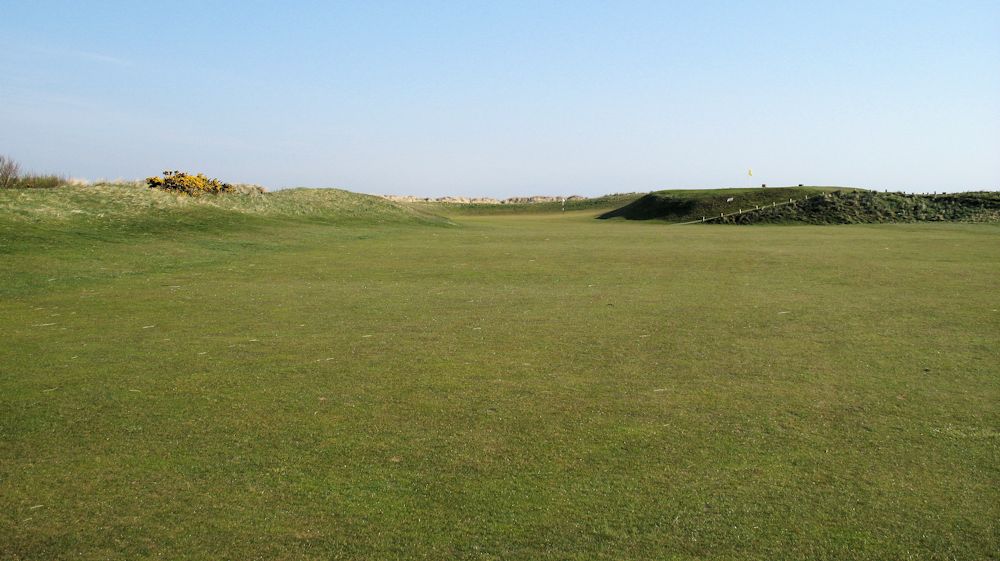
8th - Second Shot and Green Area
After a great drive - or a chip-out from the rough - this is your second or third shot.
The 8th green is large - and, slopes away from the player's approach shot.
The 9th tee is located up on the hill to the right of 8th green as viewed in this photo.
|
|
9th Tee - 182 Yards (143 Yards), Par 3
The tee/green that we used in April/May 2012 and in previous years was the one shown, below.
Note the tee/green shown on the right-side of this photo.
It was about to open in early-May 2012; It will shorten this hole some -
but, I don't know if they will keep the old tee-area and old-green as another playing option.
If you know the answer before we visit in 2014: Thank you for a comeback!
Depending upon the wind, I often had to hit driver to this par-3's pre-2012/13 green.
The players that you see on the right-side of this photo are playing the 11th hole par-5 "coming back" after the upcoming 10th hole par-4.
....
|
Well, we know the answer! The tees were kept as-they-were, as far as I could tell.
It is a fine/difficult par-3. It was such - and, is STILL such. | |||||||||
|
9th Tee - 2014
Out there is a "new" green for the 9th. Moved to its present location in 2012. 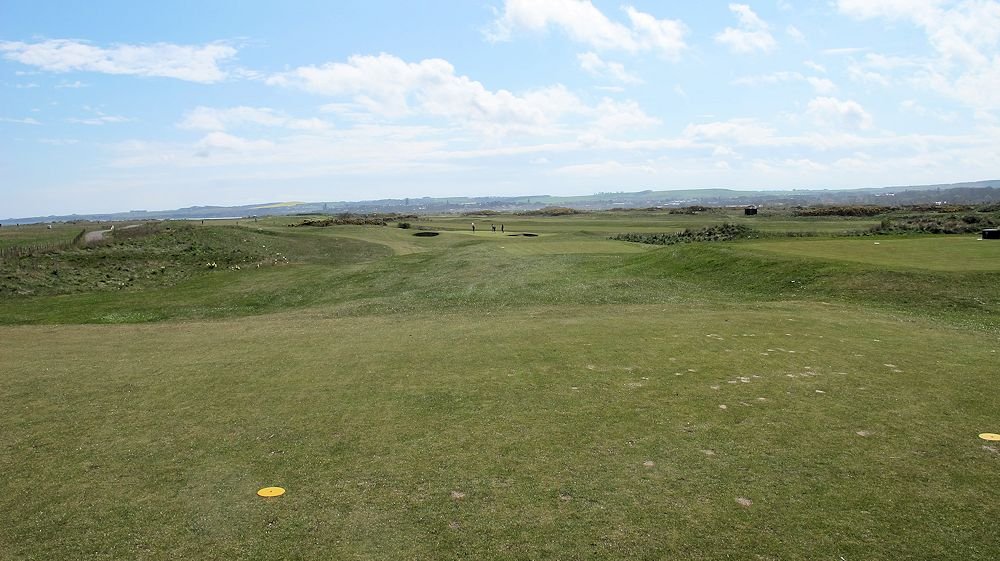
|
9th Green Area - 2014
The previous green was to the immediate left of the new green. The 11th and 12th fairways are behind/to-the-right of the 9th green. 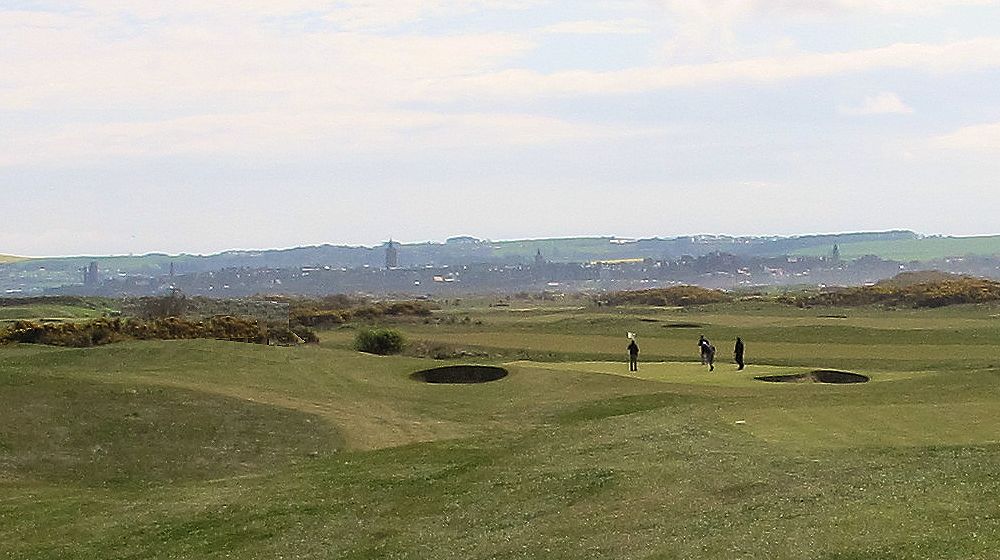
| ||||||||
Jubilee 9th - 2014
| |||||||||
|
|
If you have not been there yet, and you wish to - click on:
St. Andrews Links - Jubilee Course - Back Nine - Mid-April/Early-May 2012
To return to the main page of this series - click on:
Scotland 2012 - St. Andrews Links - - Mid-April/Early-May 2012
To contact us about anything on this Web page, please eMail: eMail Regarding this Web page